

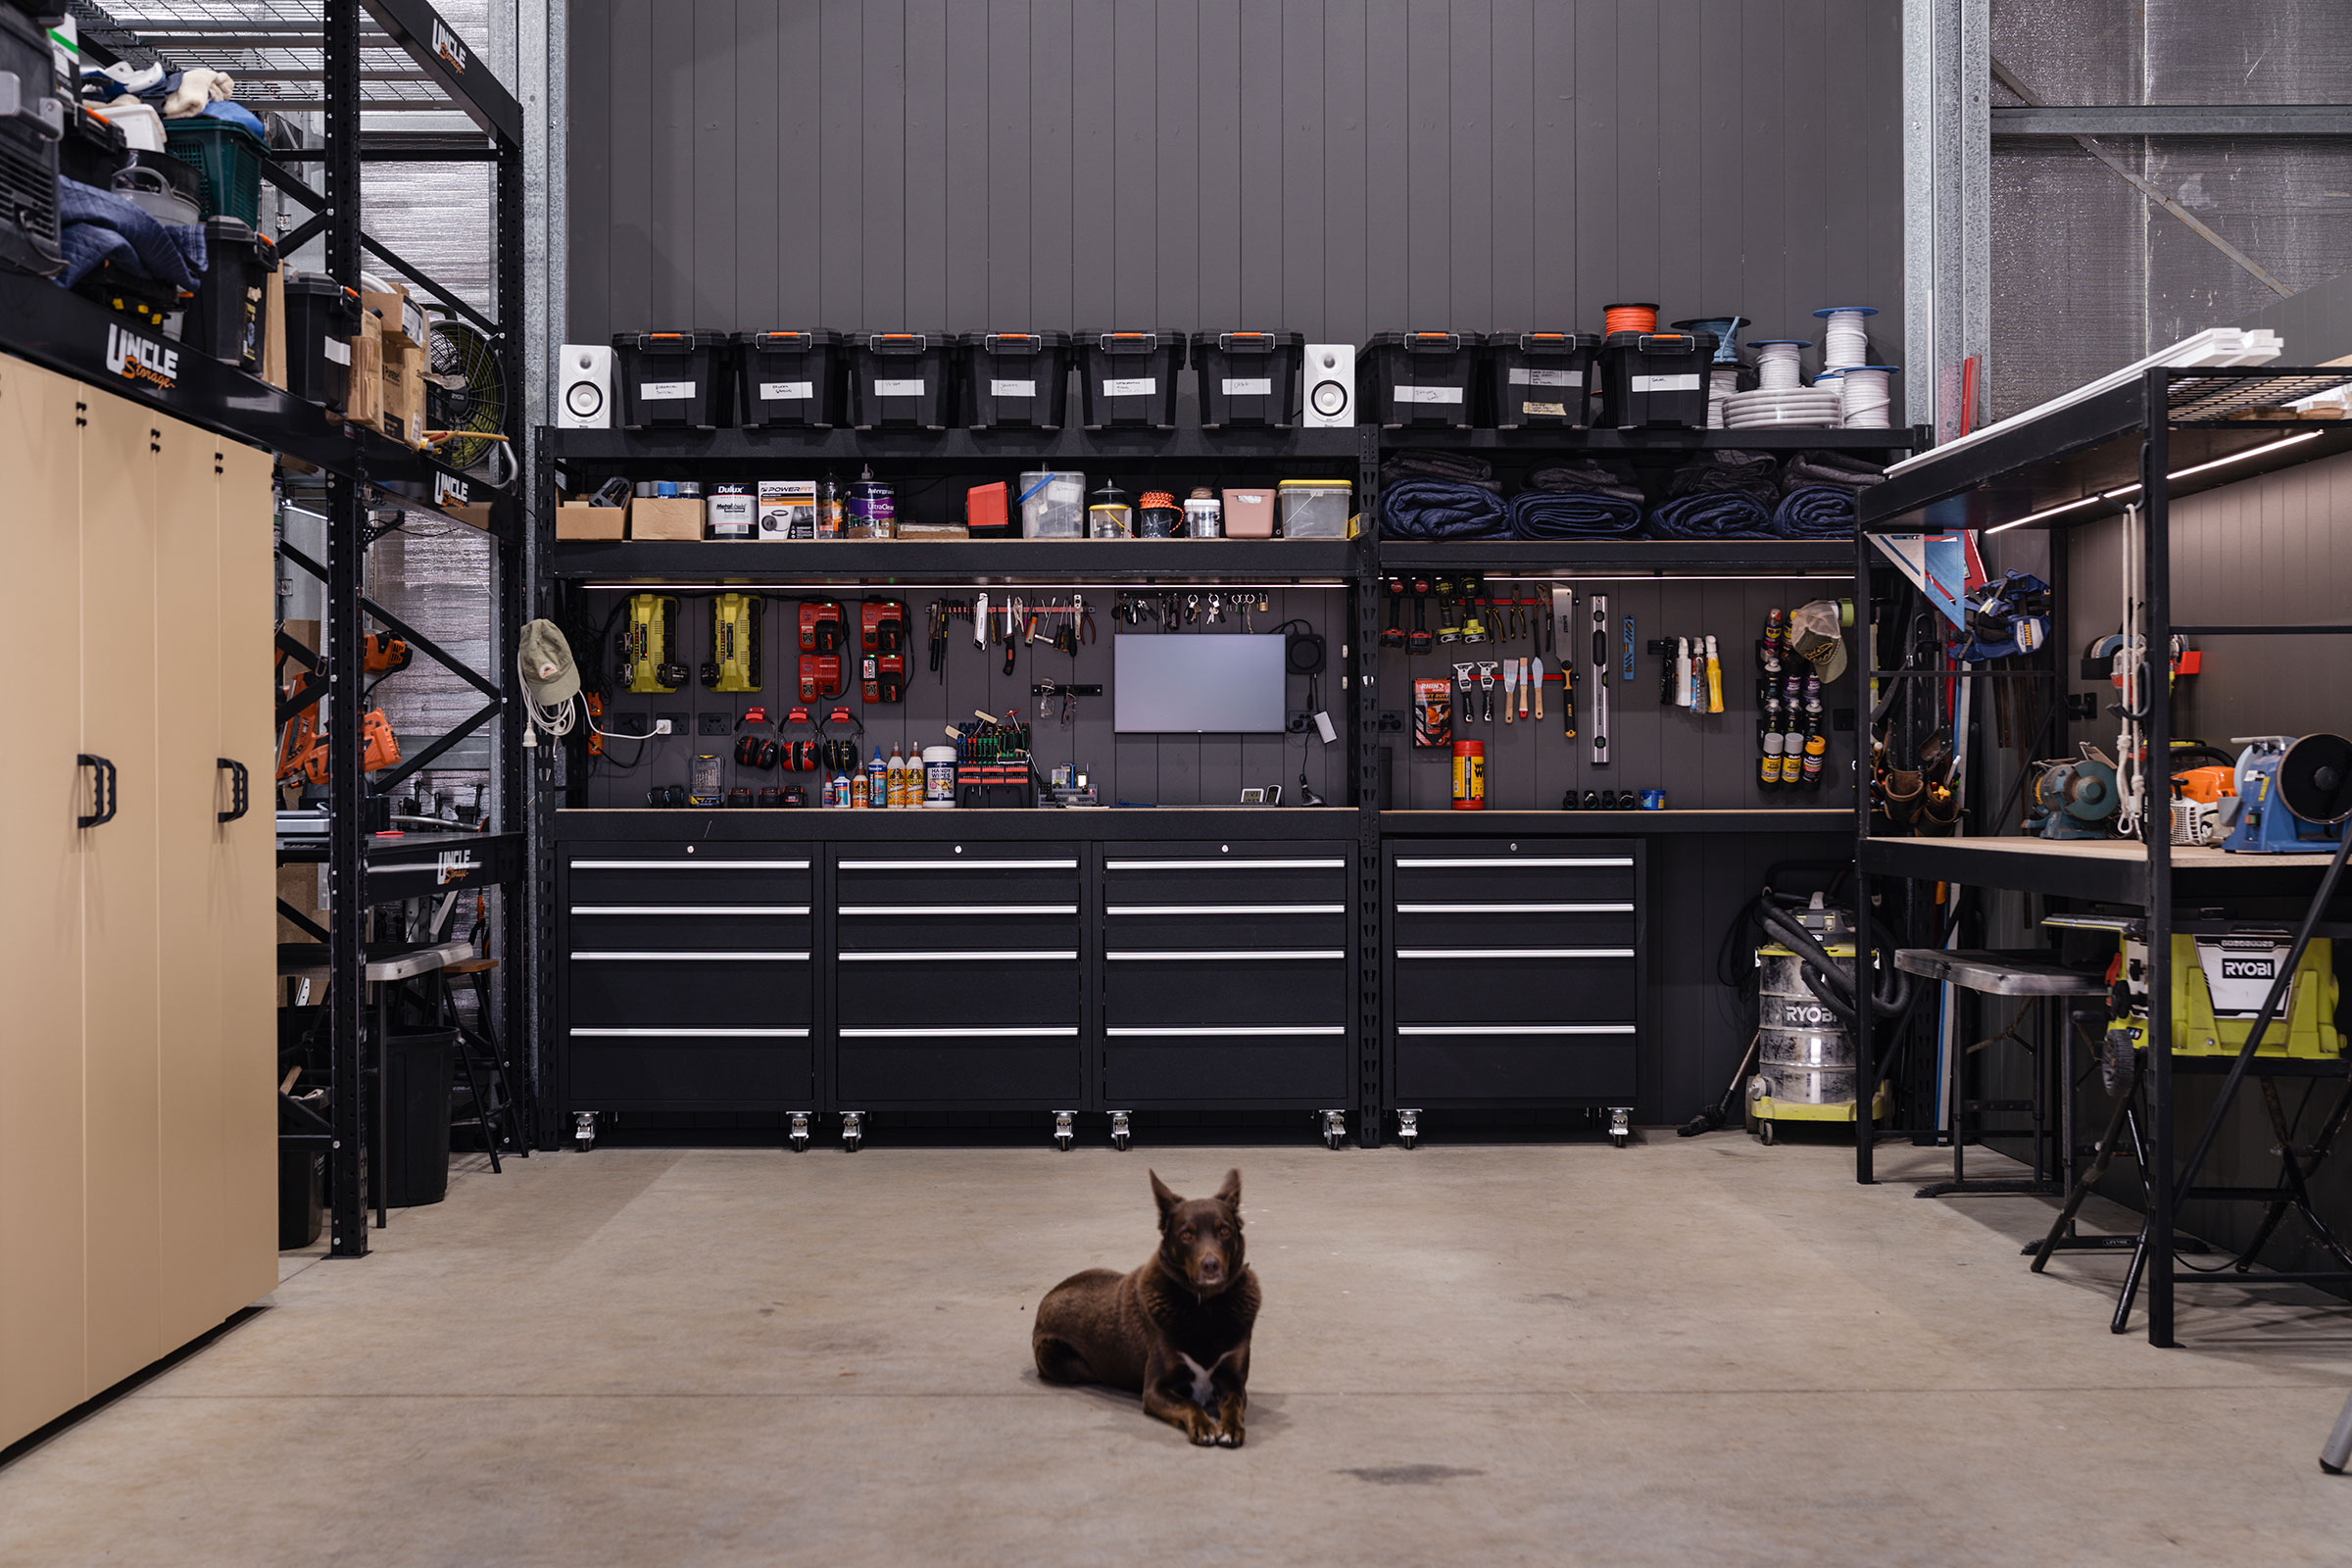
From Dumping Ground to Dream Workshop
There is something slightly optimistic about building a shed and assuming that, because you finally have somewhere to put everything, everything will find its place.
One year after finishing our big shed, Jonno’s dream workshop had become a dumping ground. Tools covered the benches, renovation supplies occupied the floor, and finding something often involved moving several other things first.
The shed was doing an excellent job of storing stuff. Working in it was another matter.
A fresh start, inside the same shed
The tipping point came after Jonno sold an old storage container. Everything inside needed somewhere to go, and the workshop floor was conveniently available.
We had been here before. Our earlier garage makeover gave us a beautifully organised space, but that garage now houses Lucy’s car and samples for her design projects. Jonno’s tools had moved into the big shed, along with a growing collection of materials for the renovations.
This time, the goal was to work out where things belonged before filling every available surface.
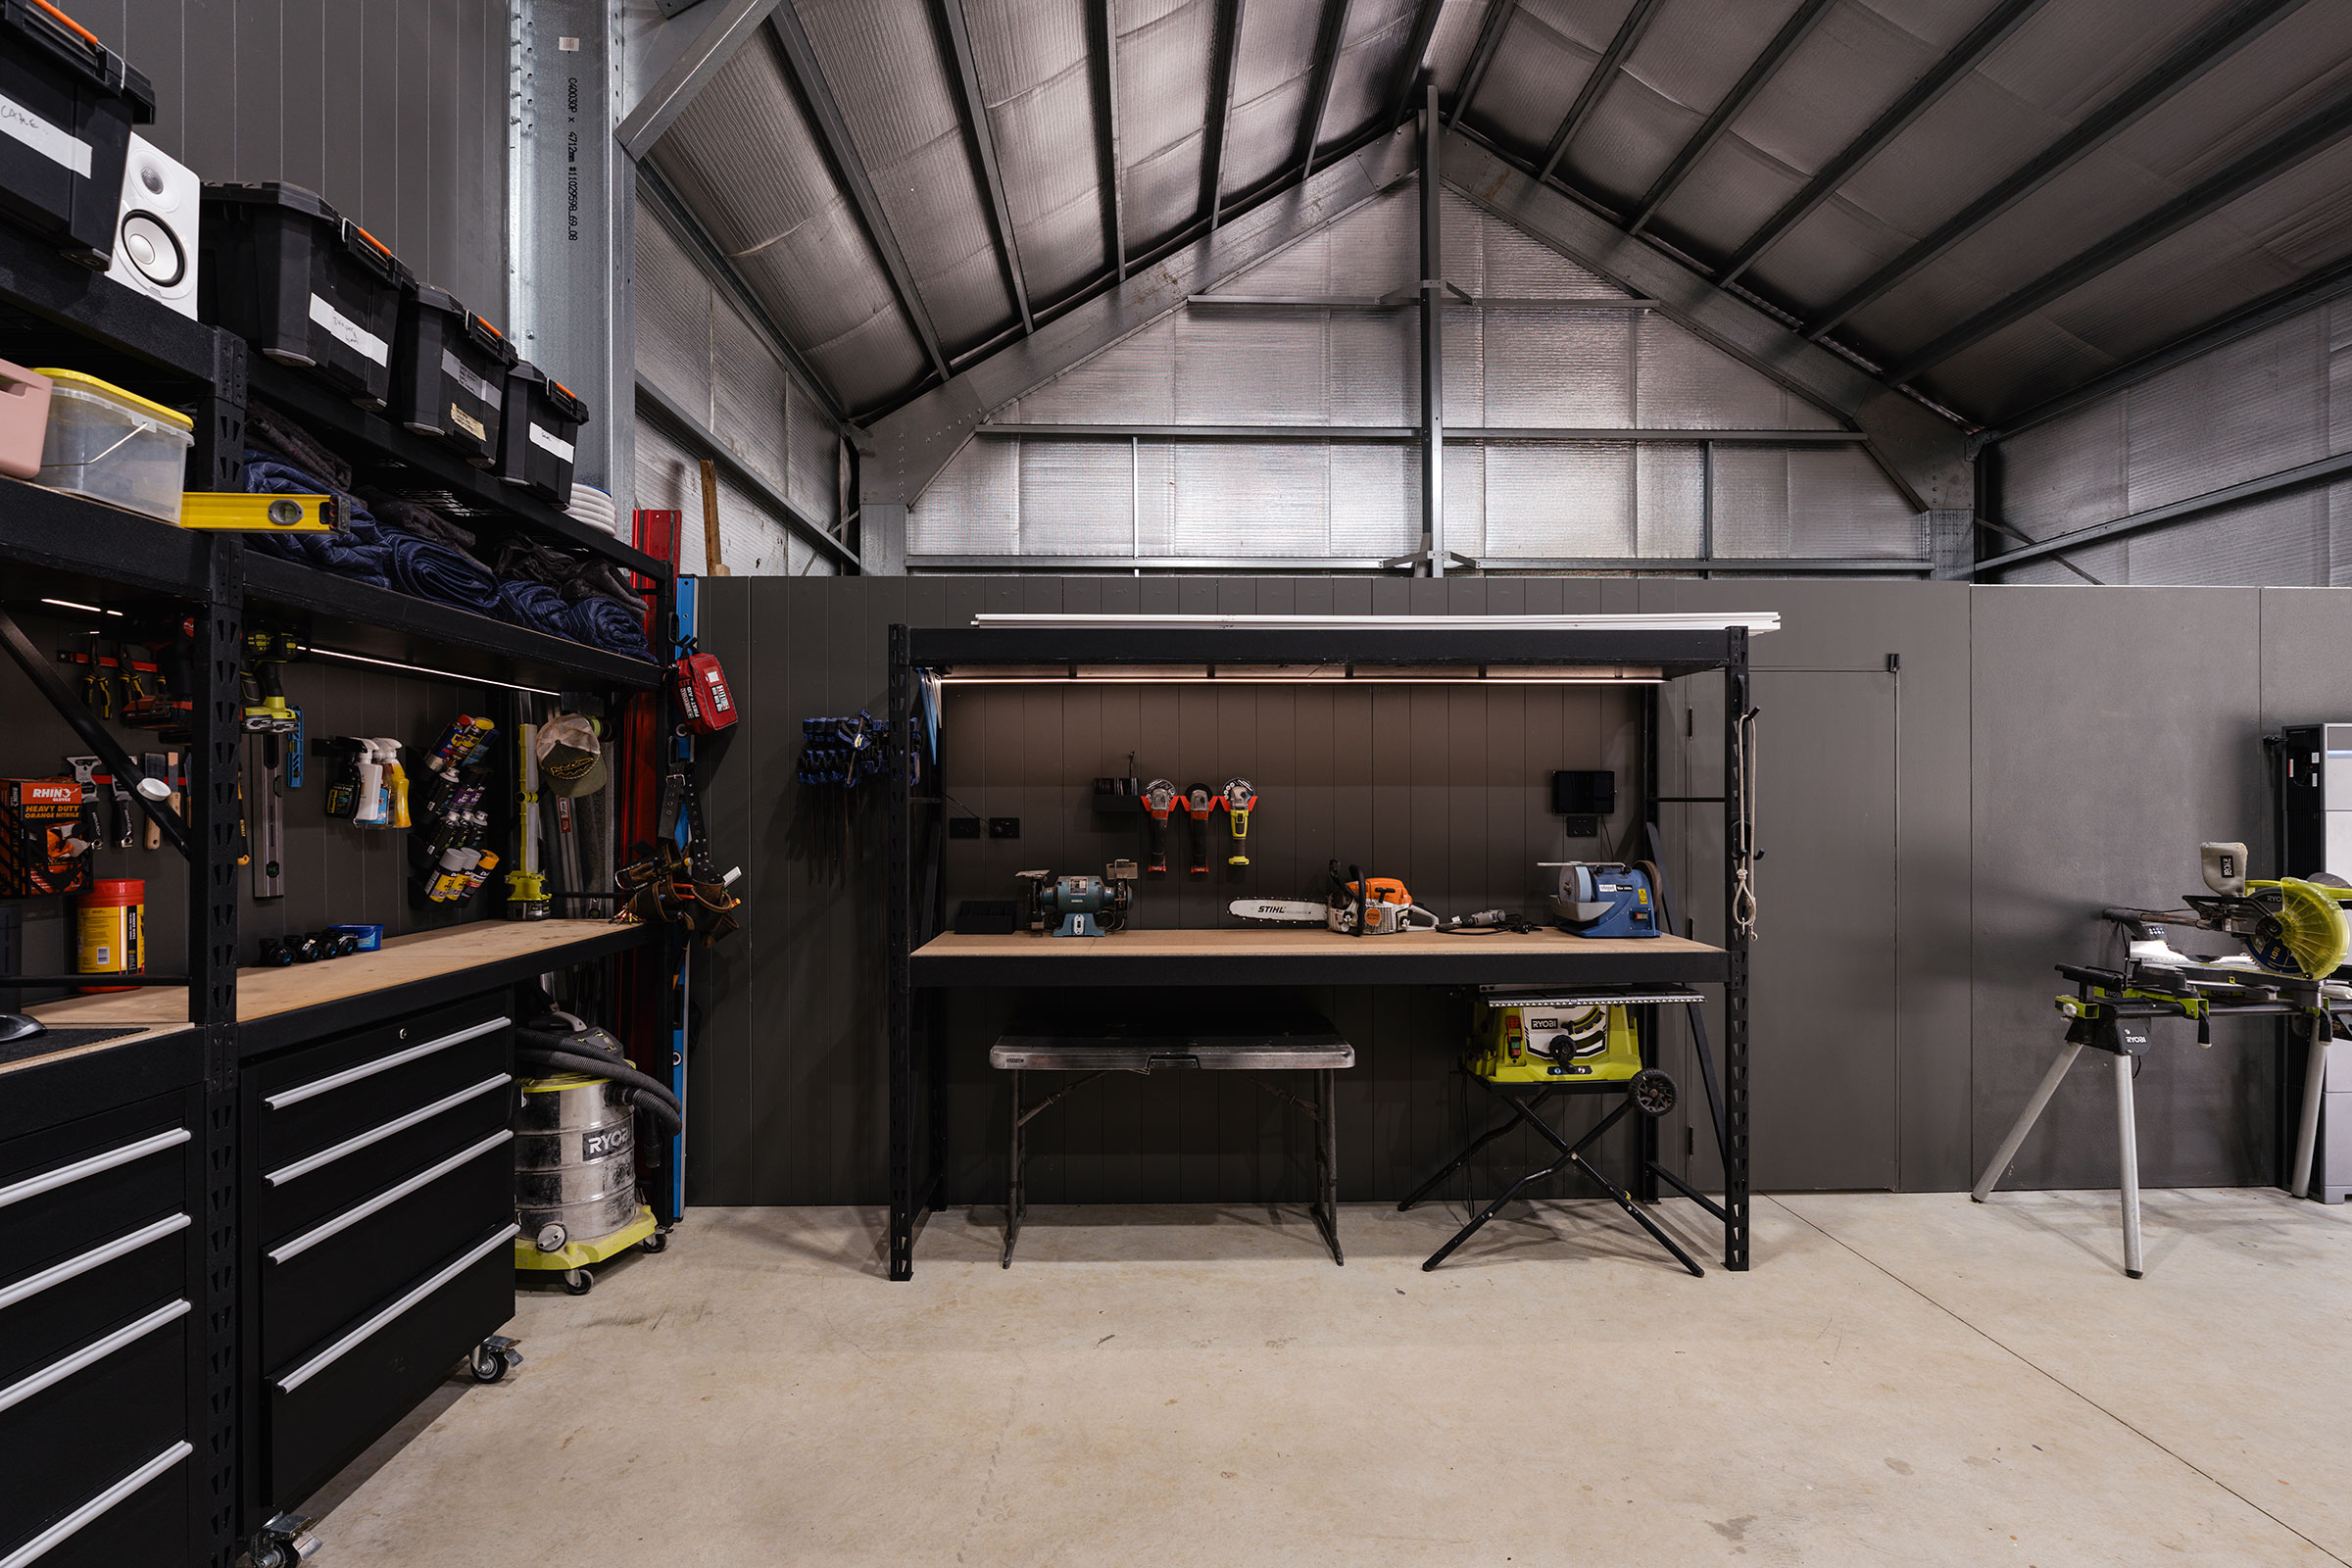
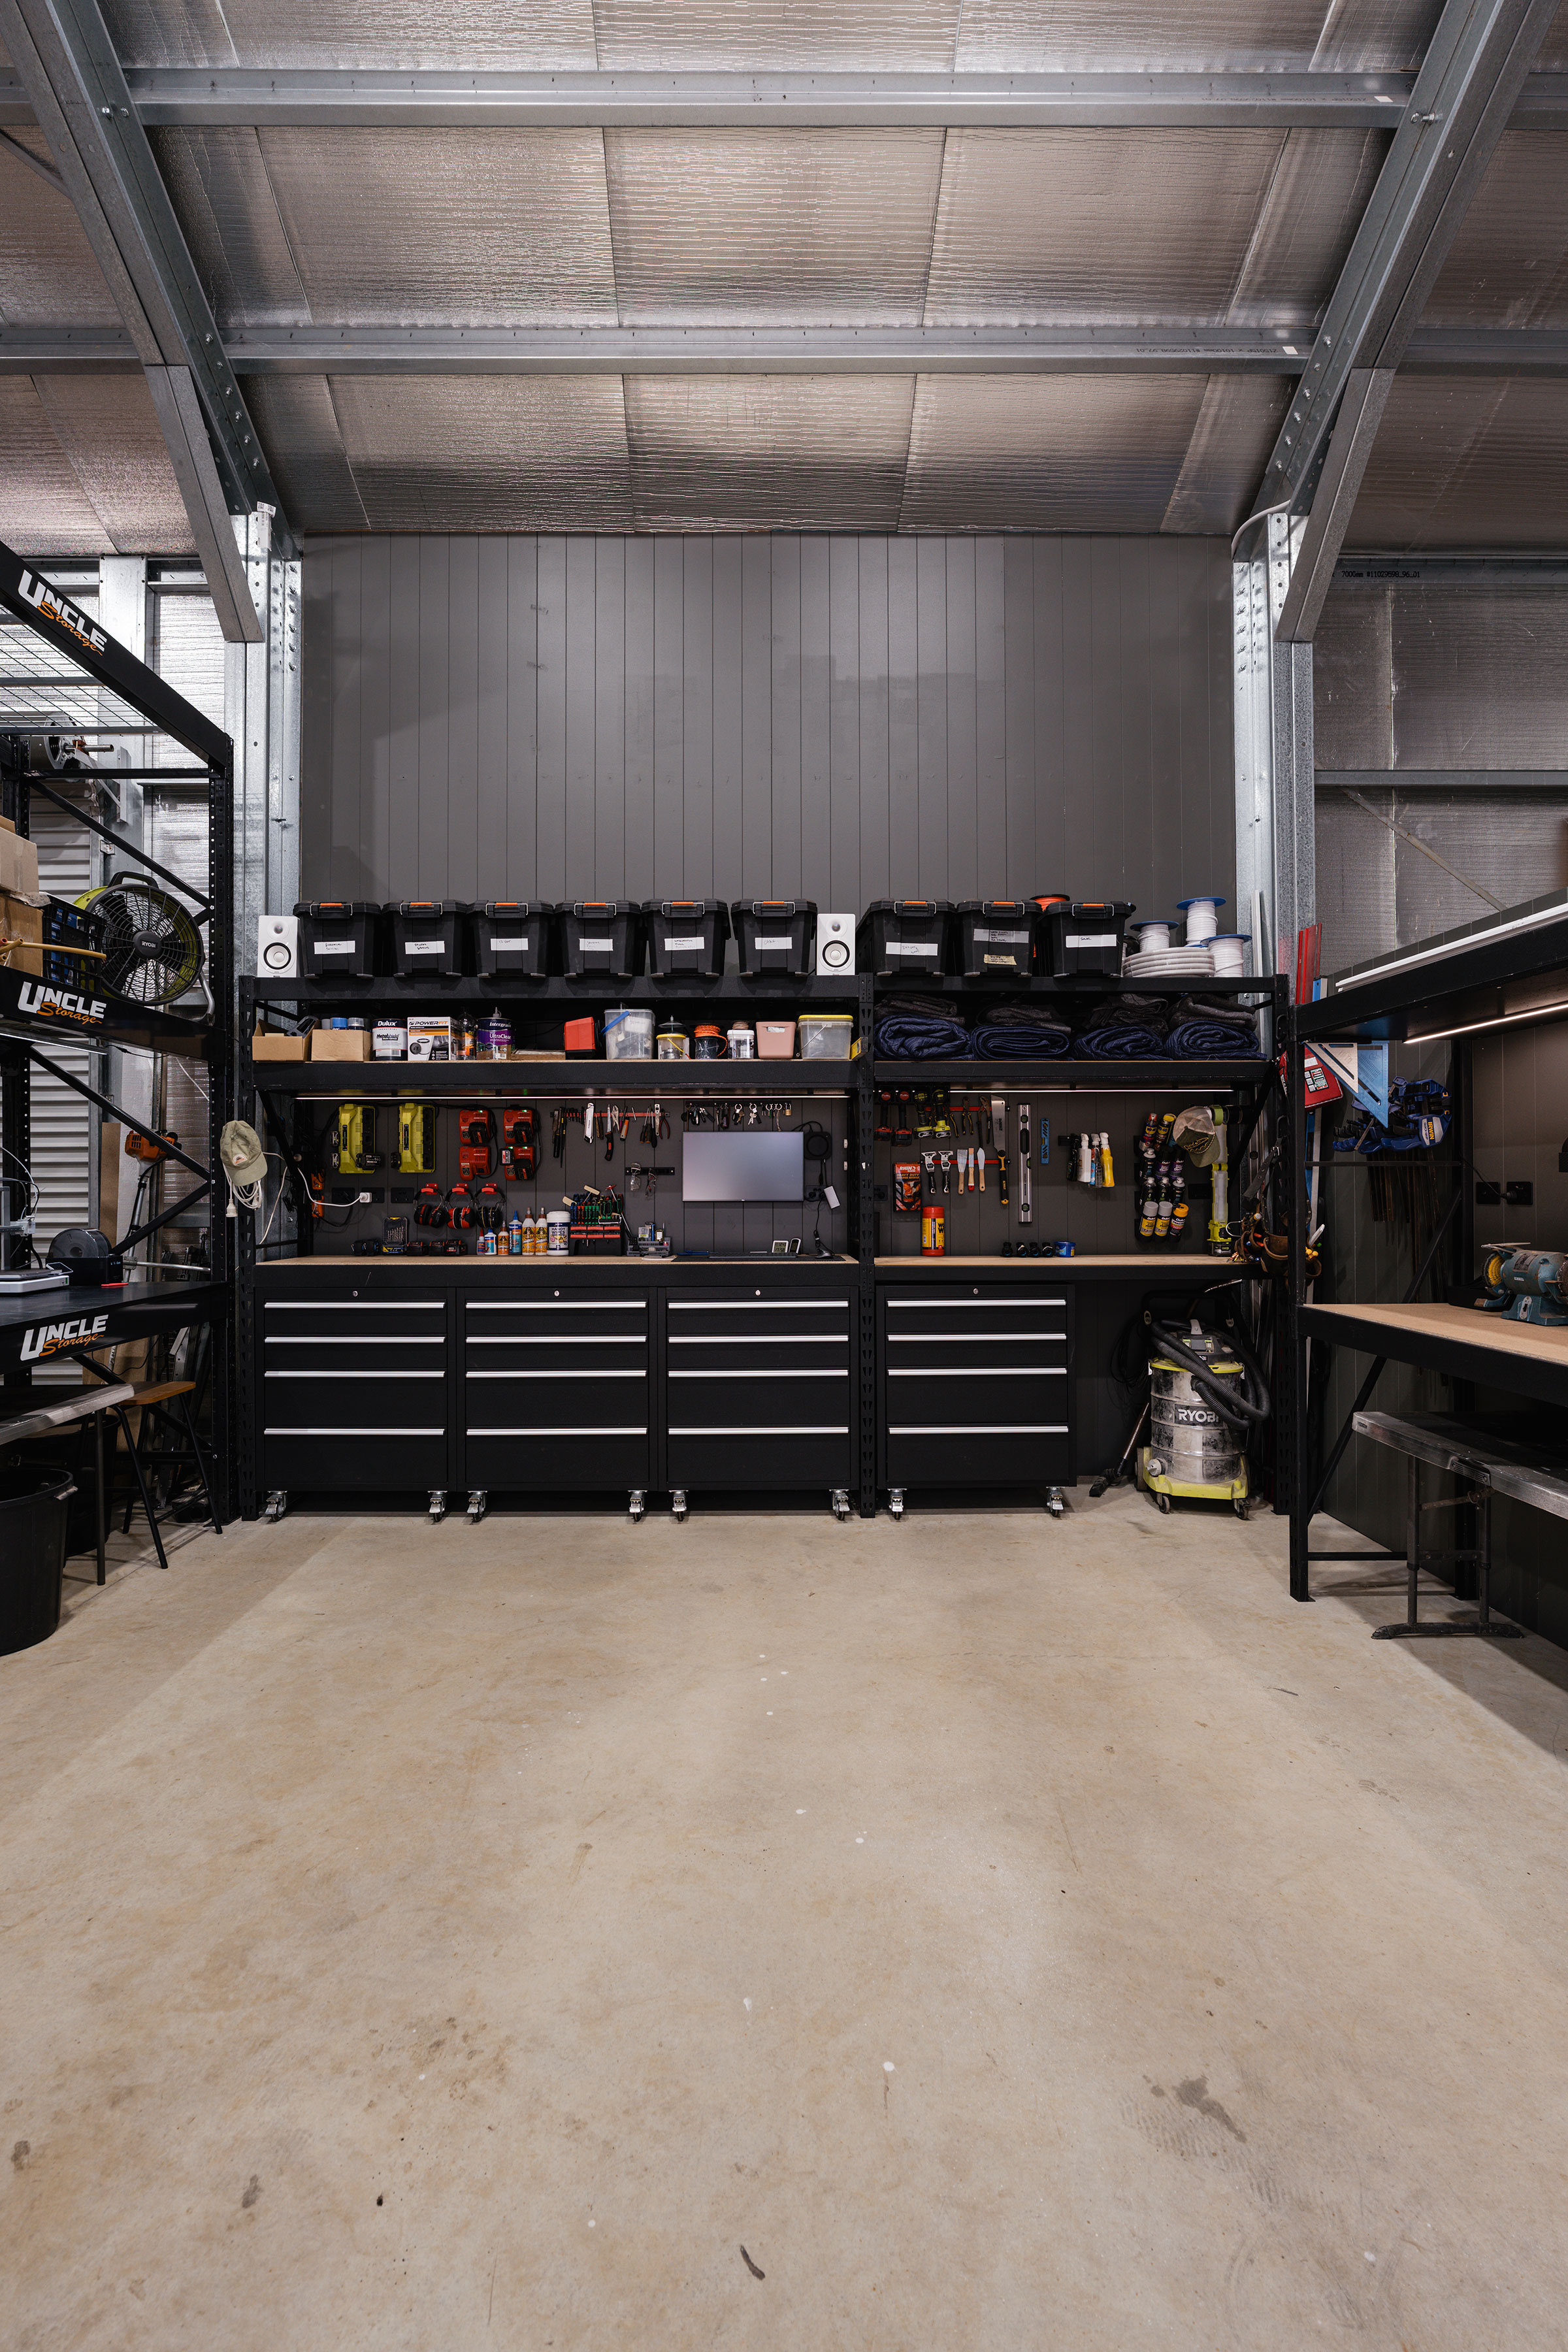
The workshop occupies a five-by-ten-metre bay. Jonno had always planned a U-shaped arrangement of workbenches, with different areas for different jobs. Getting that layout working meant clearing the floor, finishing an incomplete wall and making better use of the shed’s height.
Storage that moves
The biggest addition is the Six Bay Plus system from Uncle Storage, who sponsored this project. Check them out, mad little setup from Zac up on the Sunshine Coast doing something a bit different to whats out there here in Australia.
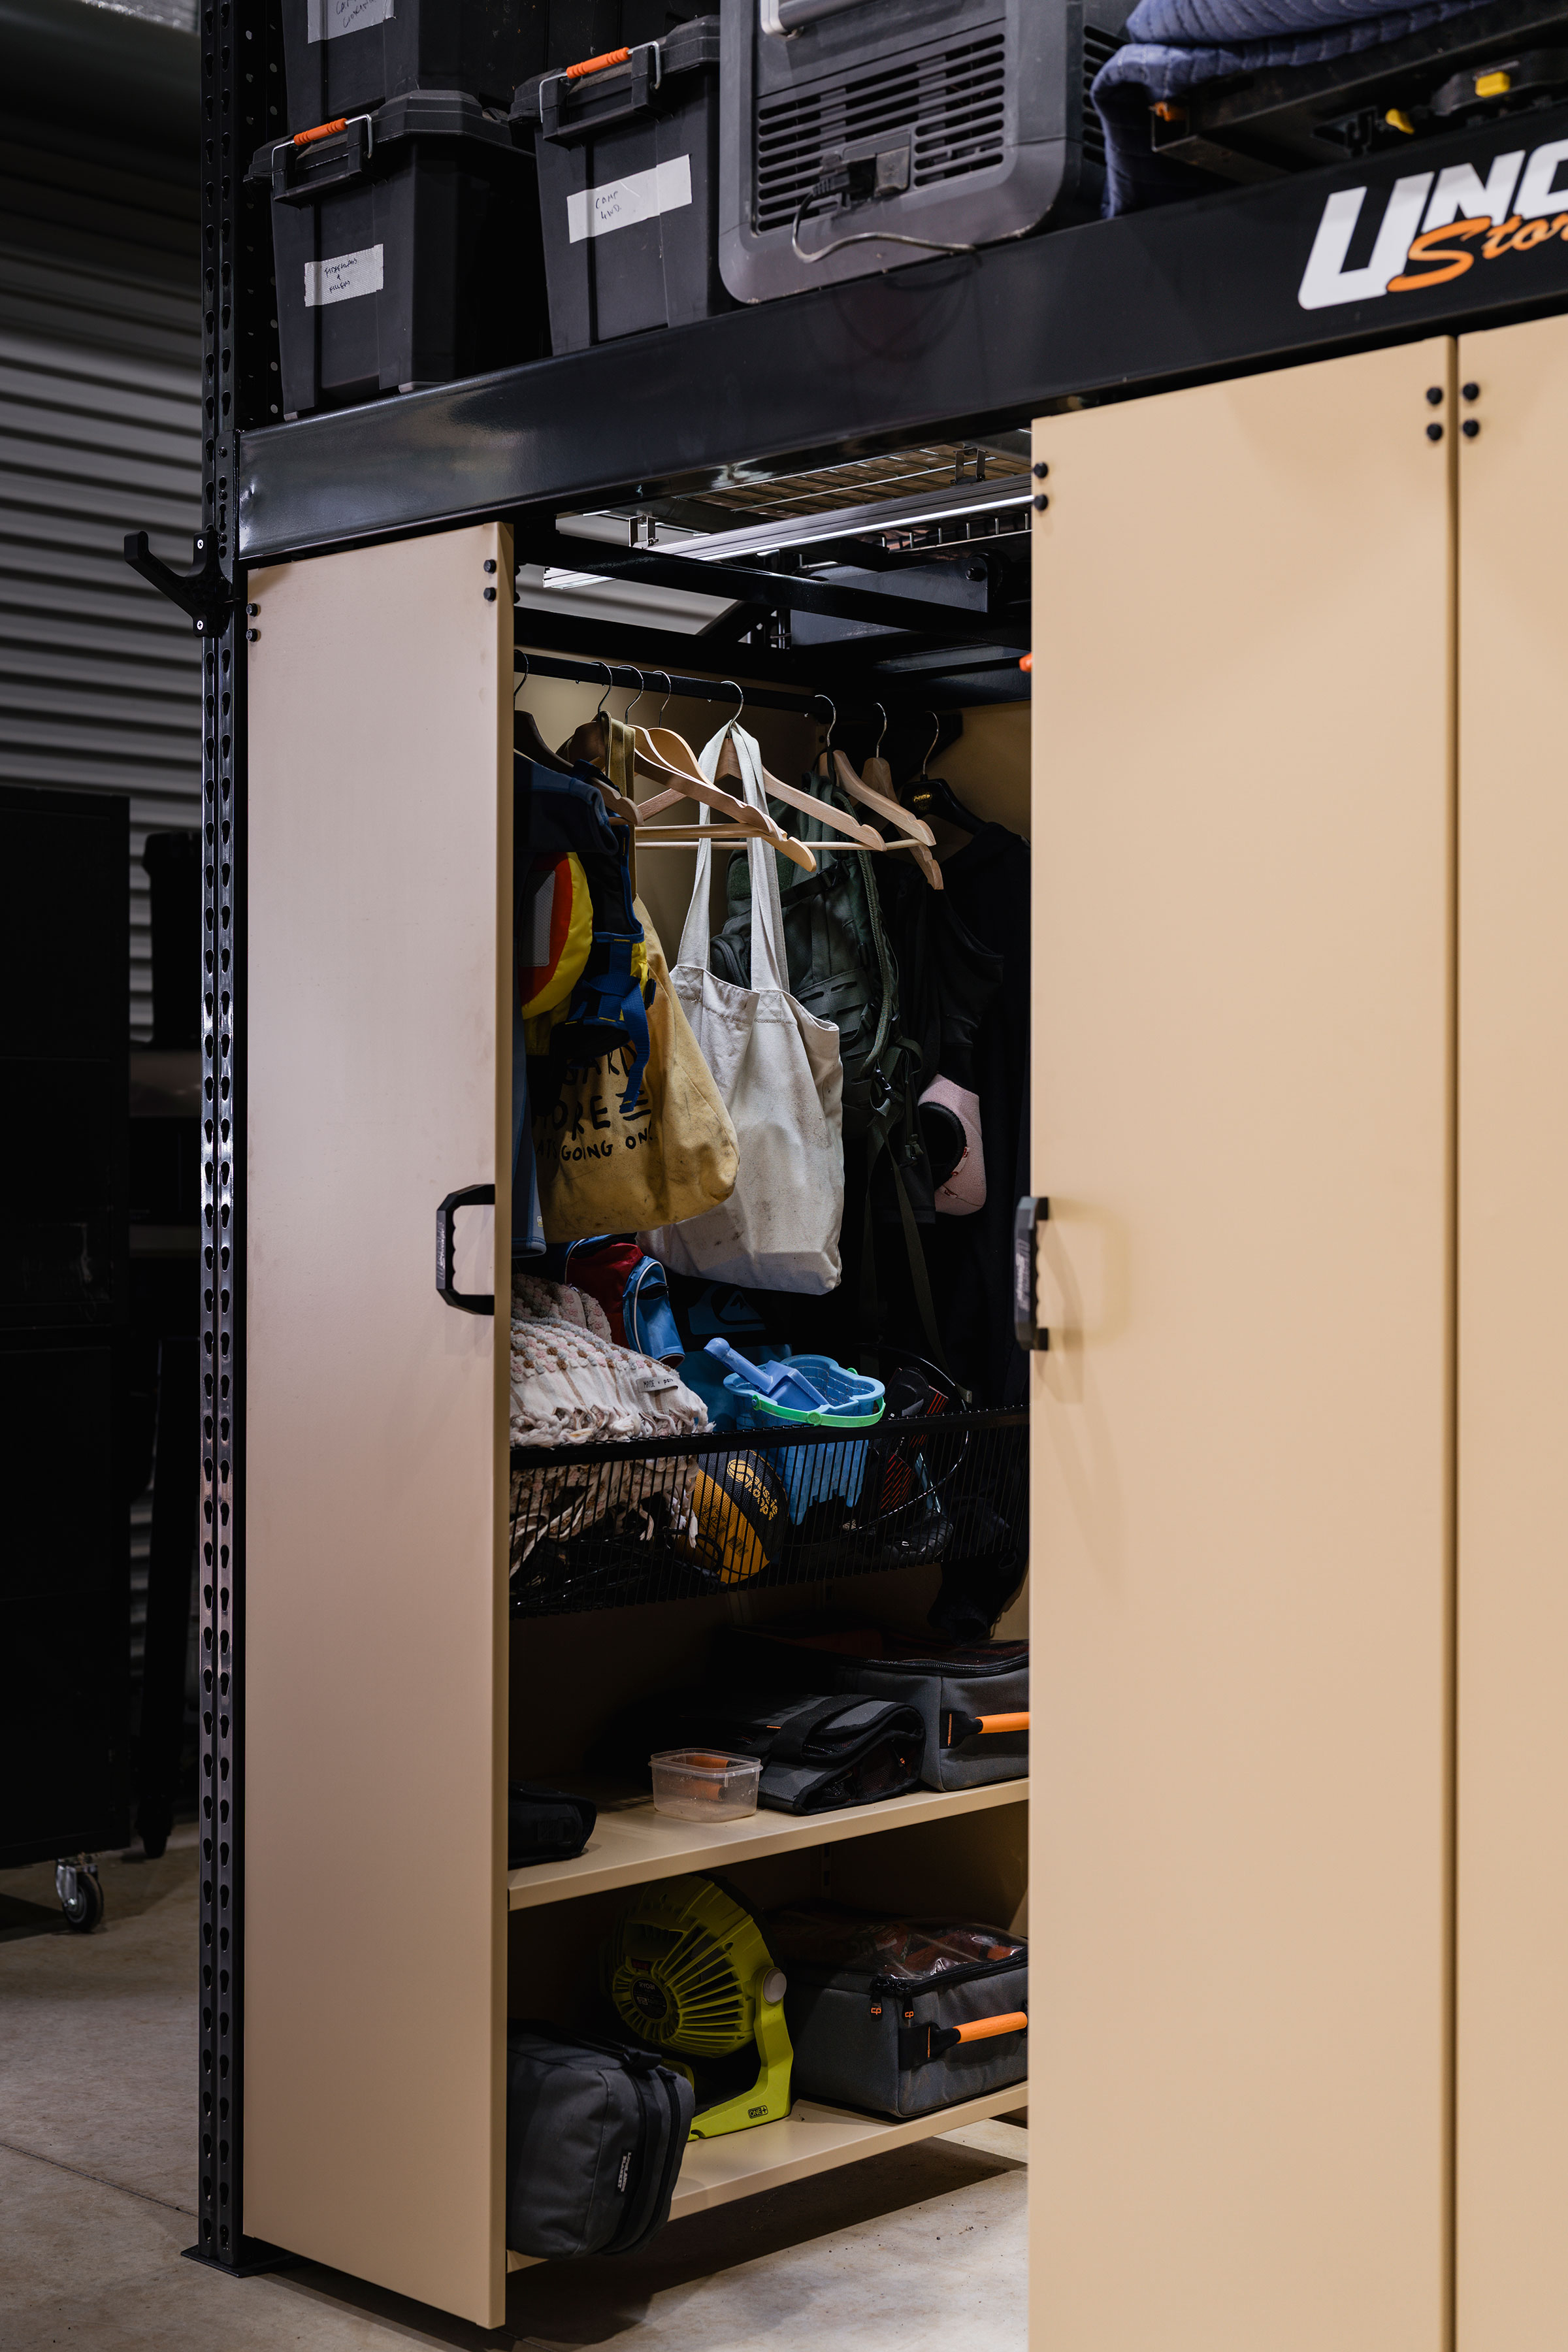
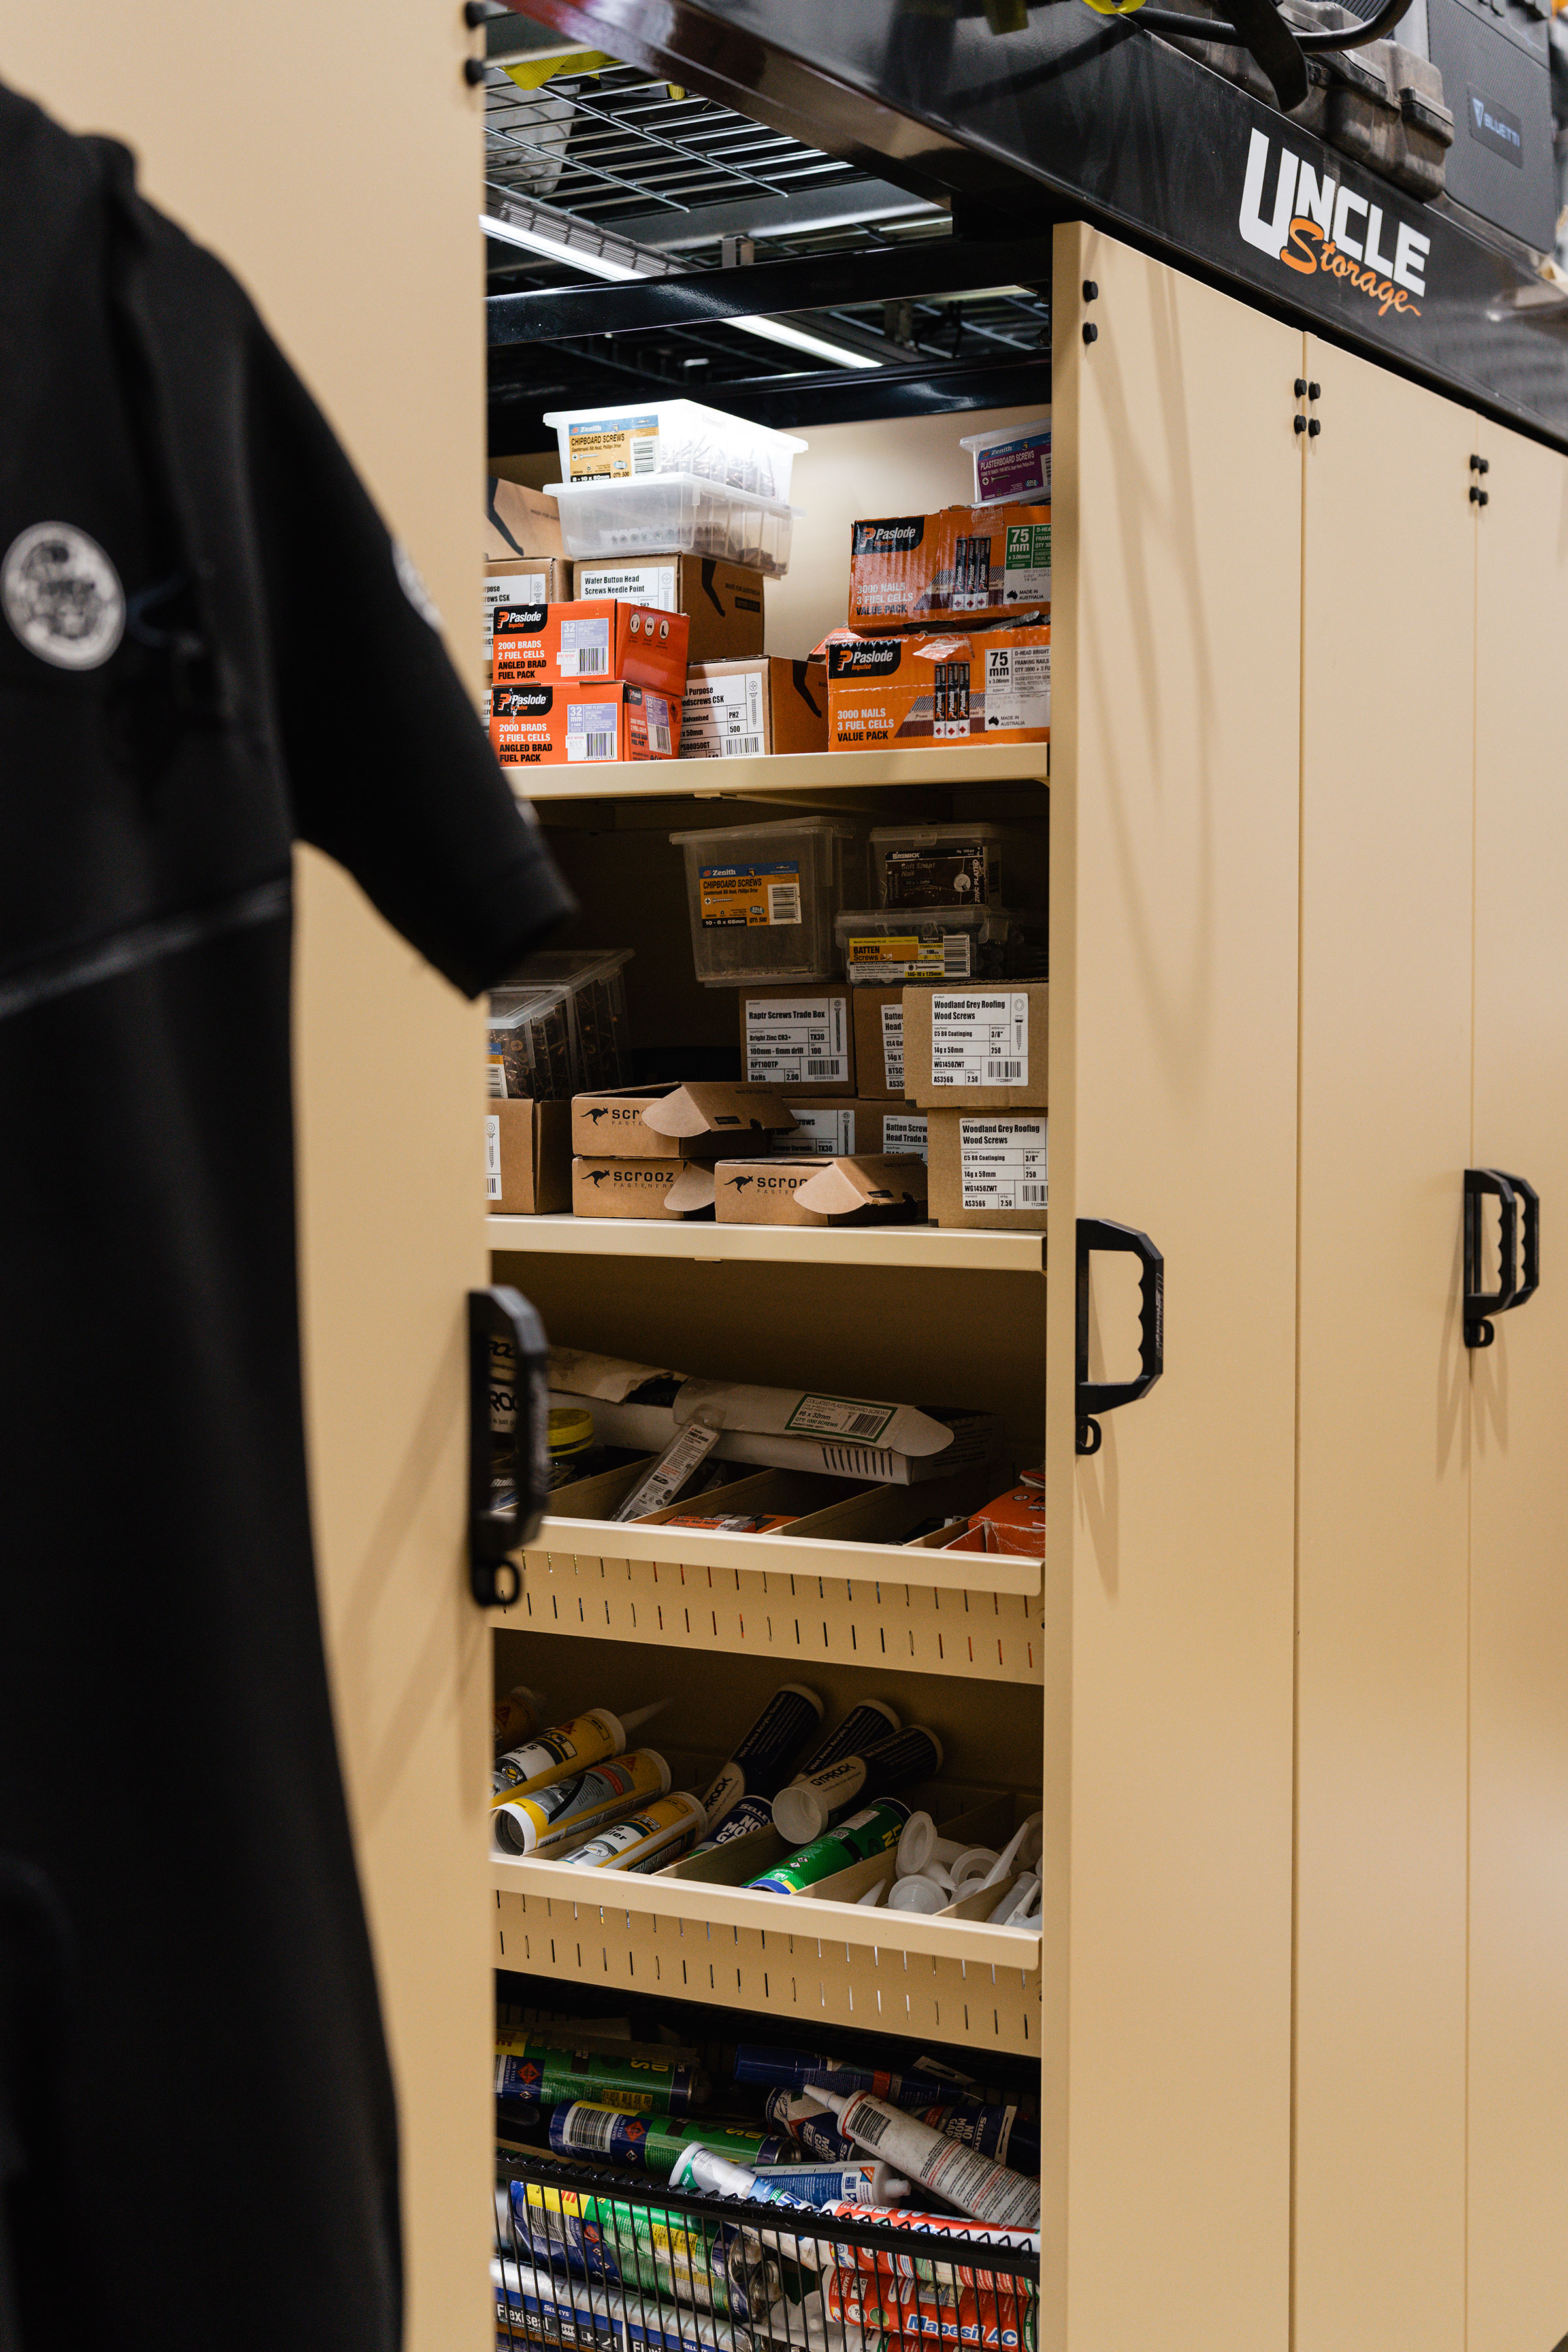
Its sliding cabinets hang from an overhead track, allowing individual bays to move sideways. Jonno positioned the system as a divider so he could access it from both sides, with an adjoining workbench extending the usable workspace.
That movement is what makes the layout interesting. He can open up a walkway when needed, then slide the cabinets back across.
The cabinets also give smaller items a place behind closed doors, while the overhead racking takes care of bulkier things that do not need to be reached every day.
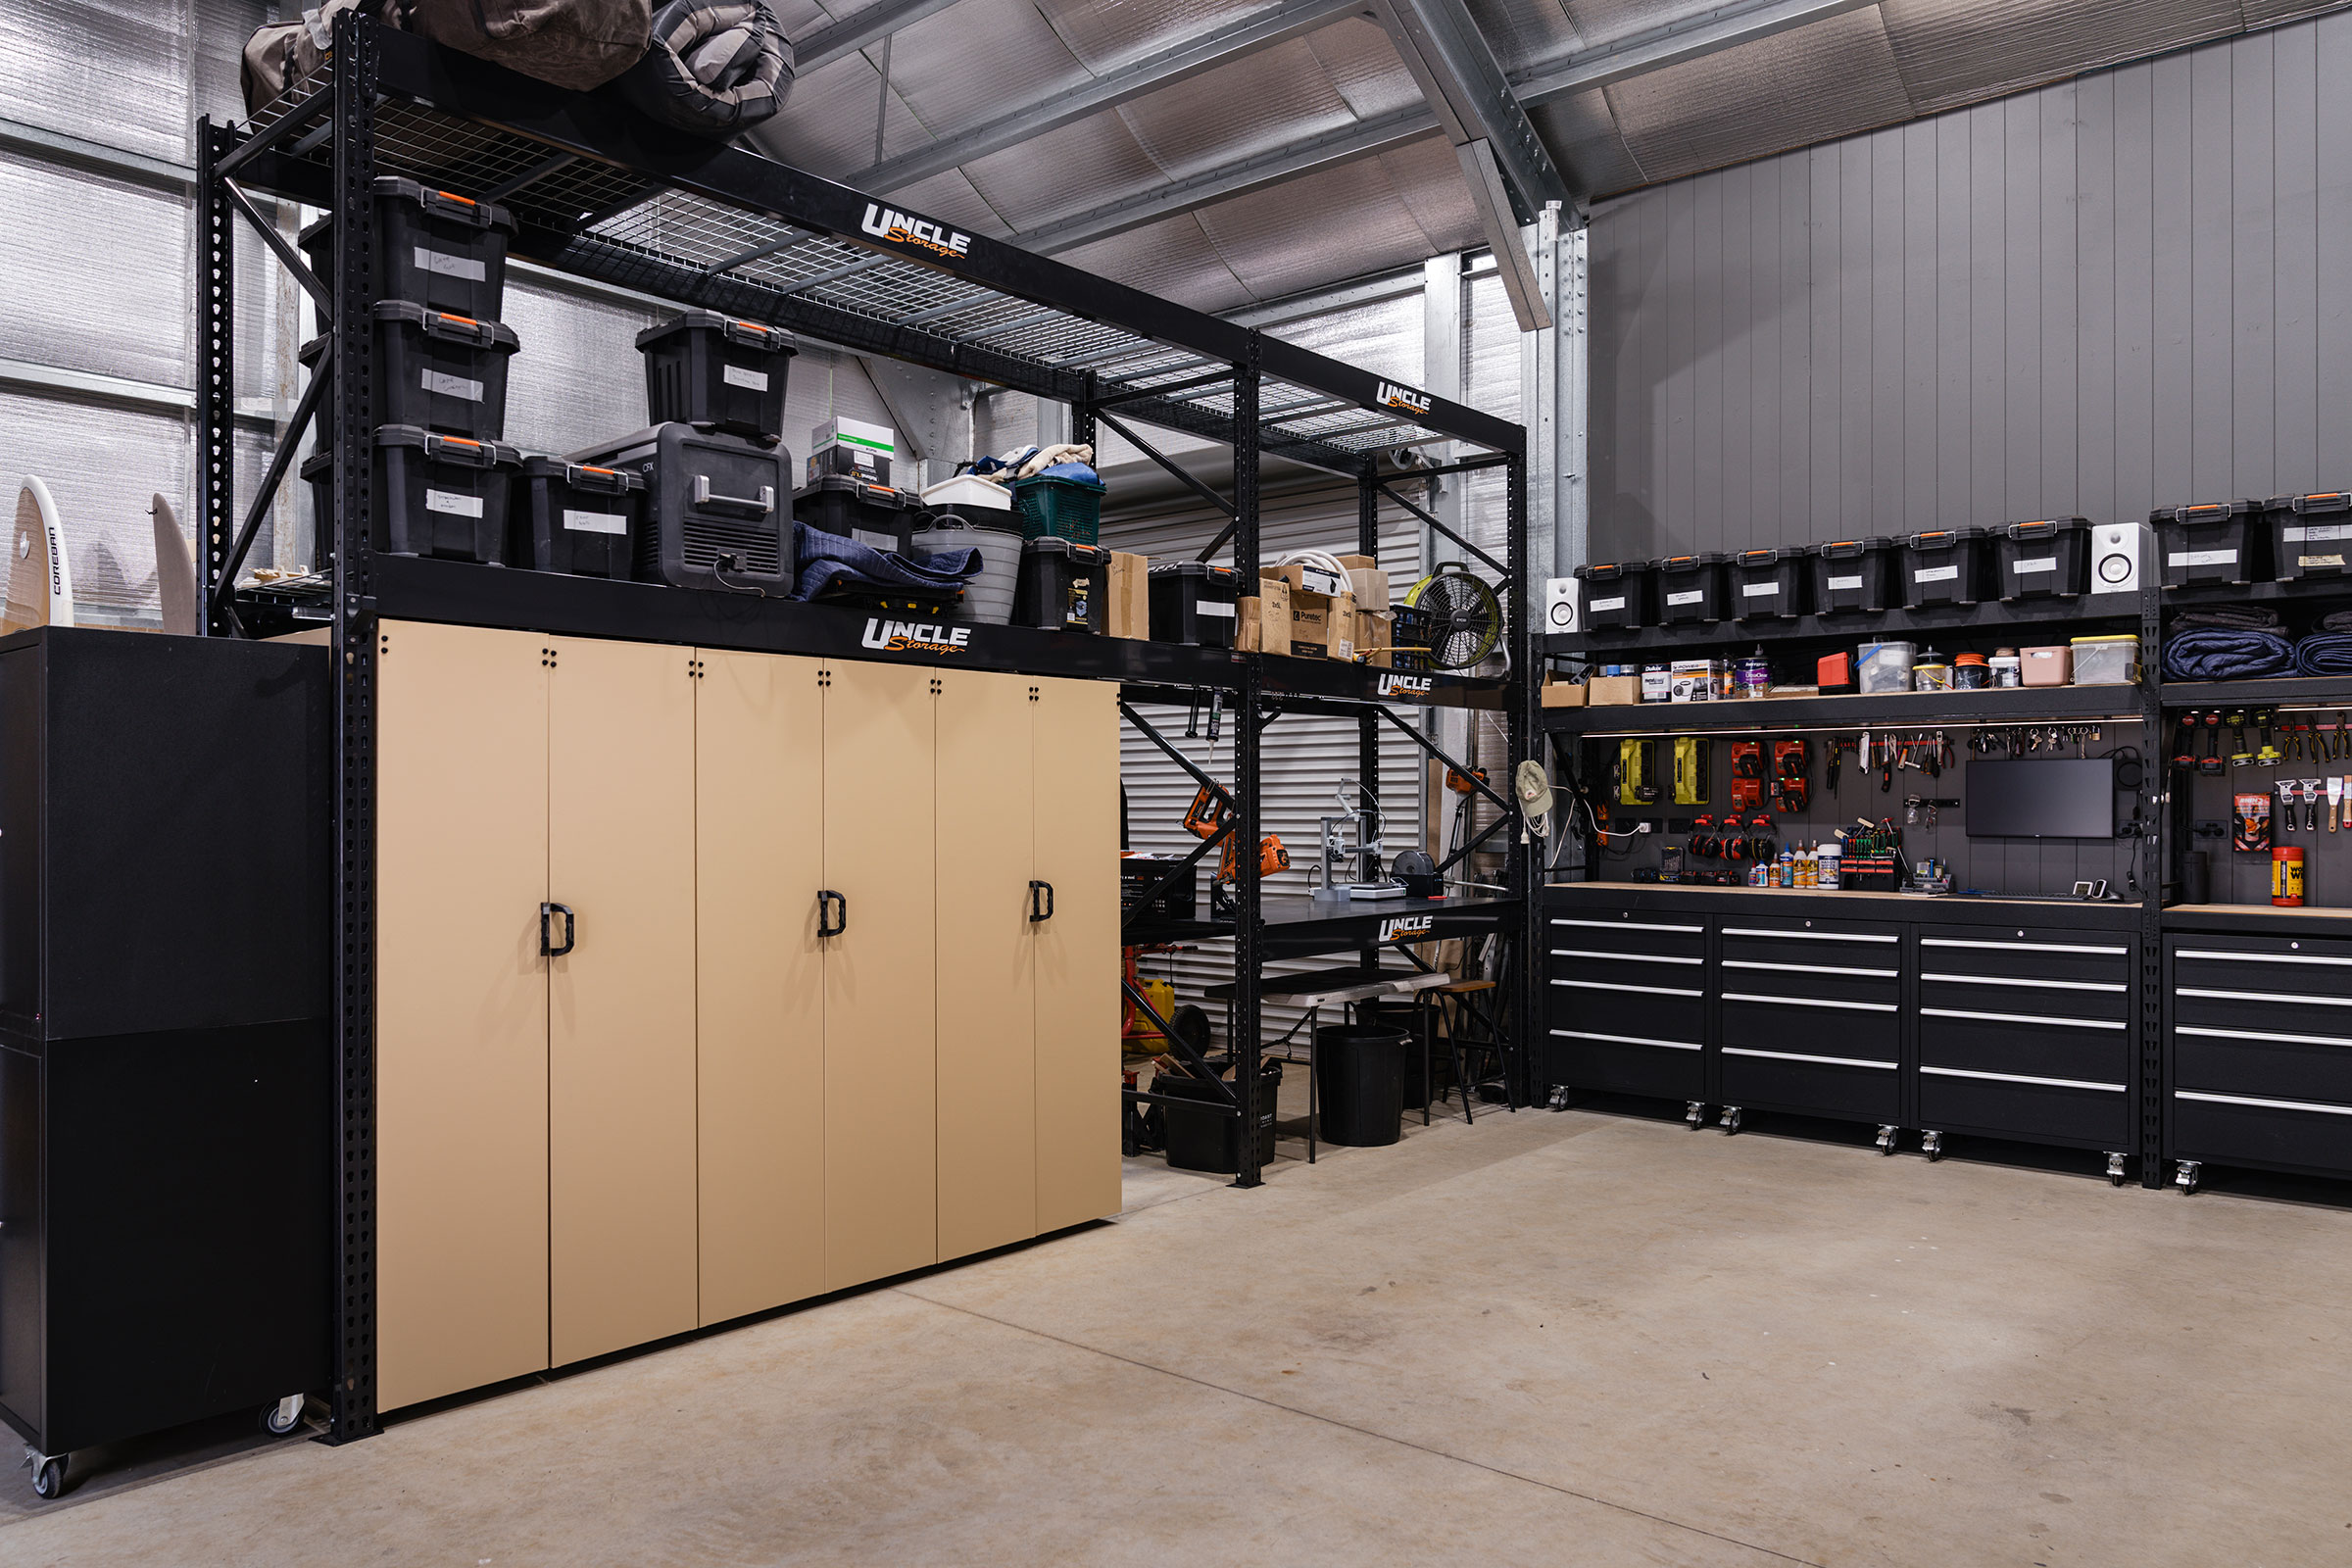
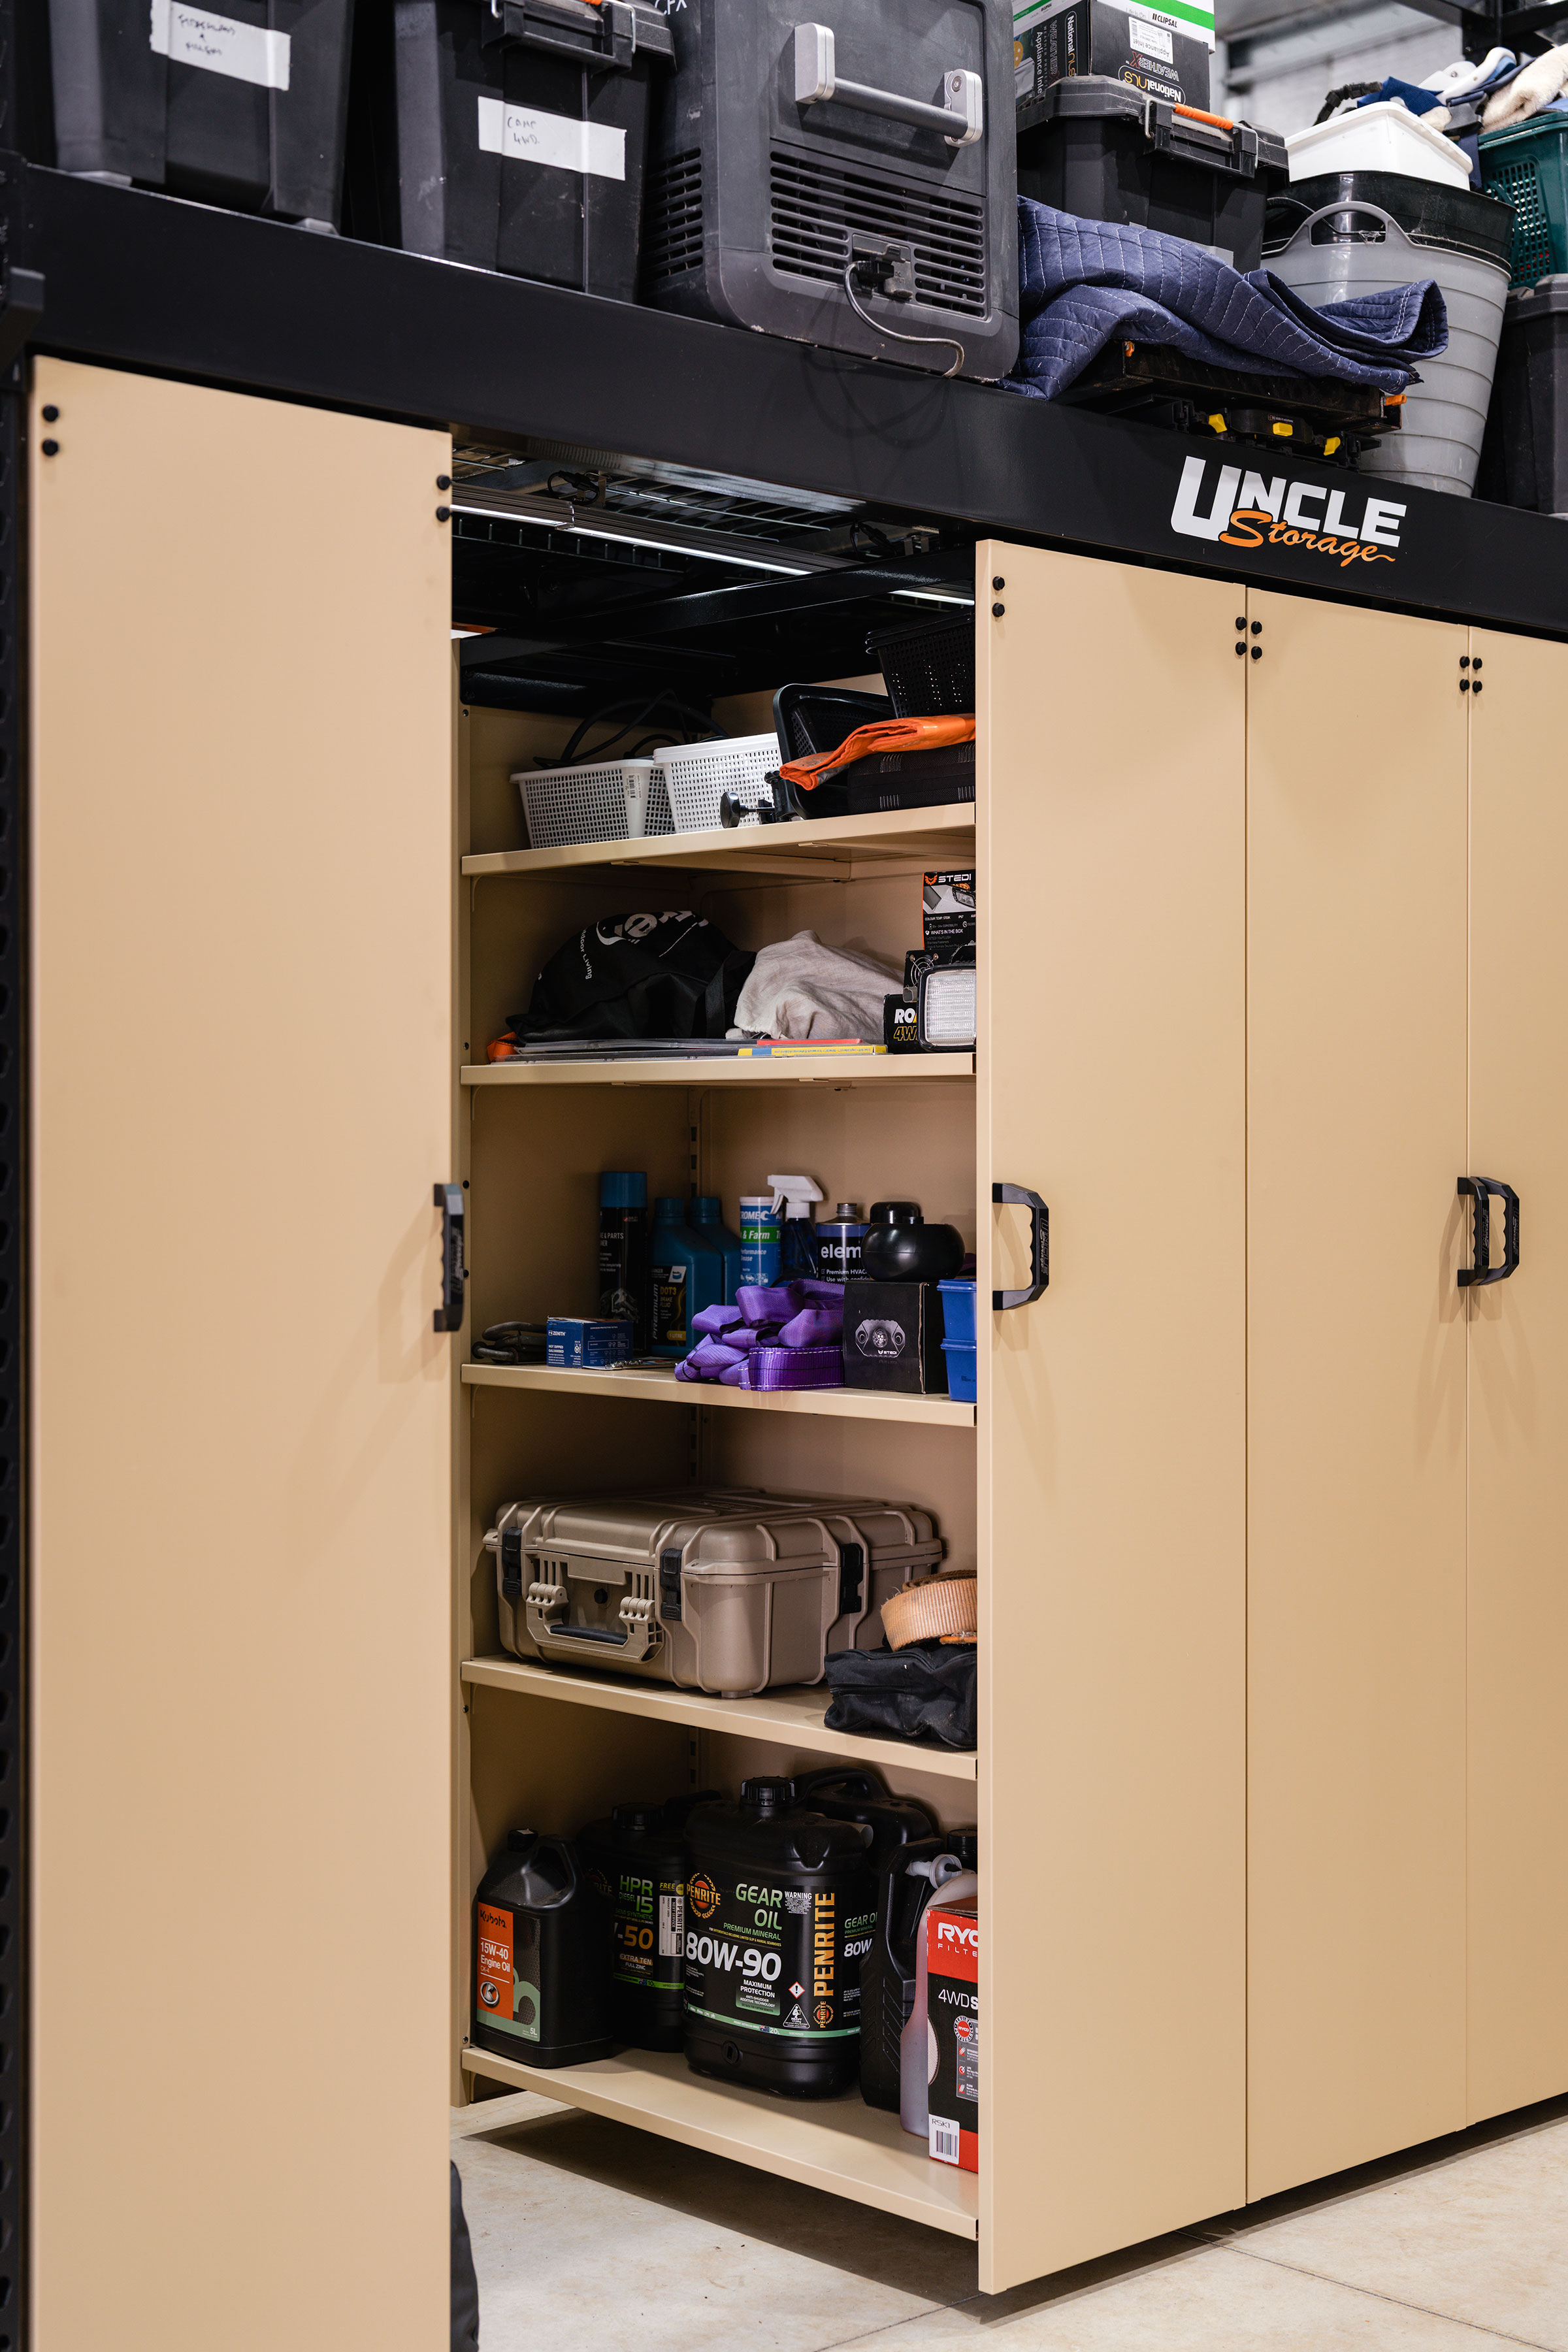
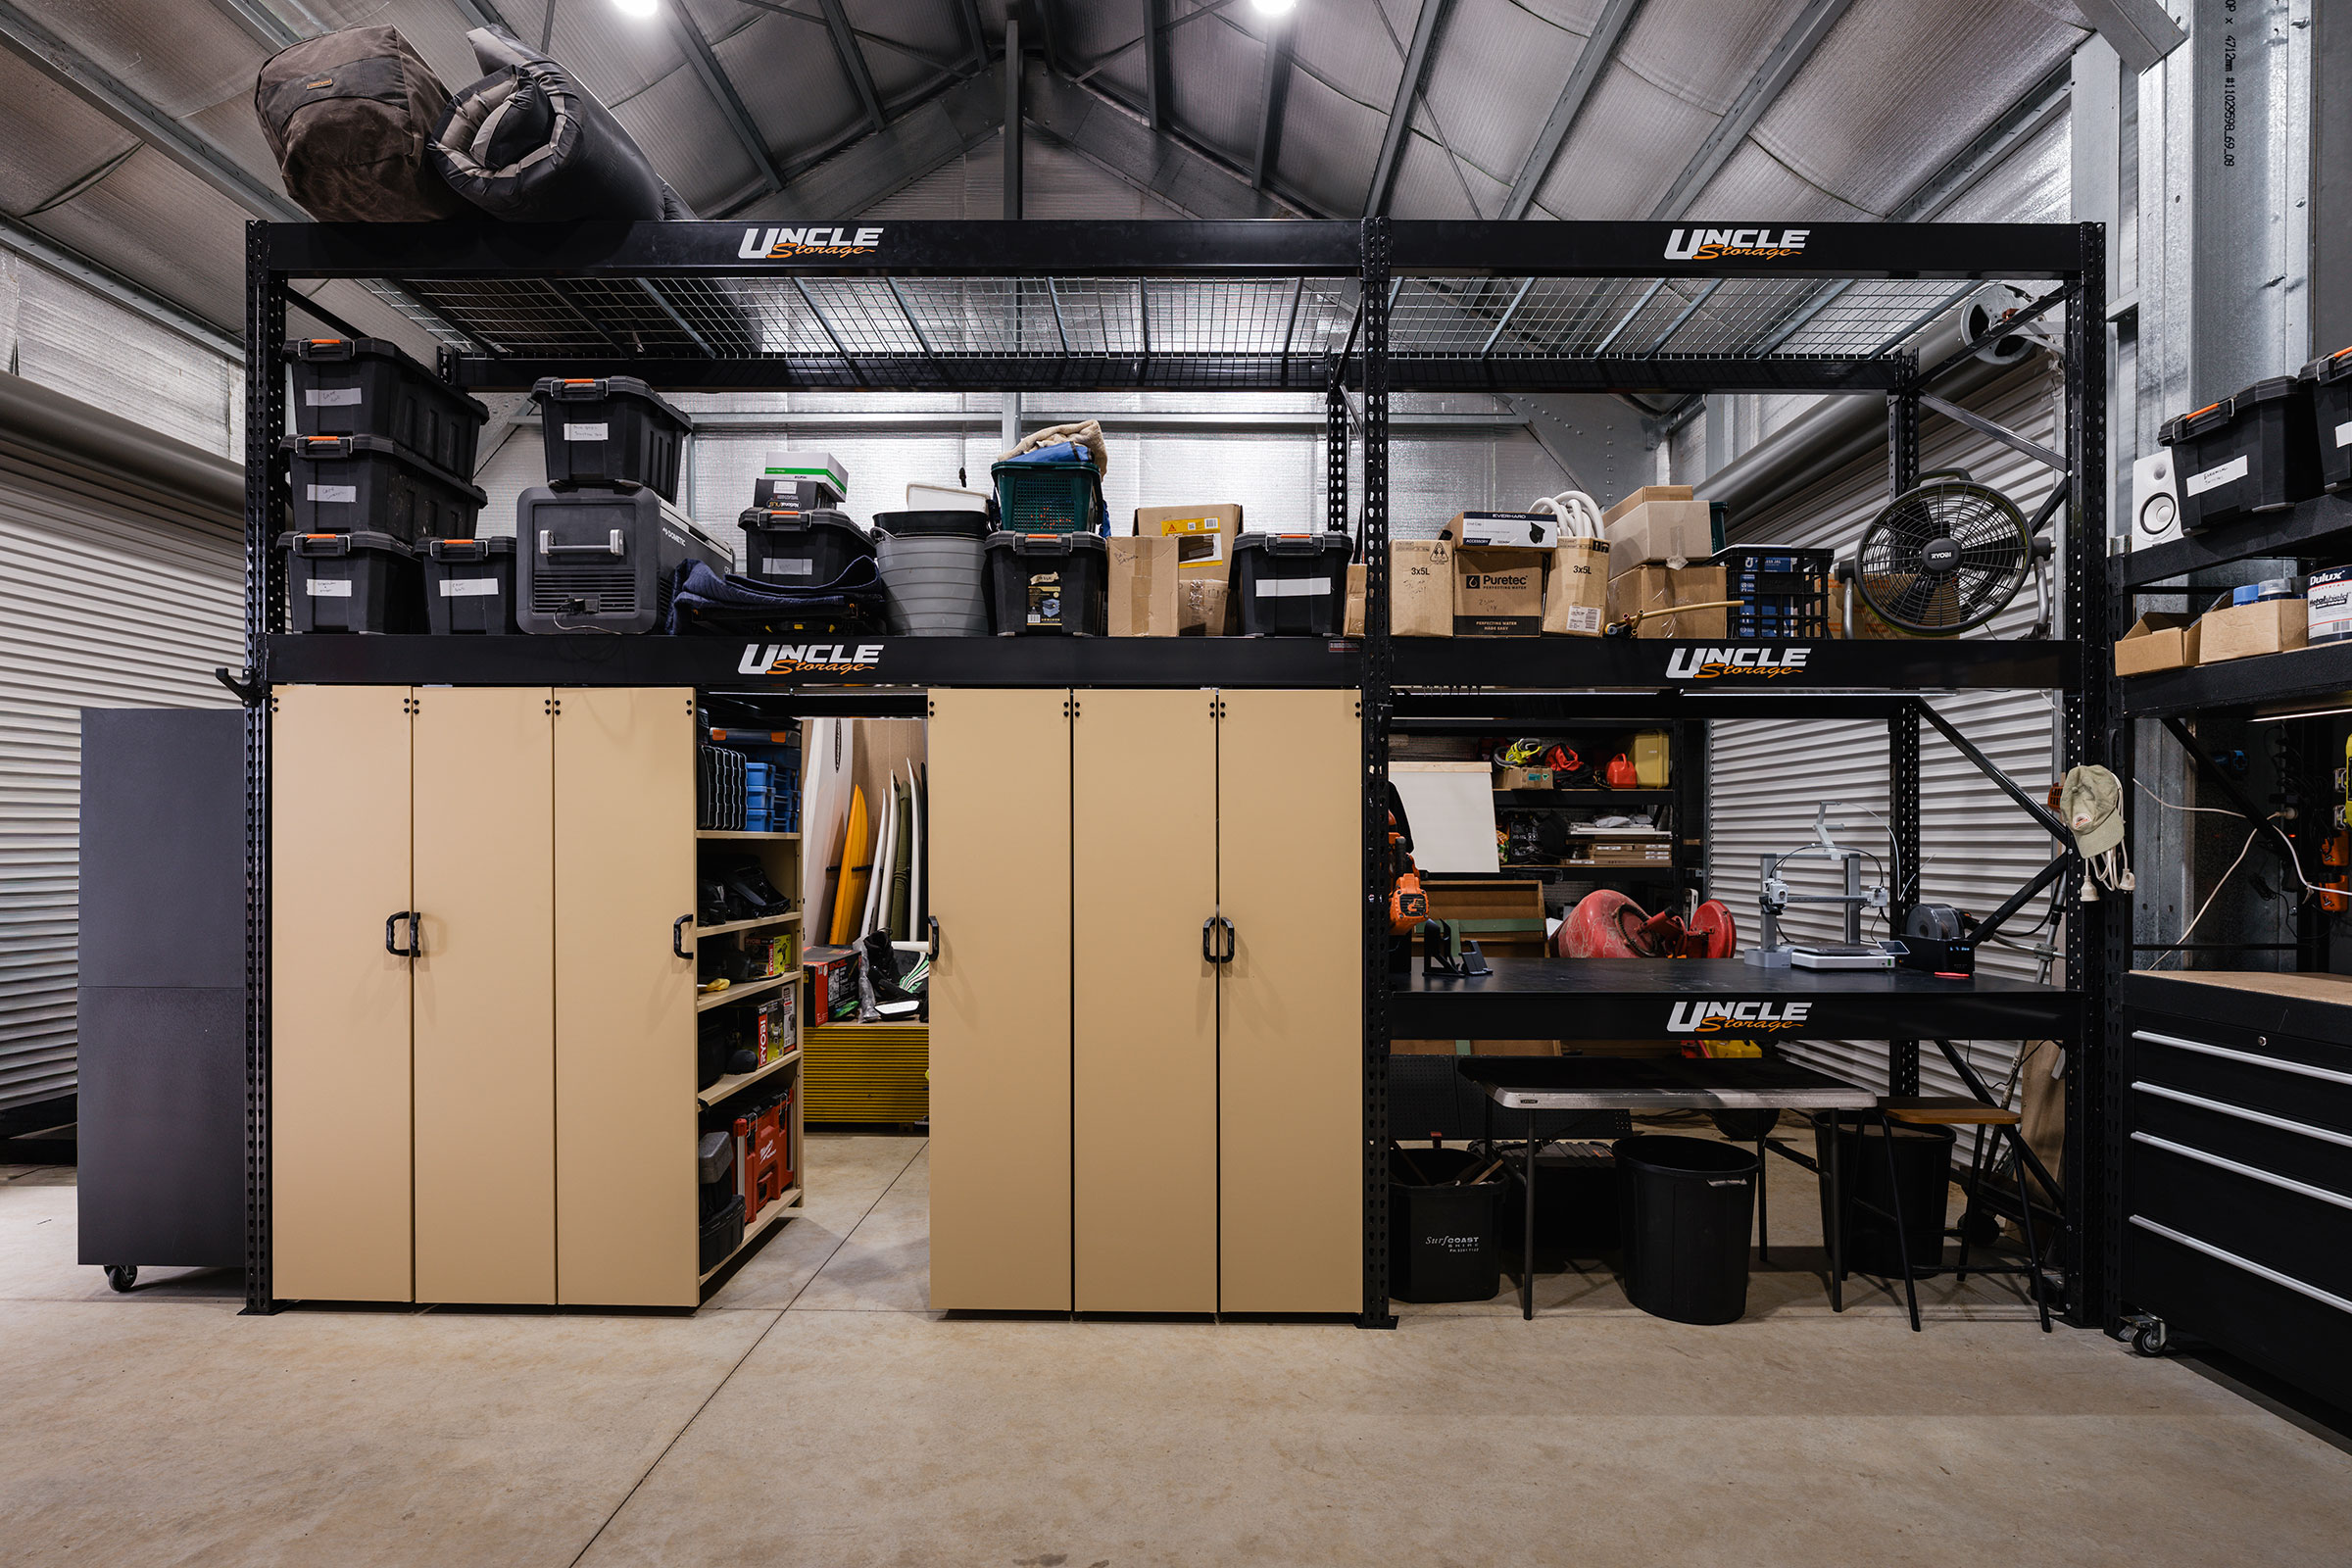
Assembly involved plenty of heavy lifting, with Lucy helping to get some of the larger pieces into position. Integrated lighting above the workbench was a welcome addition, particularly once the cabinets and shelving started taking shape.
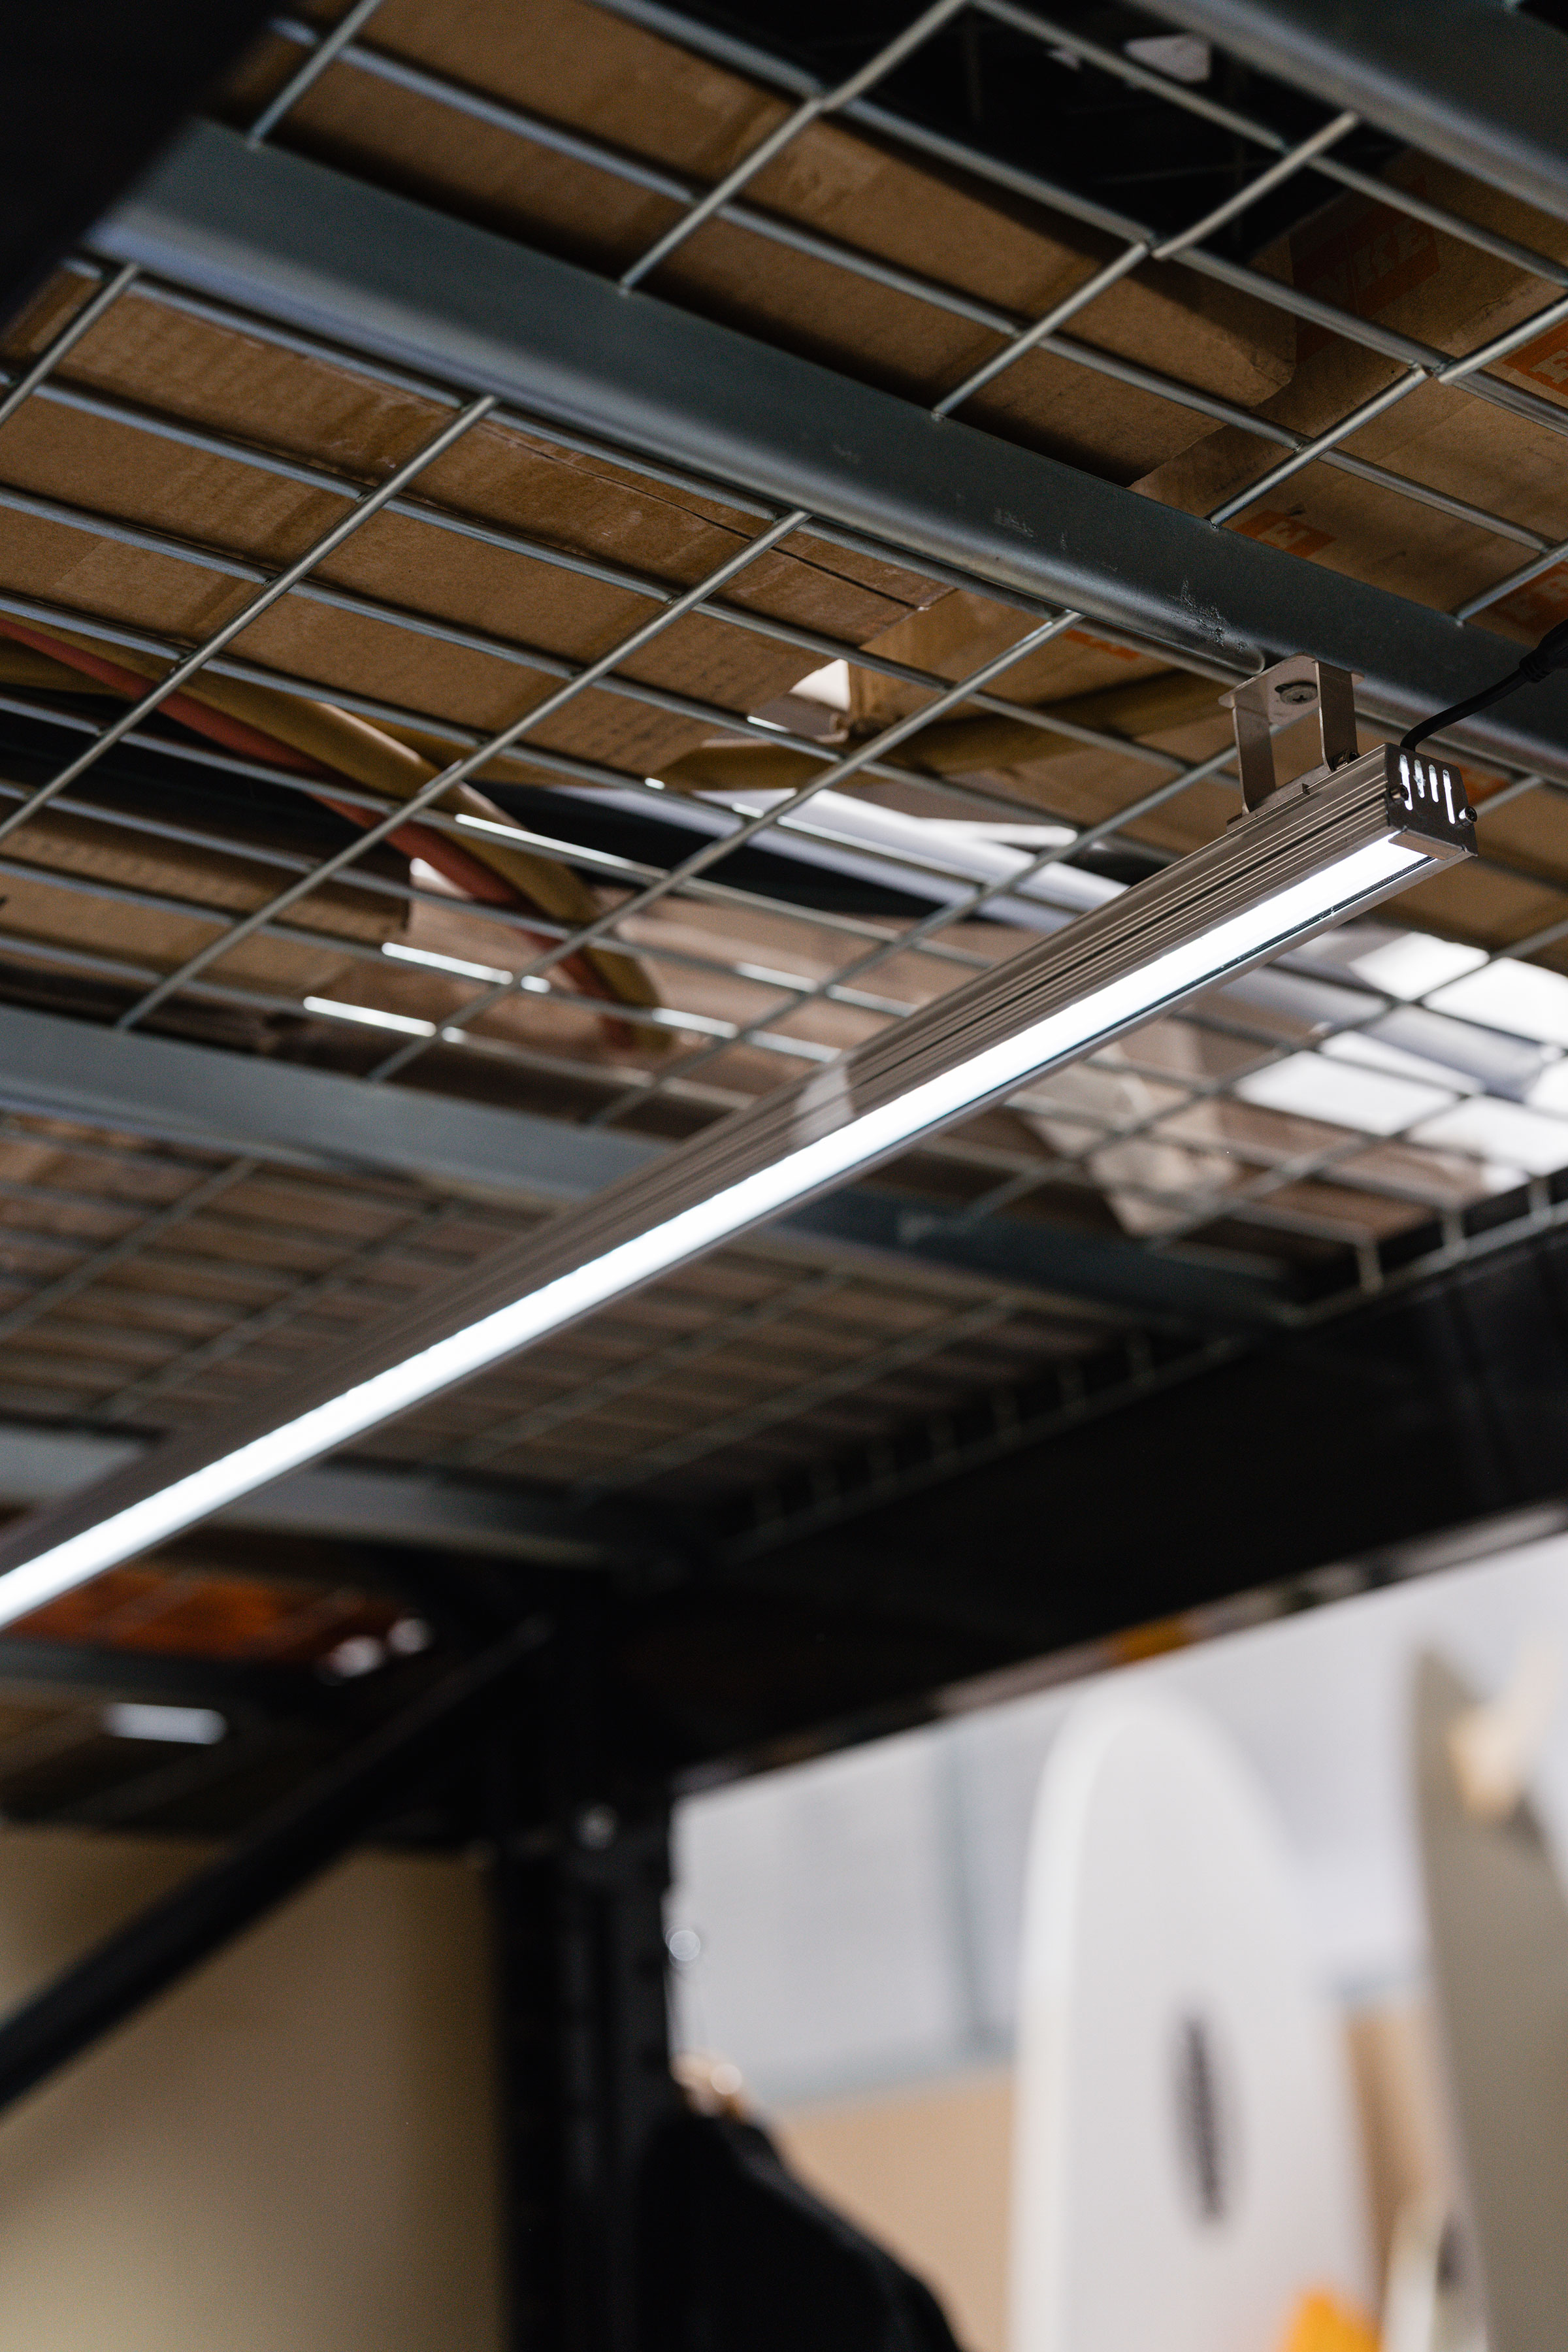
Jonno also picked up a small installation trick. Pre-assembling the rear shelf bracket and its cross supports on the bench made the awkward rear bolts much easier to manage.
It is the sort of detail that sounds minor until you are trying to turn an Allen key in a space barely large enough for your fingers.
Finishing the walls
Of course, installing storage became an opportunity to finish a few other things.
An incomplete wall needed extra framing, cladding and a pedestrian door before the remaining racking could go into place. The reflective insulation behind the rear workbench was also bothering Jonno, so that wall joined the list.
Then came the painting. And the screw holes.
A quick coat of paint became a round of filling and finishing, despite much of the wall eventually sitting behind tools and shelving. If you have ever started a small job and found yourself making it considerably bigger, this part will feel familiar.
The finished walls give the workshop a more settled backdrop and help bring the separate storage areas together.
A home for the things we actually use
The organisation follows everyday habits.
The cabinet nearest the roller doors holds outdoor gear, including wetsuits, life jackets, diving equipment and camping supplies. Another is dedicated to car servicing, recovery gear and spare parts.
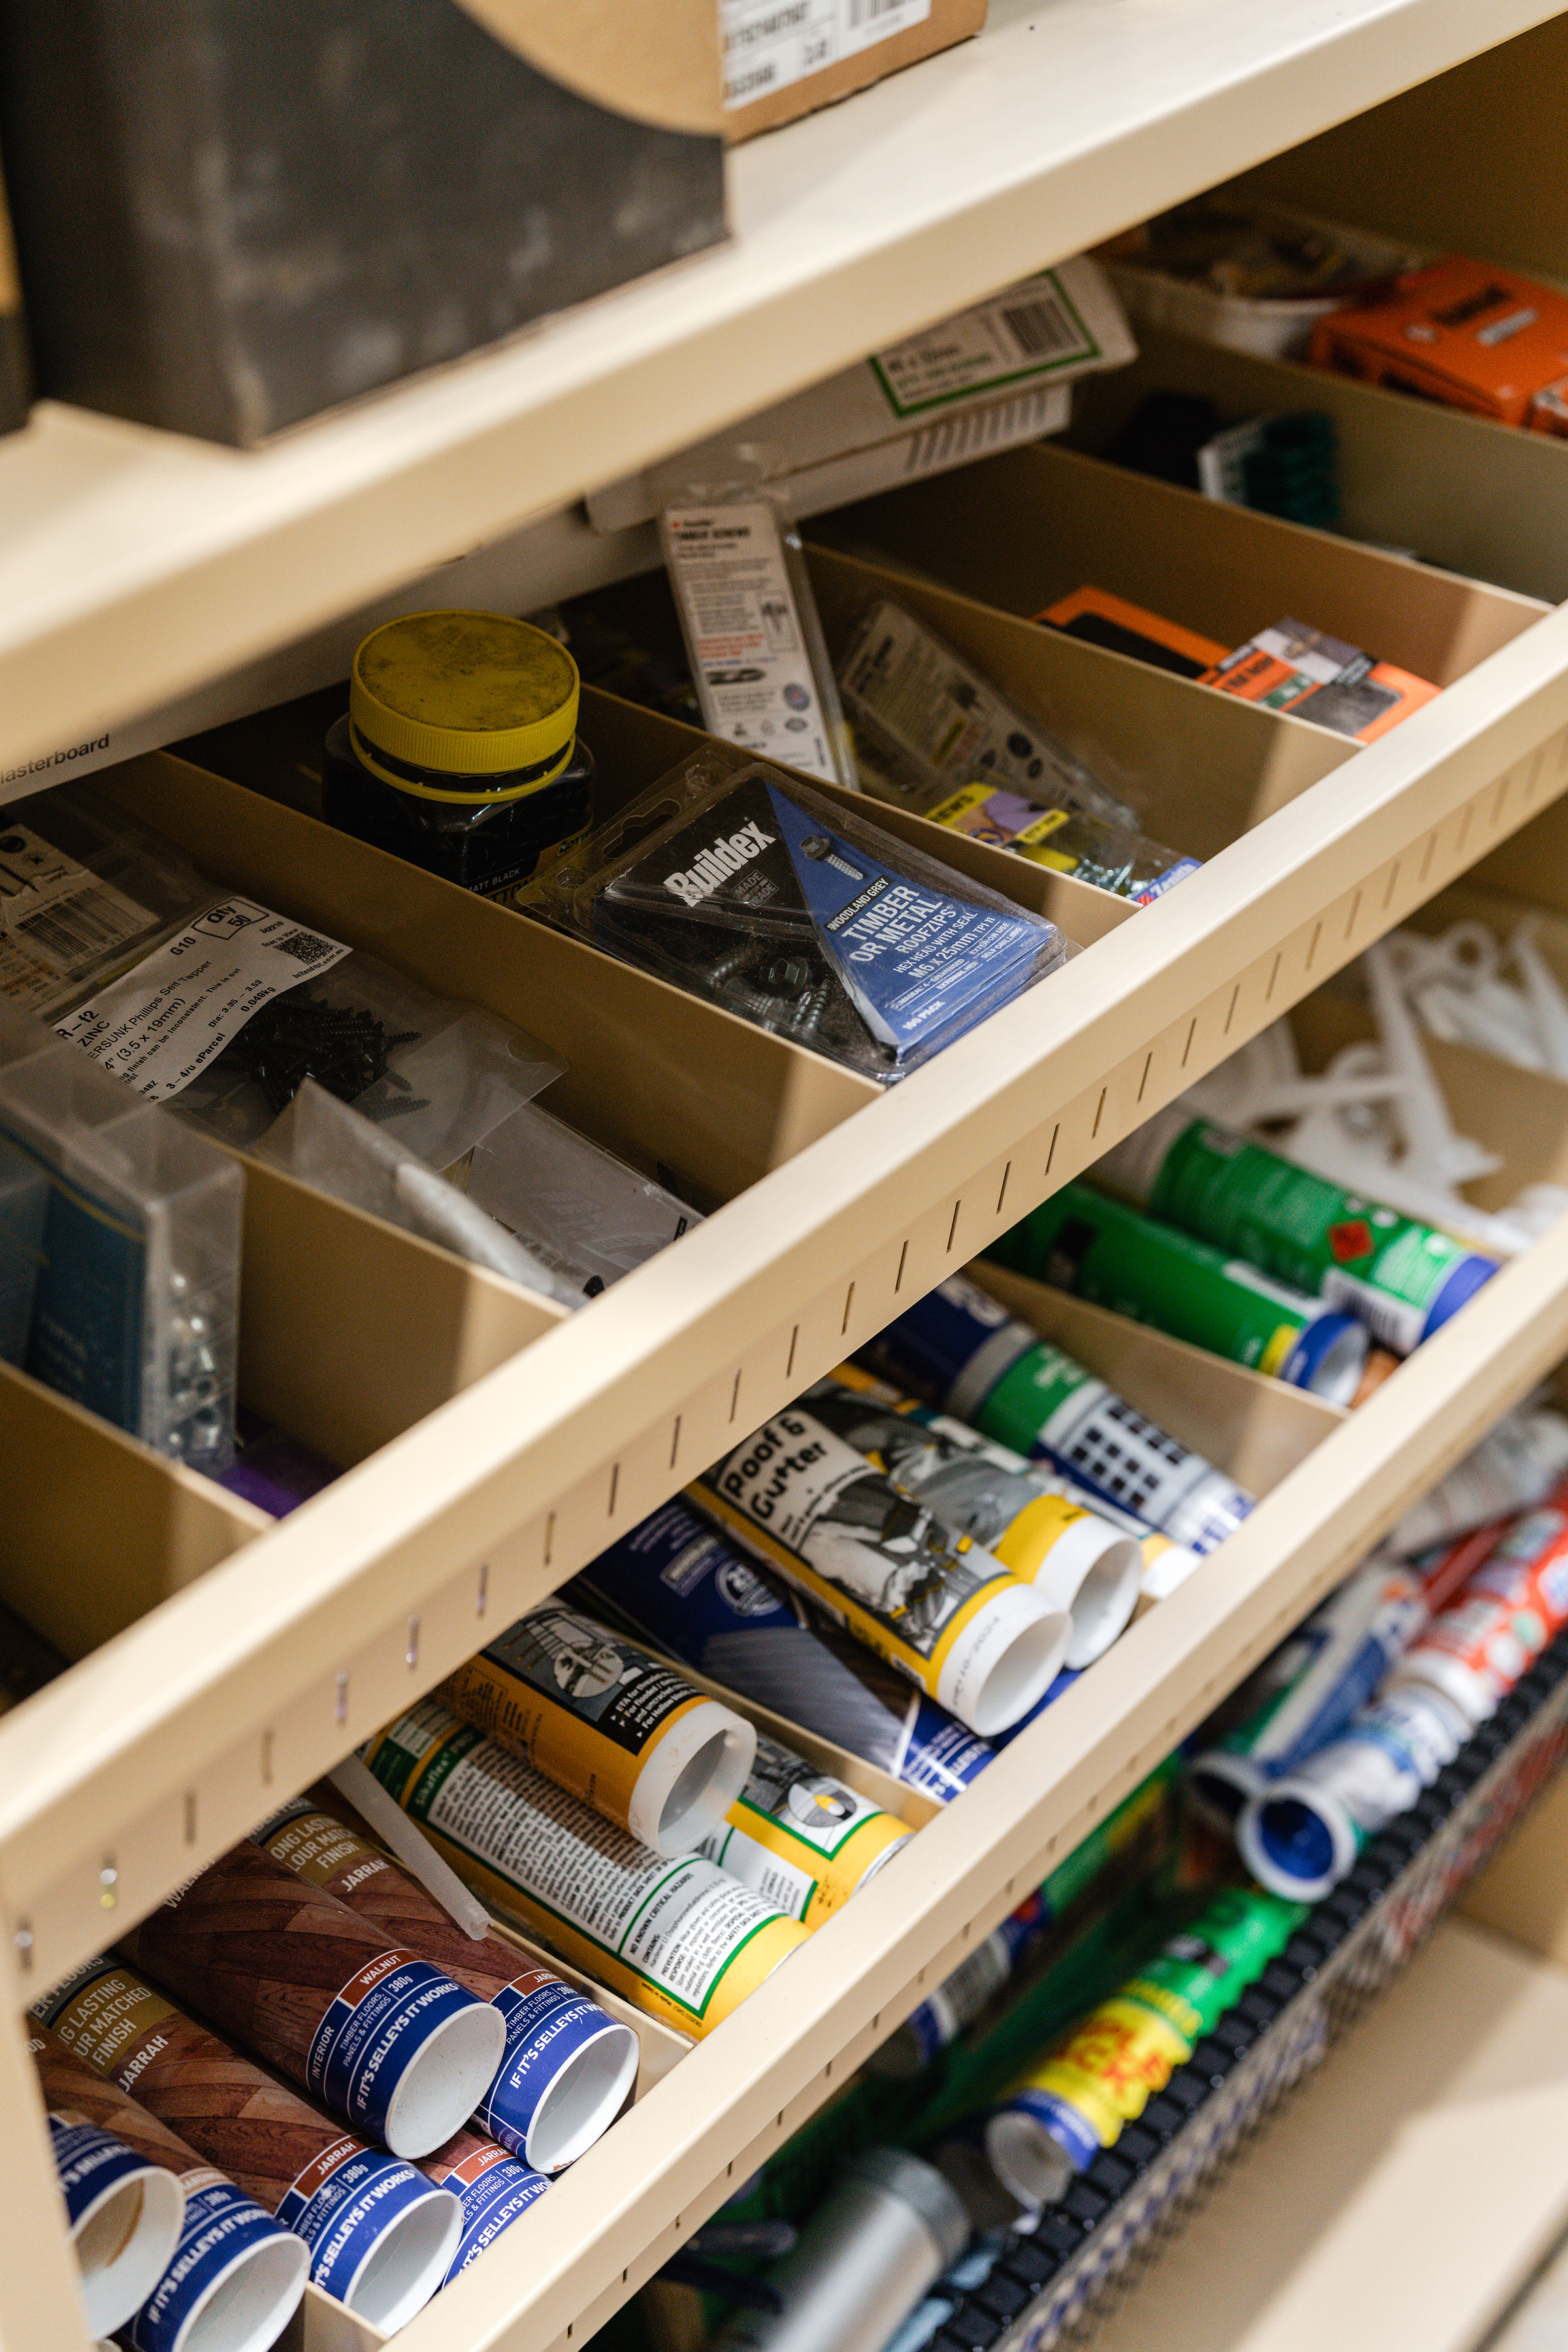
Tools and camera equipment have their own space, while adjustable trays and dividers organise hardware and smaller supplies. Living a long way from the shops makes it useful to keep spares on hand. Being able to find those spares is even more useful.
The 3D printer has a dedicated station, with filament, spare plates, nozzles and maintenance parts stored nearby.
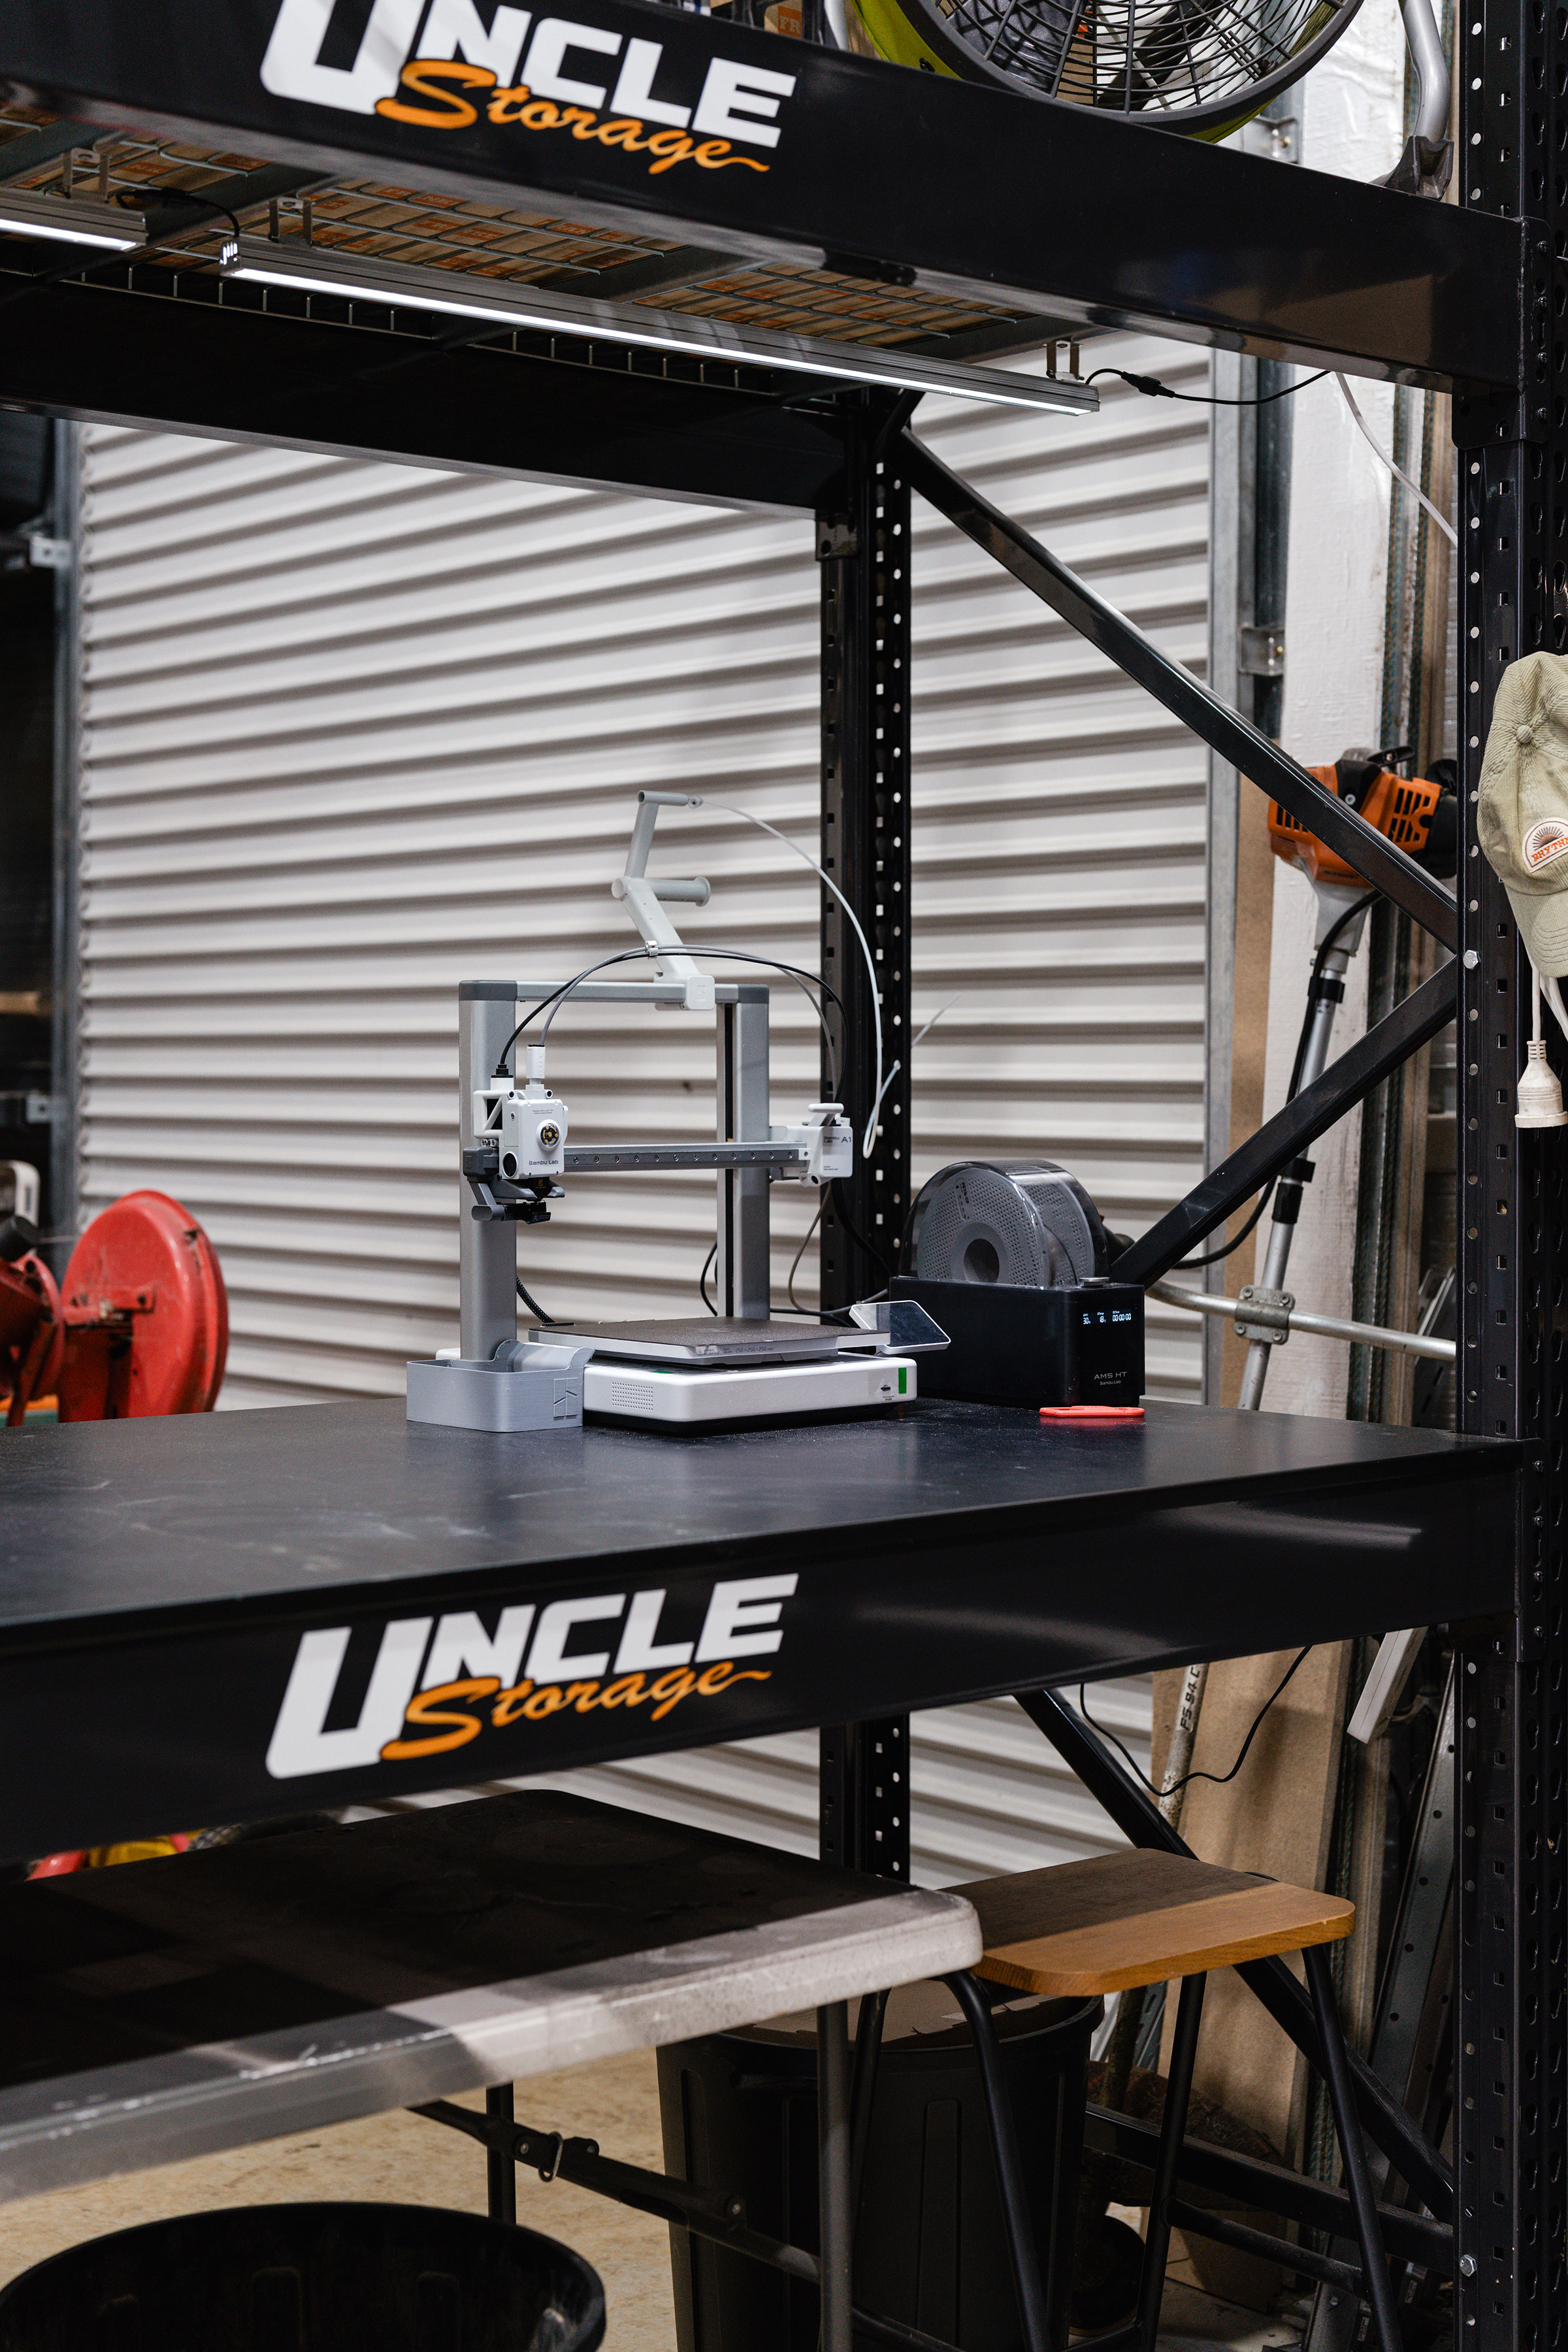
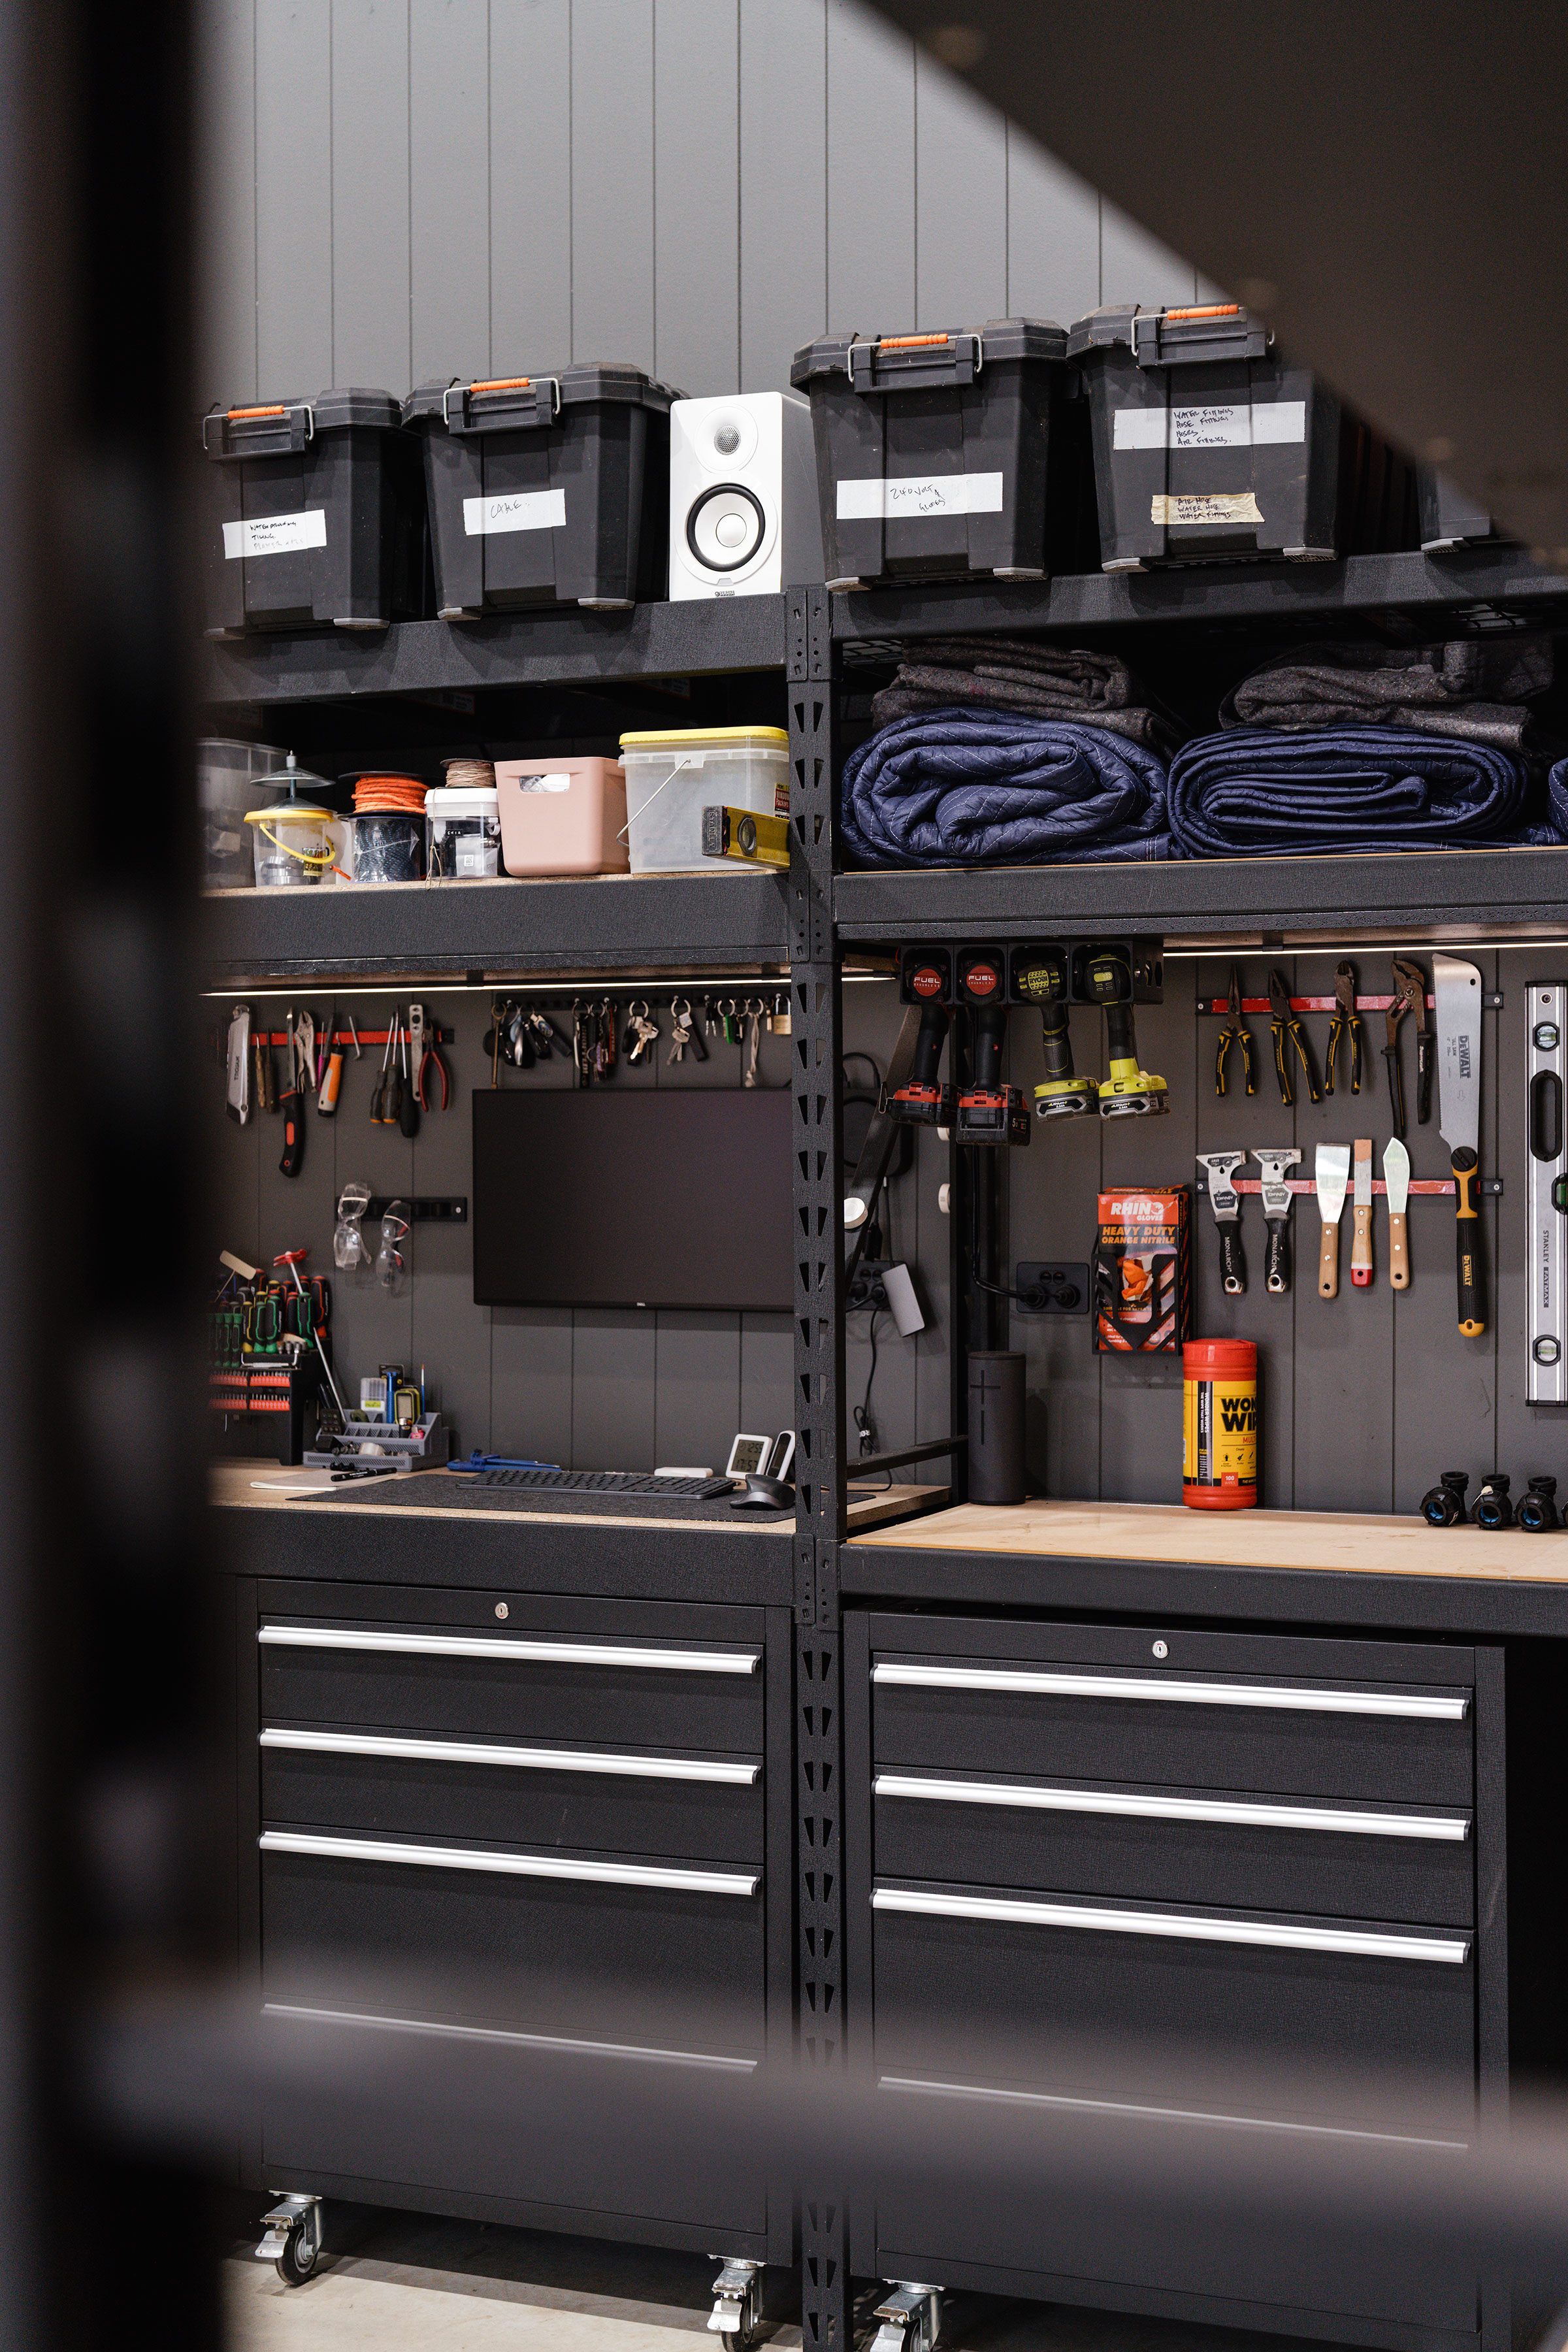
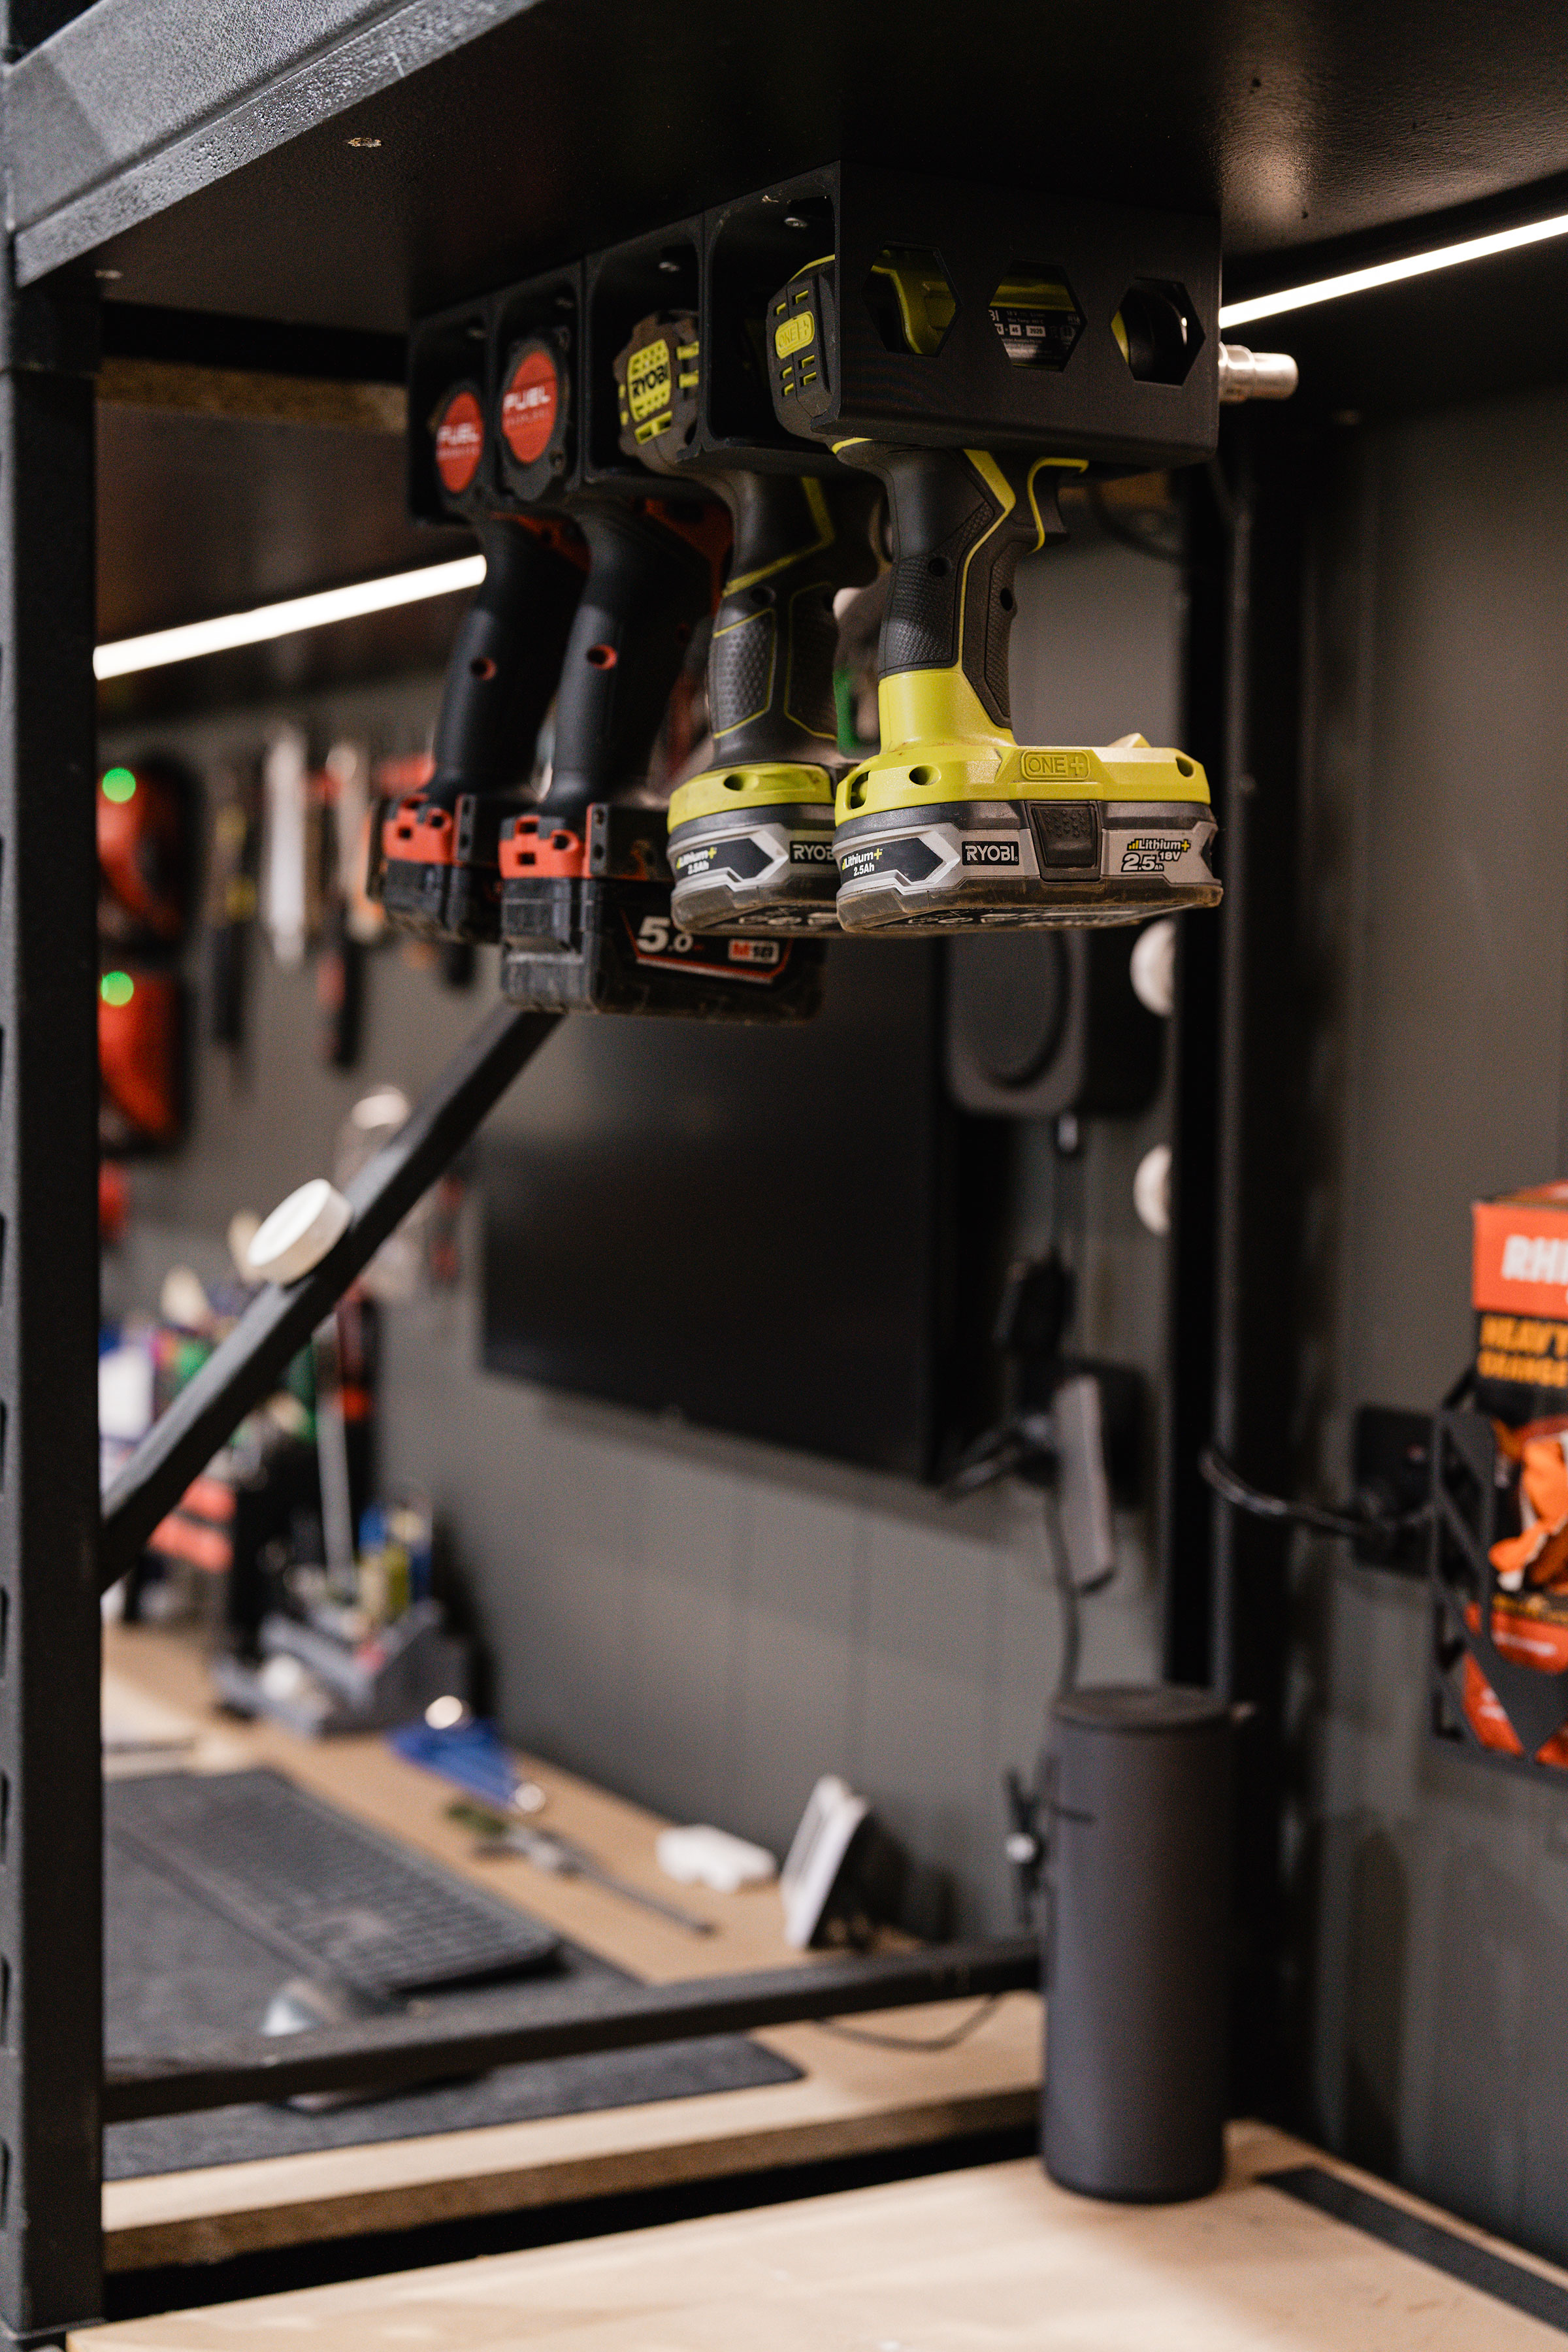
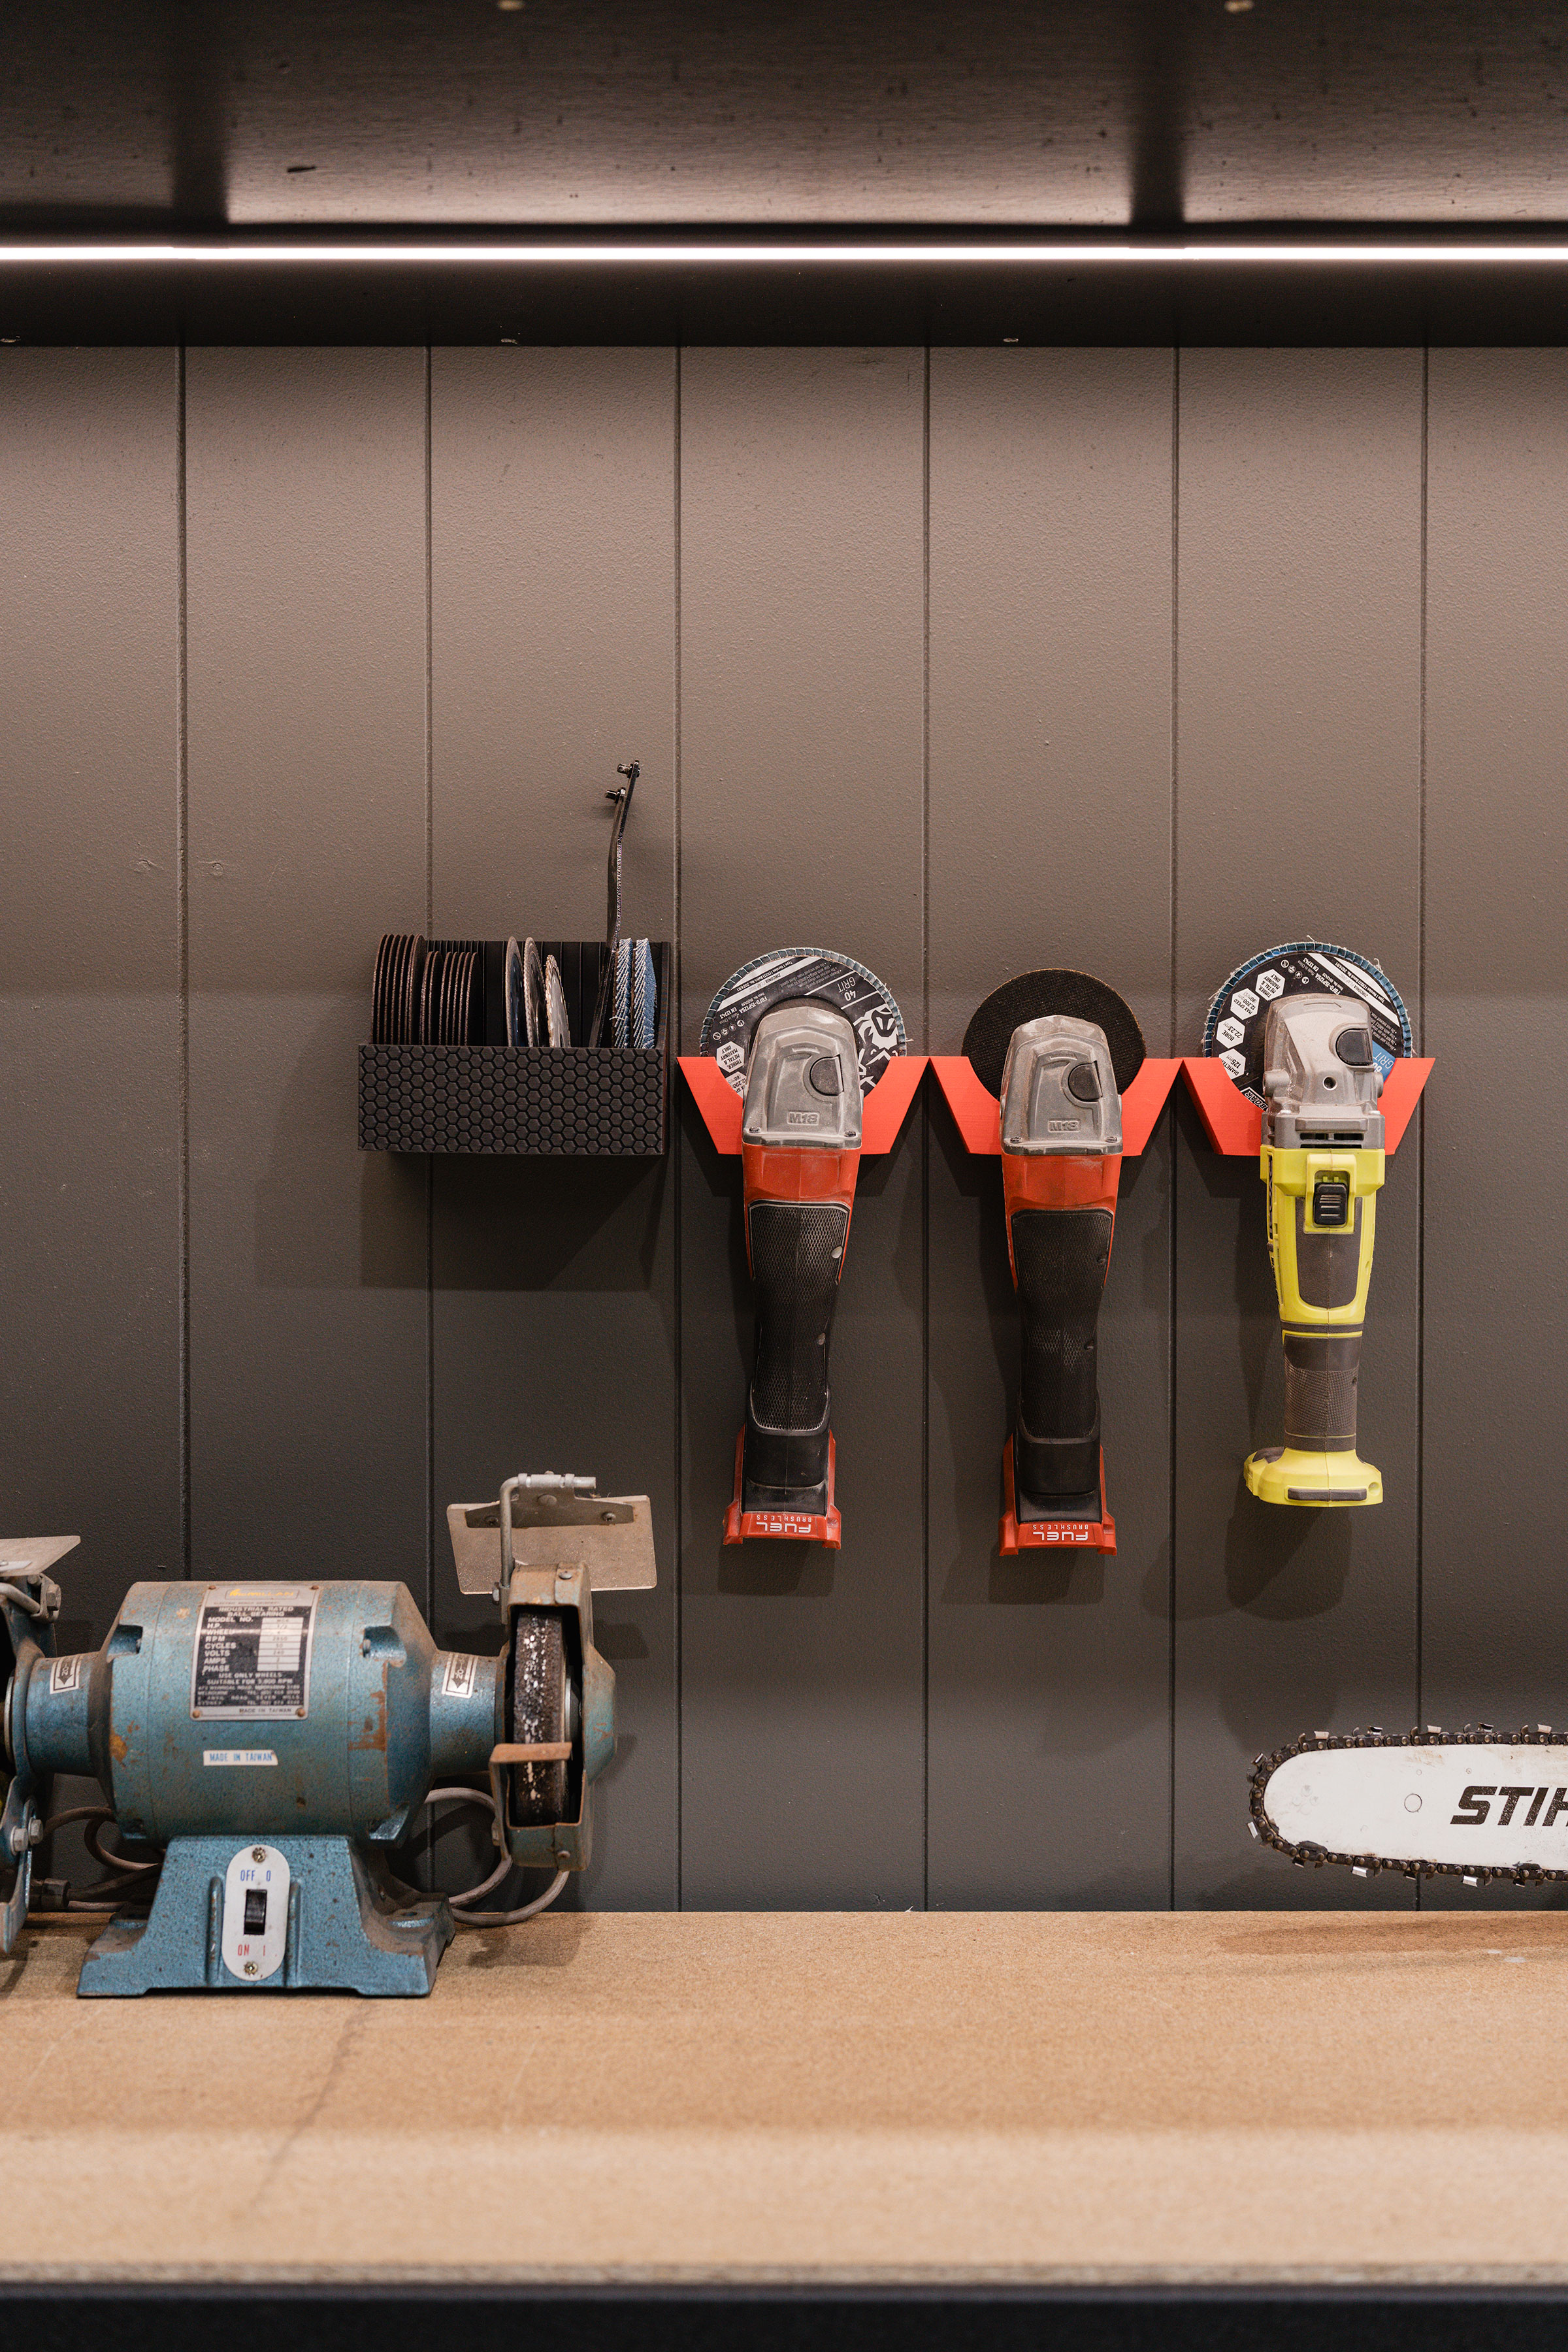
Along the other workbenches, frequently used tools stay visible and easy to reach. Jonno used a mixture of hooks, magnetic mounts and 3D-printed holders for drills, clamps, keys and smaller accessories.
The clamp storage solves one particularly personal problem: repeatedly walking into the clamps hanging beside the bench.
Safety glasses and hearing protection are also within reach, rather than disappearing into a drawer somewhere.
Finally, room to work
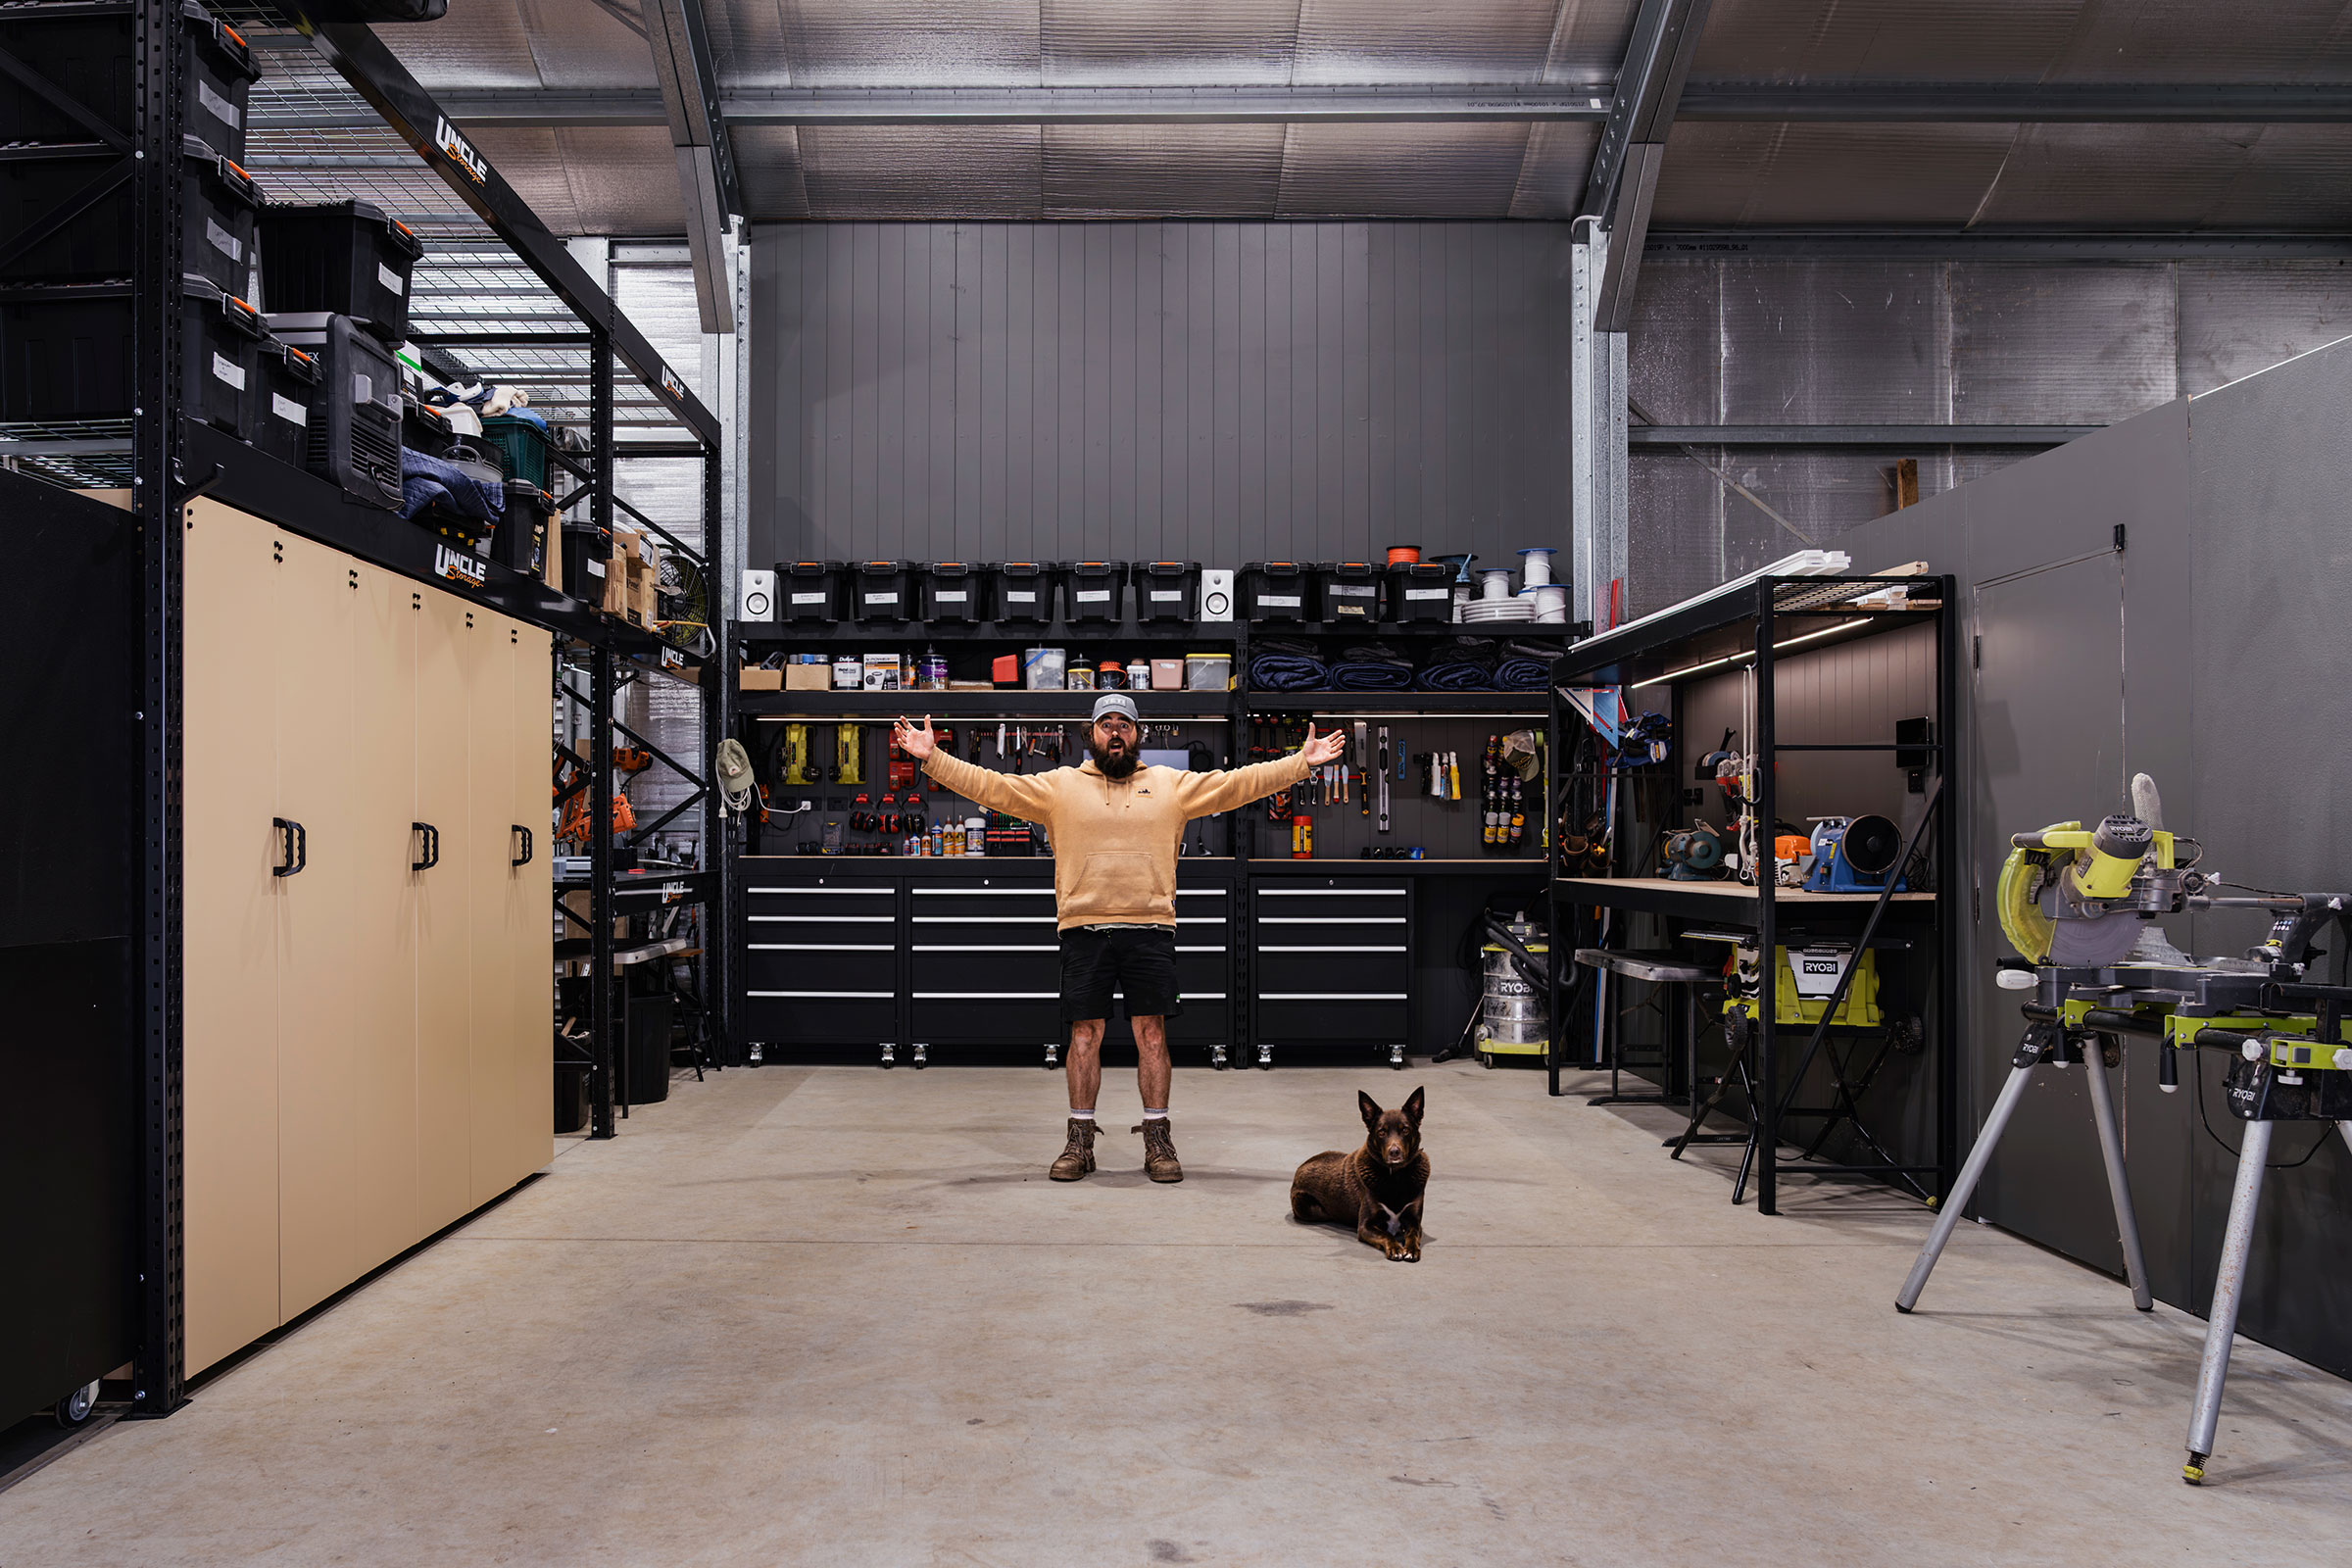
The finished workshop has clear benches, usable floor space and room to bring a vehicle inside again.
It also has enough flexibility to change. Some shelves still need sorting, and a few areas will evolve as Jonno works out what suits him. For now, the important part is that the workshop is ready to use.
The first job was already waiting: replacing a broken wheel on the tractor’s mower deck. A small repair, but a satisfying way to put the space to work.
Whether it stays this tidy is another question.
For now, we are calling it a win.
Watch the workshop makeover
See the full transformation, from the first clear-out to the finished workshop walkthrough.
Explore the storage system used in this project: https://bit.ly/Uncle-Storage
For the earlier project that started it all, watch our garage build and organisation makeover.
This project and video were sponsored by Uncle Storage.