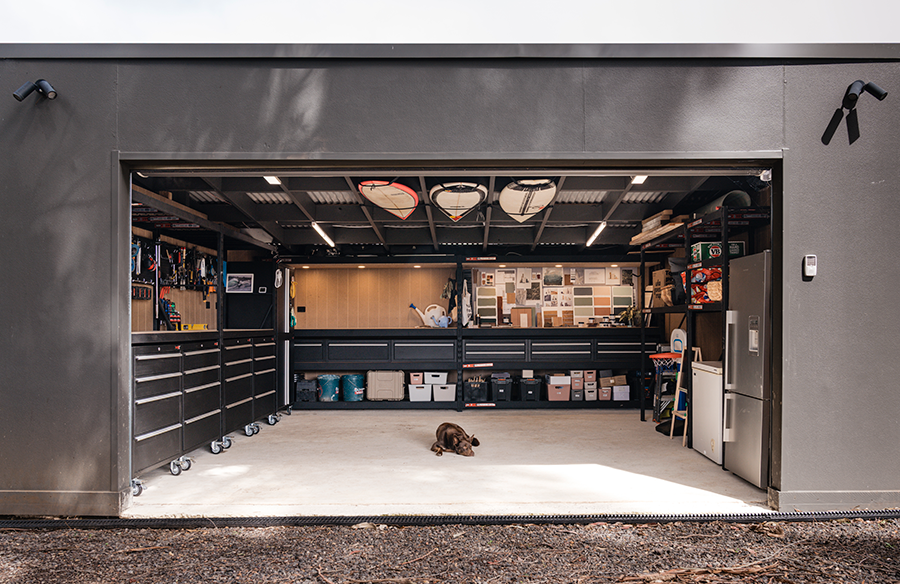
The Garage project is finished, finally! What started as a plan to build an open carport quickly escalated into a fully enclosed, concrete-floor garage. In truth, we needed somewhere to store all our furniture from the house over Winter while we finished re-stumping and laying new flooring for our living, dining and kitchen. As it turns out, all these projects take time… So here we are, one year later, and happy to say it is finally all finished.
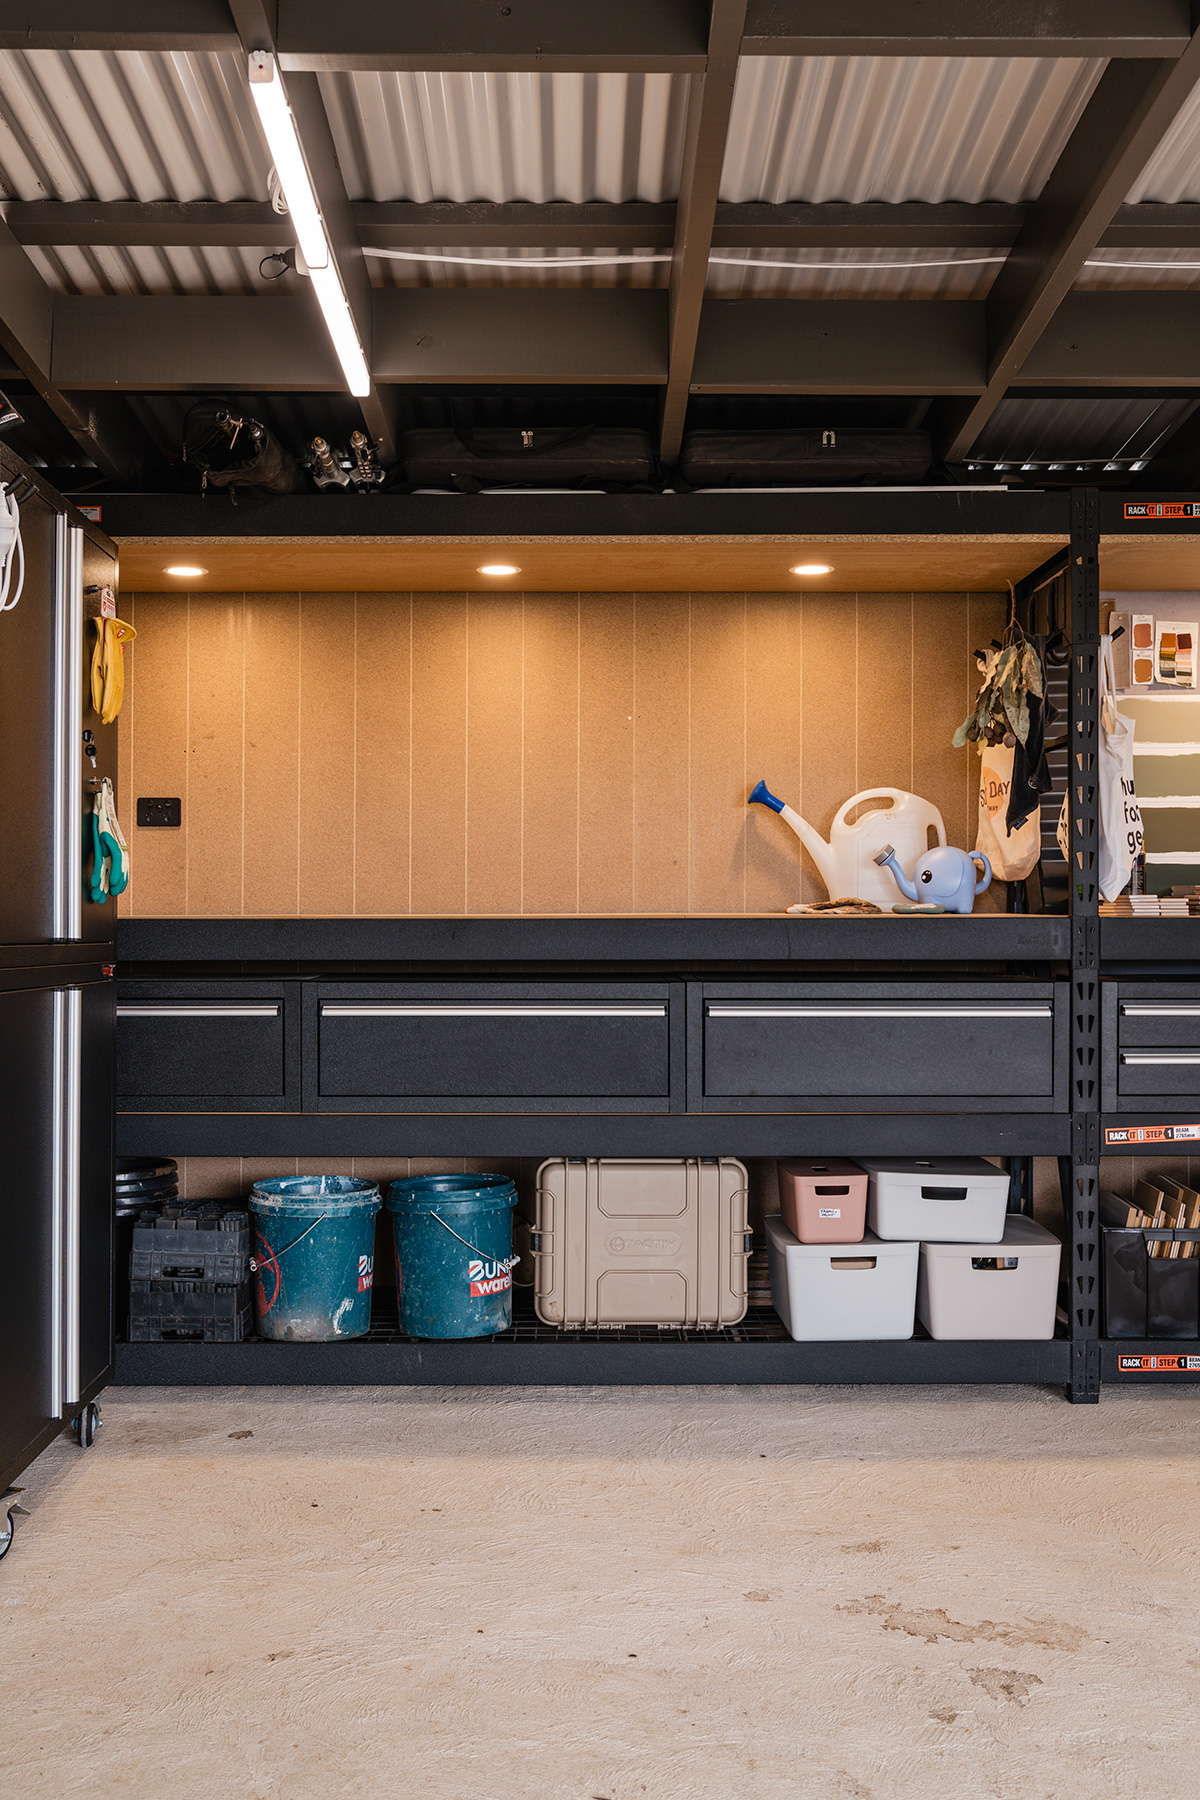
This space isn’t fully sealed up, it’s still just a garage however we decided to add wall lining to neaten it up and help keep it a little cleaner. Australian Panels, who manufacture yellow tongue flooring here in Australia, recently released something perfect for this project, their new STRUCTApanel Tongue & Groove VJ150.
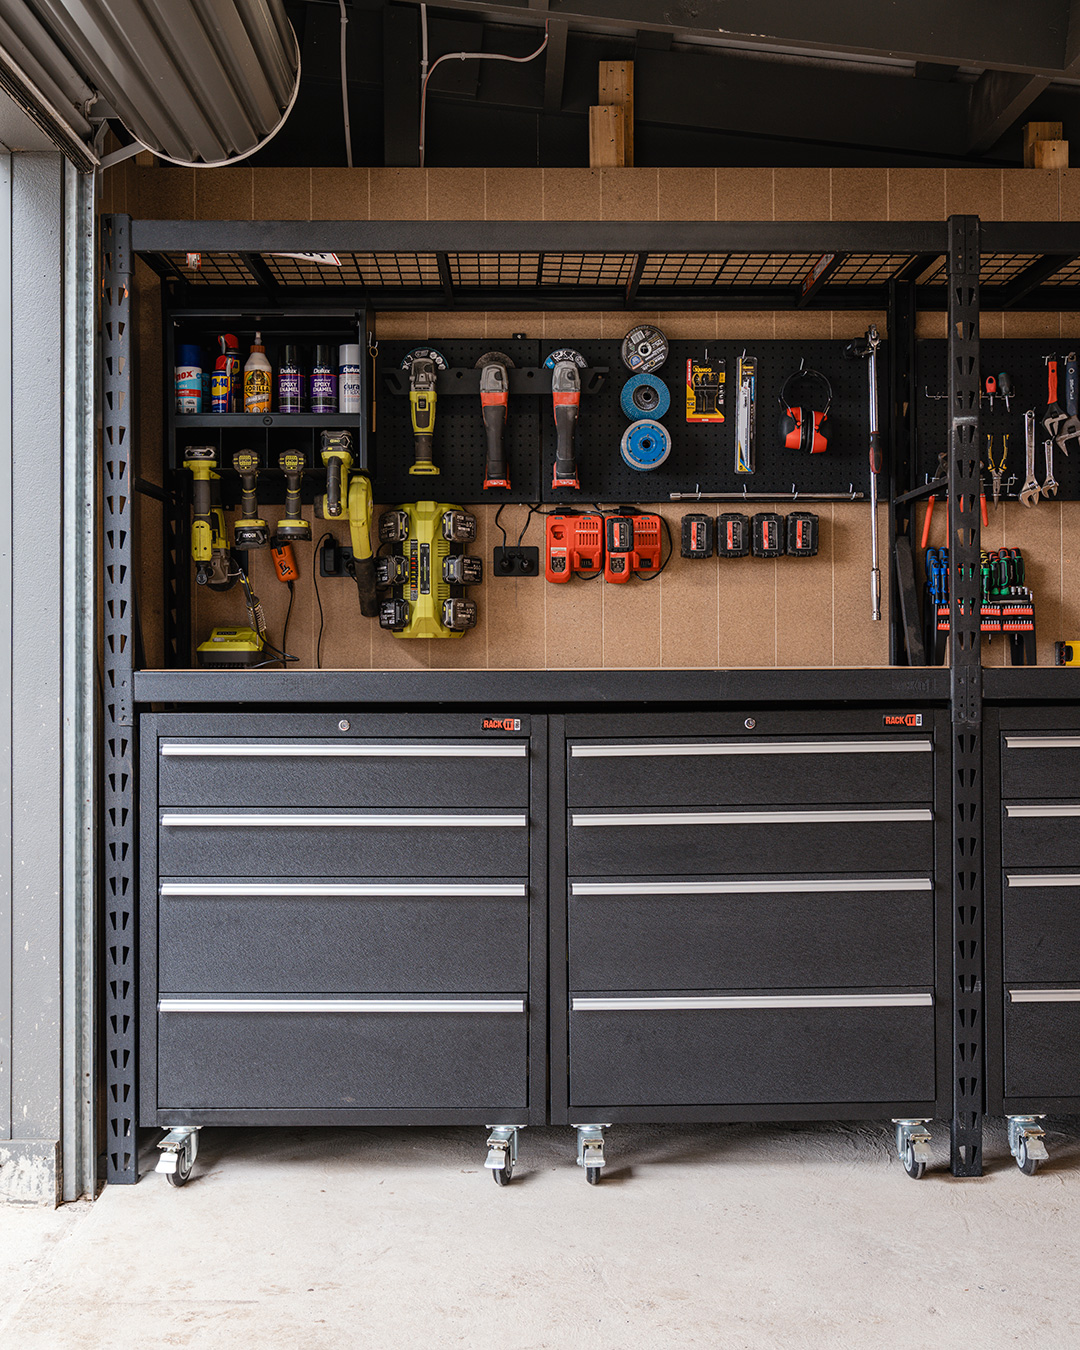
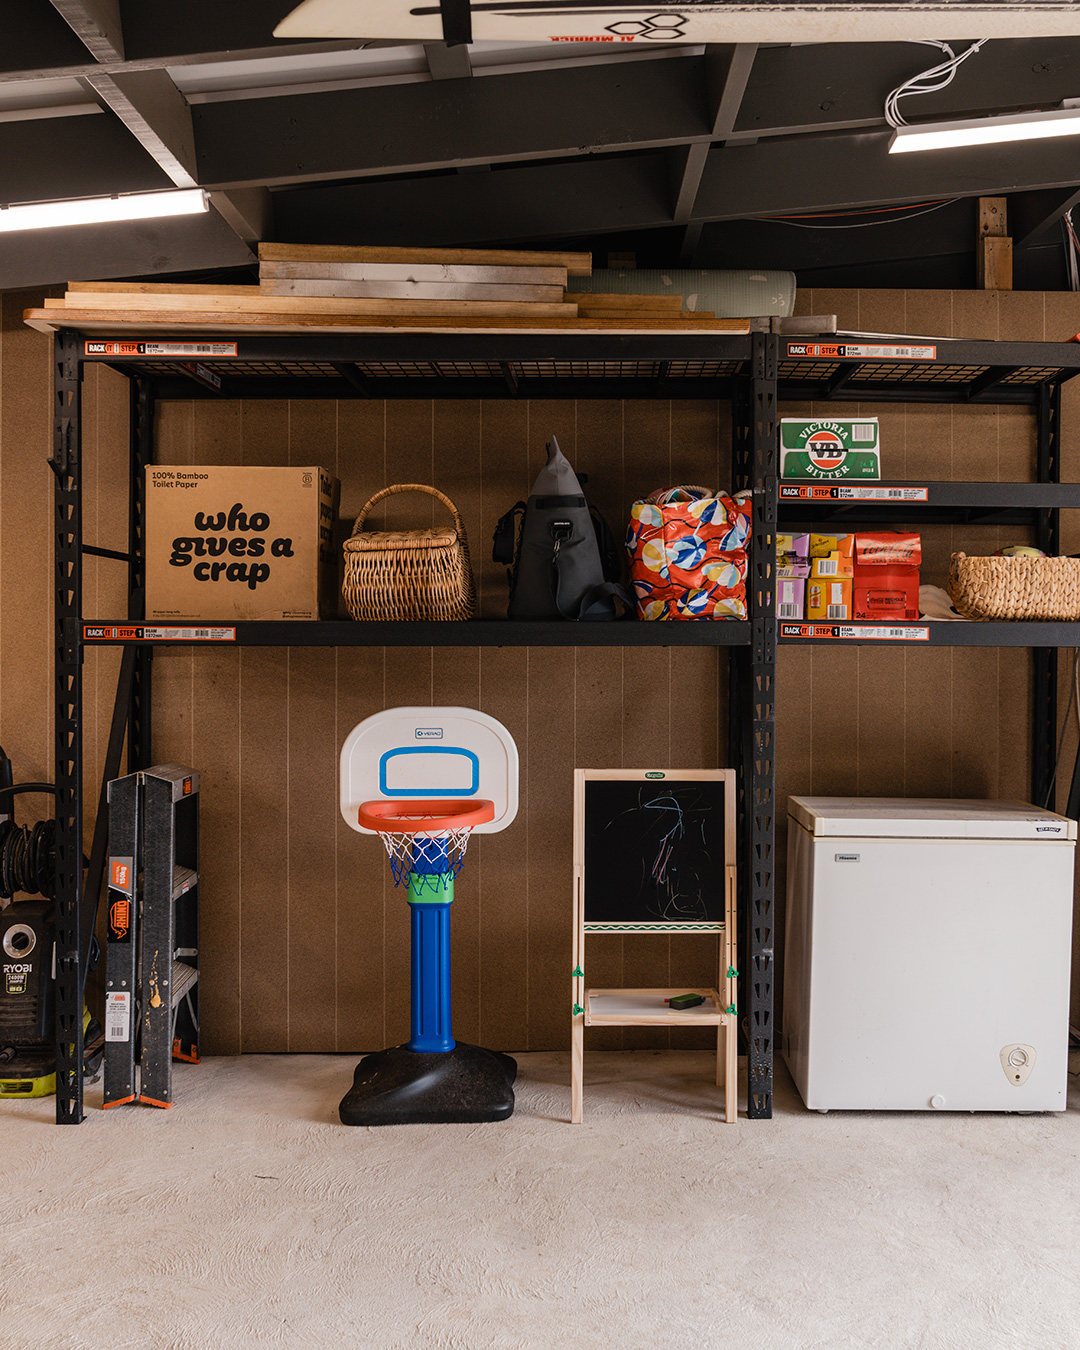
It’s a cost-effective solution, durable and quick to install with a tongue and groove system. Effectively a 12mm yellow tongue product (not MDF like most internal VJ products), which makes it great for spaces like this. The added thickness over a 10mm sheeting product is also great for screwing directly into for hooks and other storage in a garage like this. I think the raw finish looks great as is, so I don’t think I’ll paint these panels.
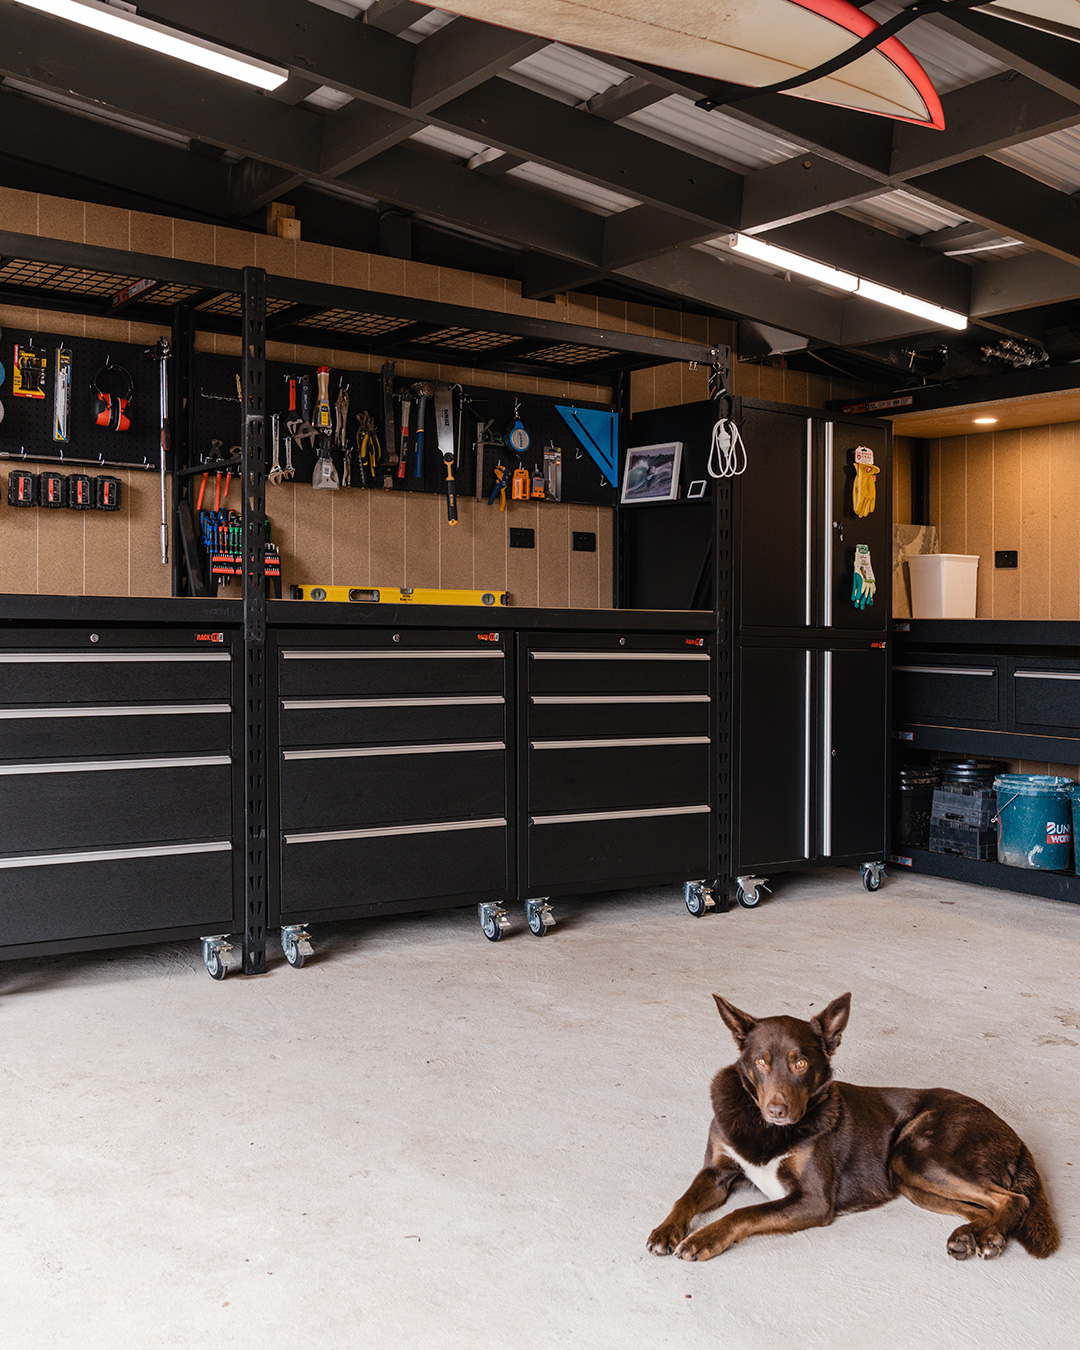
With the concrete down (a last-minute decision, be sure to watch the video!), it was time to fill it! We used the RackIt Racking to create essentially three custom bays for Tools, Design and Family. Each one had slightly different needs in terms of storage requirements, so we were able to customise using the RackIt planner and design platform here.

What was meant to be a quick, temporary fix turned into a far more permanent build. While it was a bit more work, we now have a rock-solid garage with clean, well-organised storage space. If you want to see more details about how we built the garage from scratch, check out Part One and Part Two below: