In our latest Reno Goals: The Cabin episode, we finally turn our attention to the carport project. This quickly blew out in scope and ended up being a fully enclosed garage. We tend to want to improve things, so as the build progressed, we decided to extend our original idea of an open carport and instead infill the floor with a concrete slab and get a roller door installed to create a clean, enclosed garage.
This garage started as a dry, secure space to store our furniture and personal belongings while we tackled major work on the cabin. For one entire winter, it even became my temporary home. A place where I cooked meals, stayed dry, and stored everything we couldn’t keep inside the house while it was open to the elements. Over time, however, the garage turned into a dumping ground for furniture, kitchen gear, tools, supplies, kids toys and pretty much anything else we didn’t know where to put.
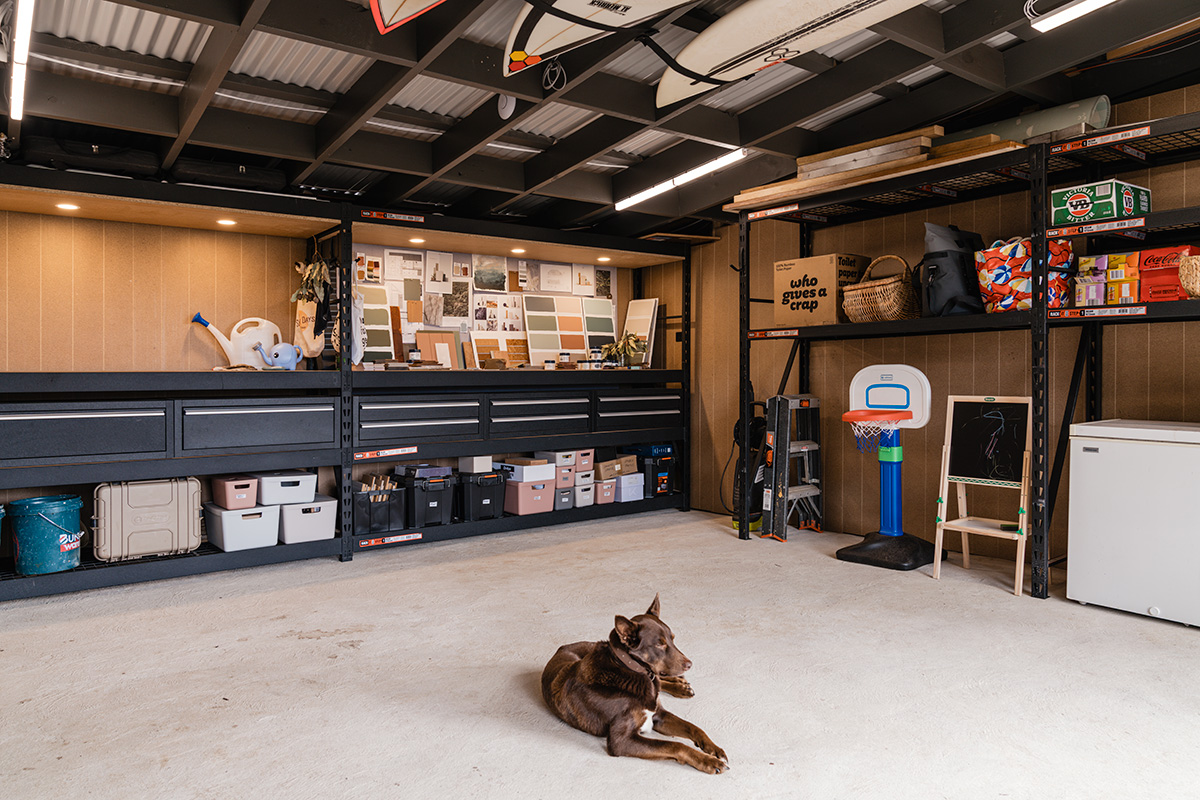
This episode is about reclaiming the space and transforming it into something functional for the whole family. Thanks to RackIT racking, we were able to bring some order back into the garage and set it up with clear zones for work, storage, and creativity.
Here’s how we organised the space:
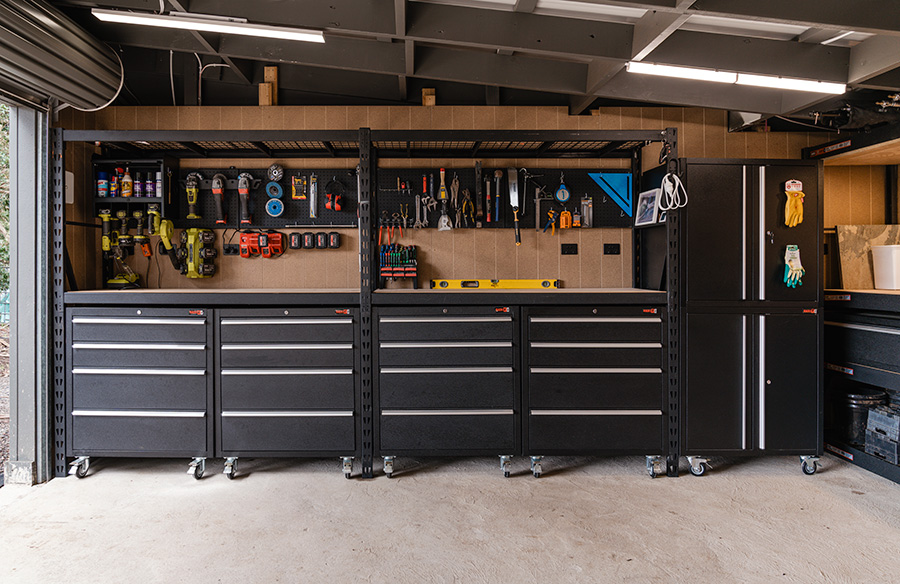
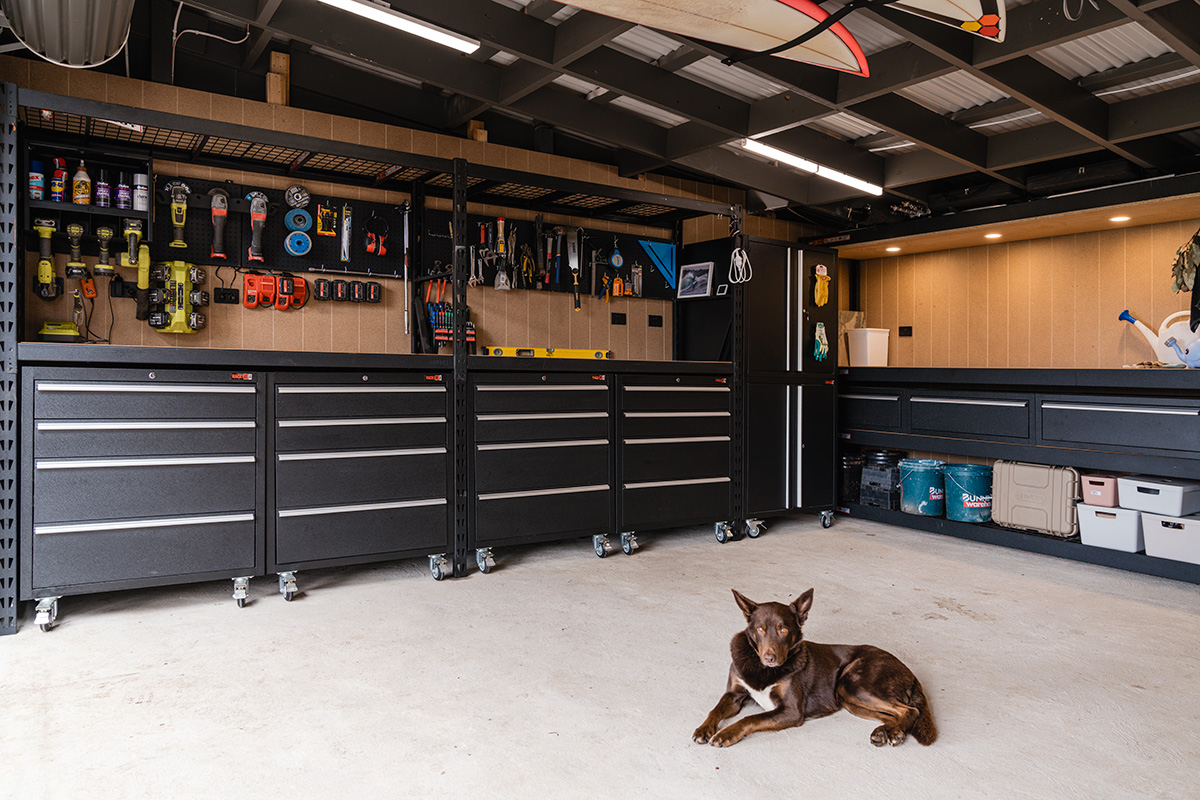
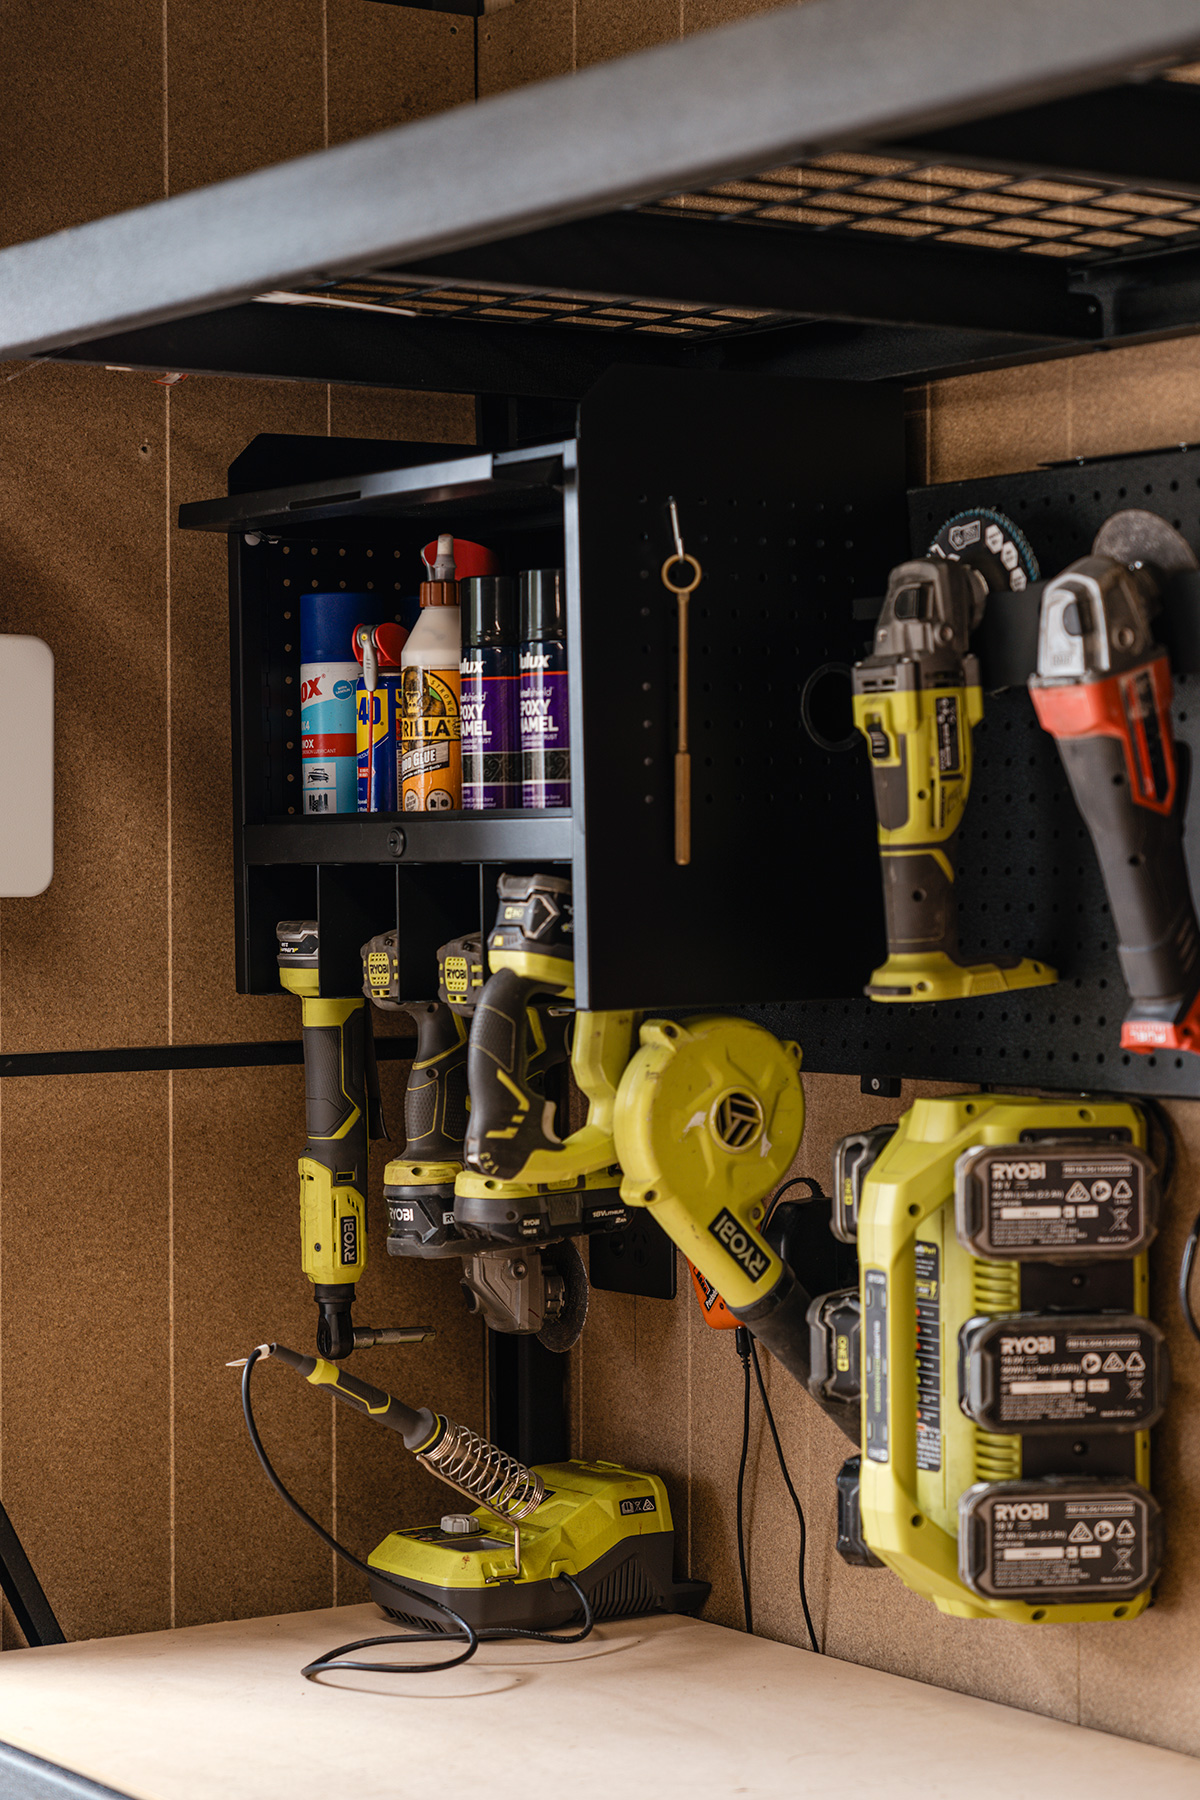
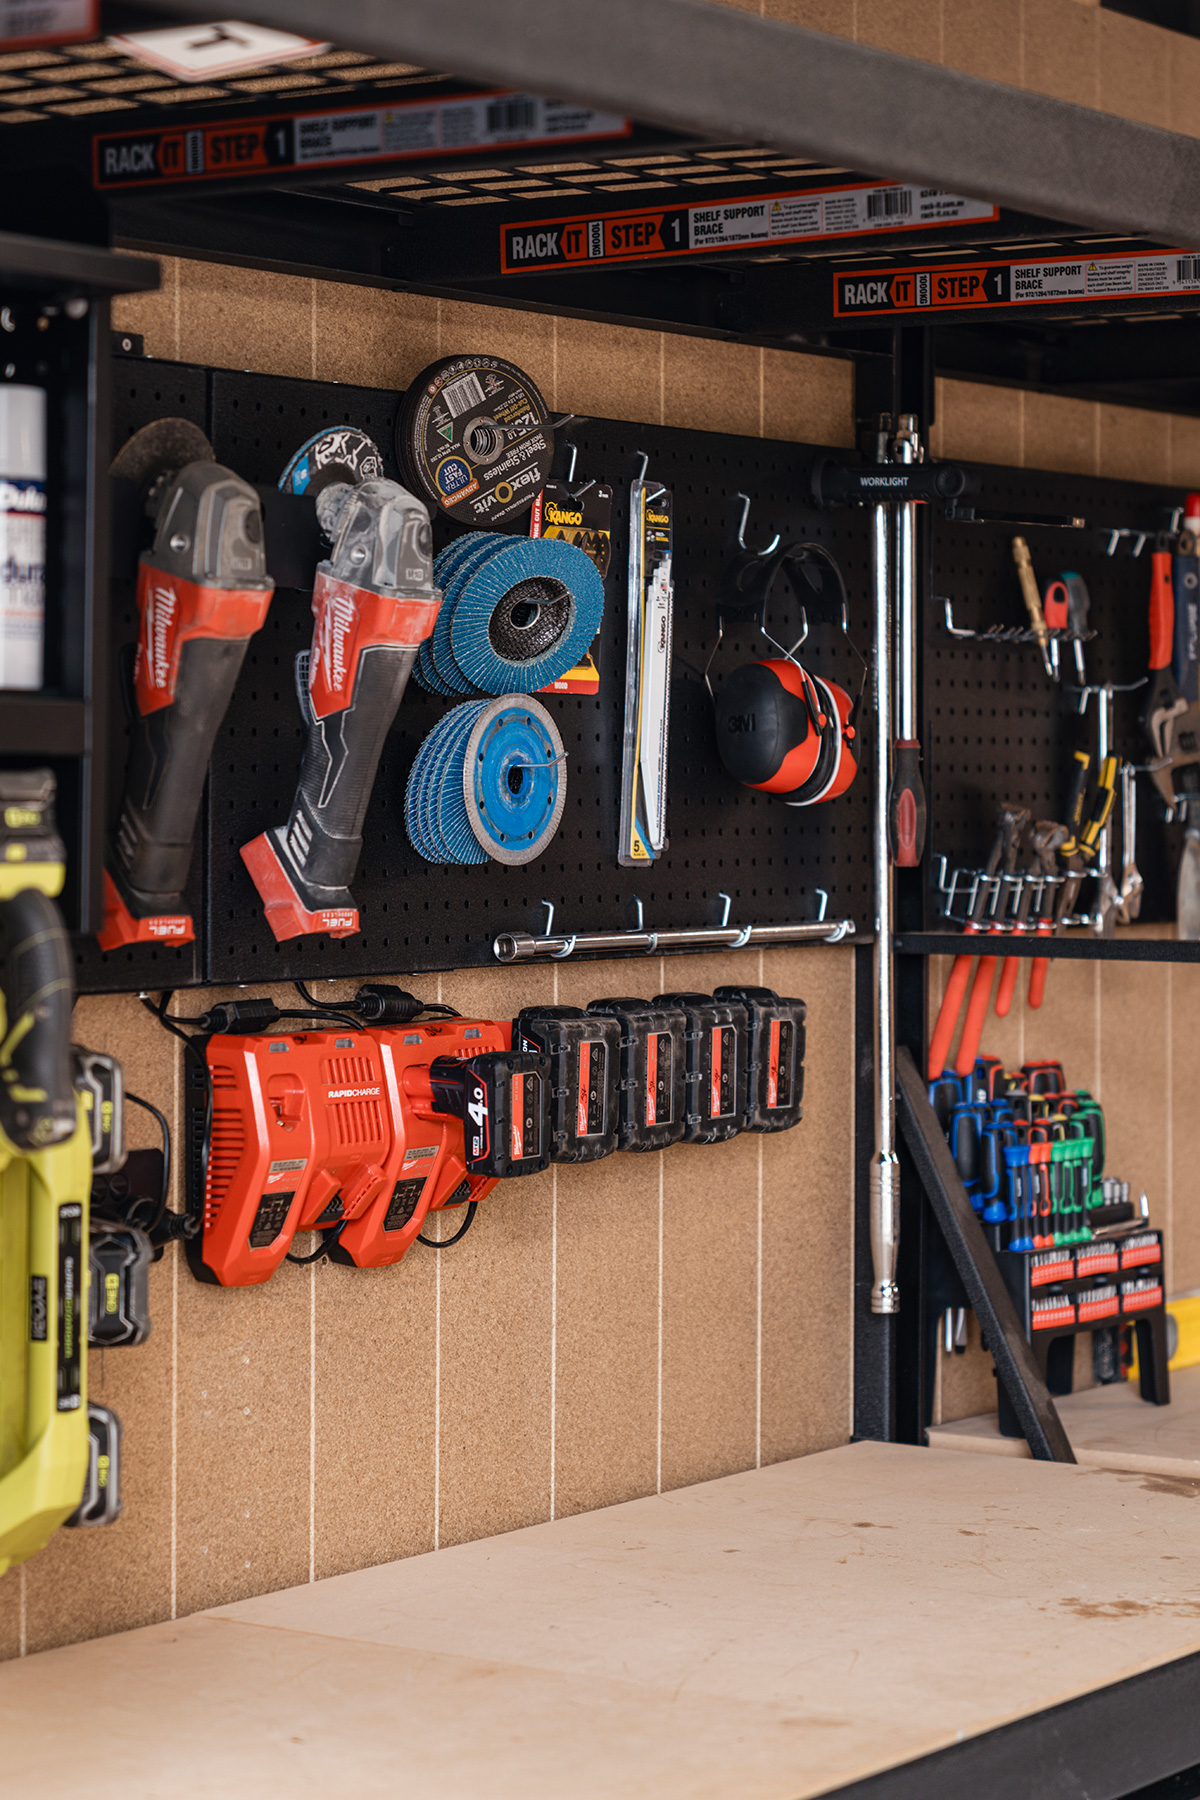
- Tool Wall: All my tools are finally together on one wall, neatly organised and easy to access.
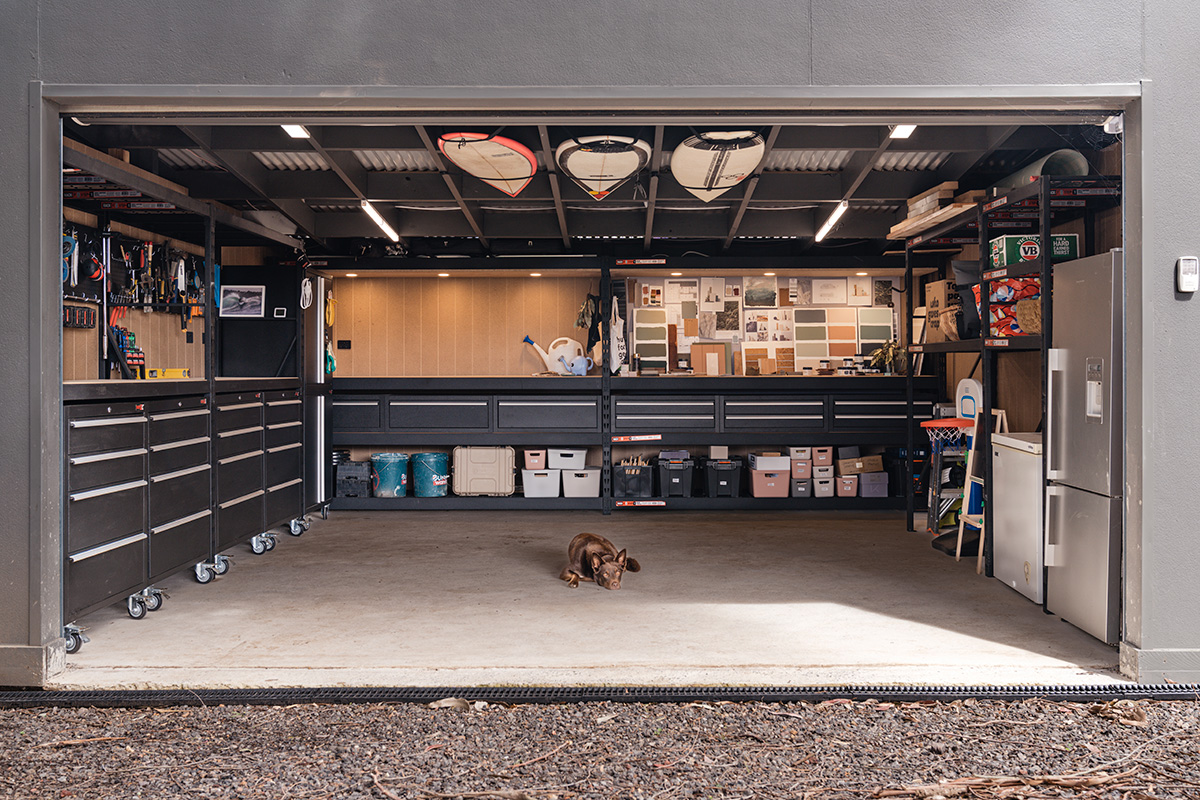
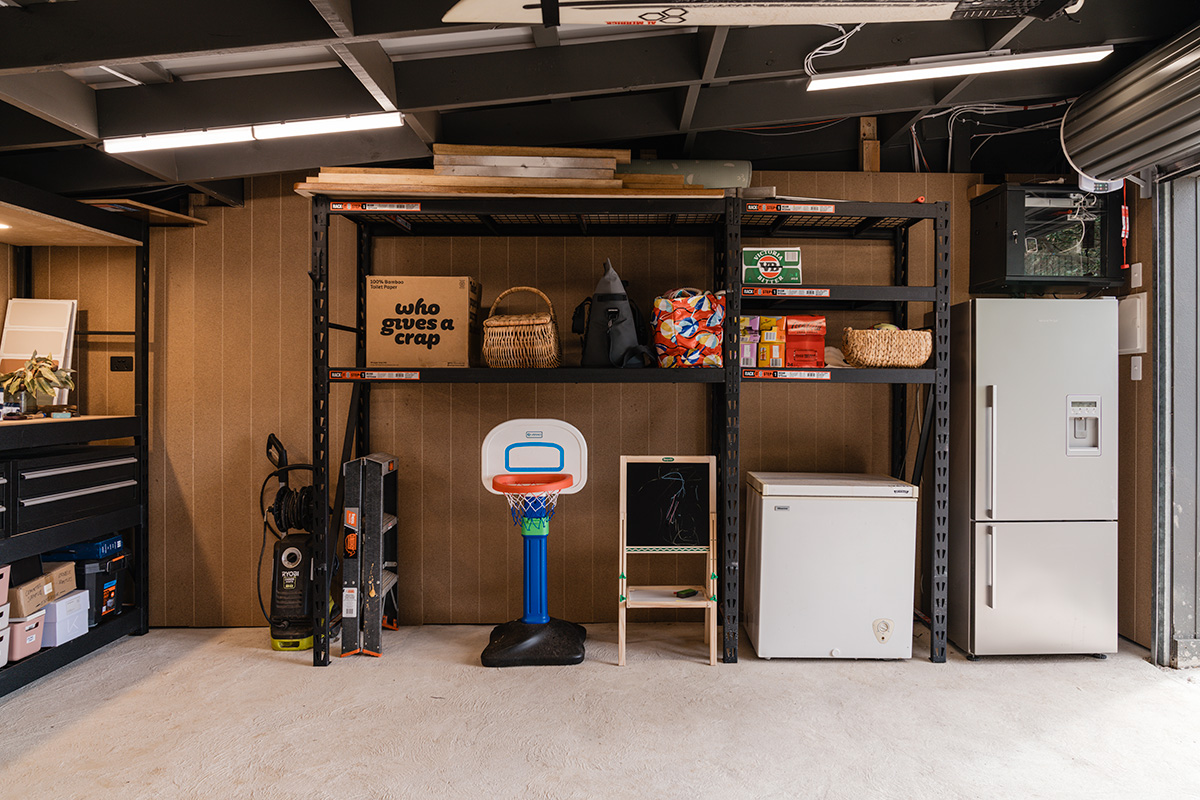
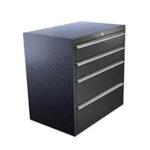
- Appliances + Storage: Another wall houses our second fridge, deep freezer, and open shelving that stores kids’ toys plus bulk overflow from the kitchen, laundry, and bathrooms.
- Design Studio: The back wall has been transformed into a dedicated studio for Lucy, complete with pinboard inspiration boards, drawers, and tubs filled with her design samples.
The result is a garage that’s not just clean, but genuinely useful: part workshop, part storage hub, and part design studio.
👉 Watch the full Garage Makeover on YouTube
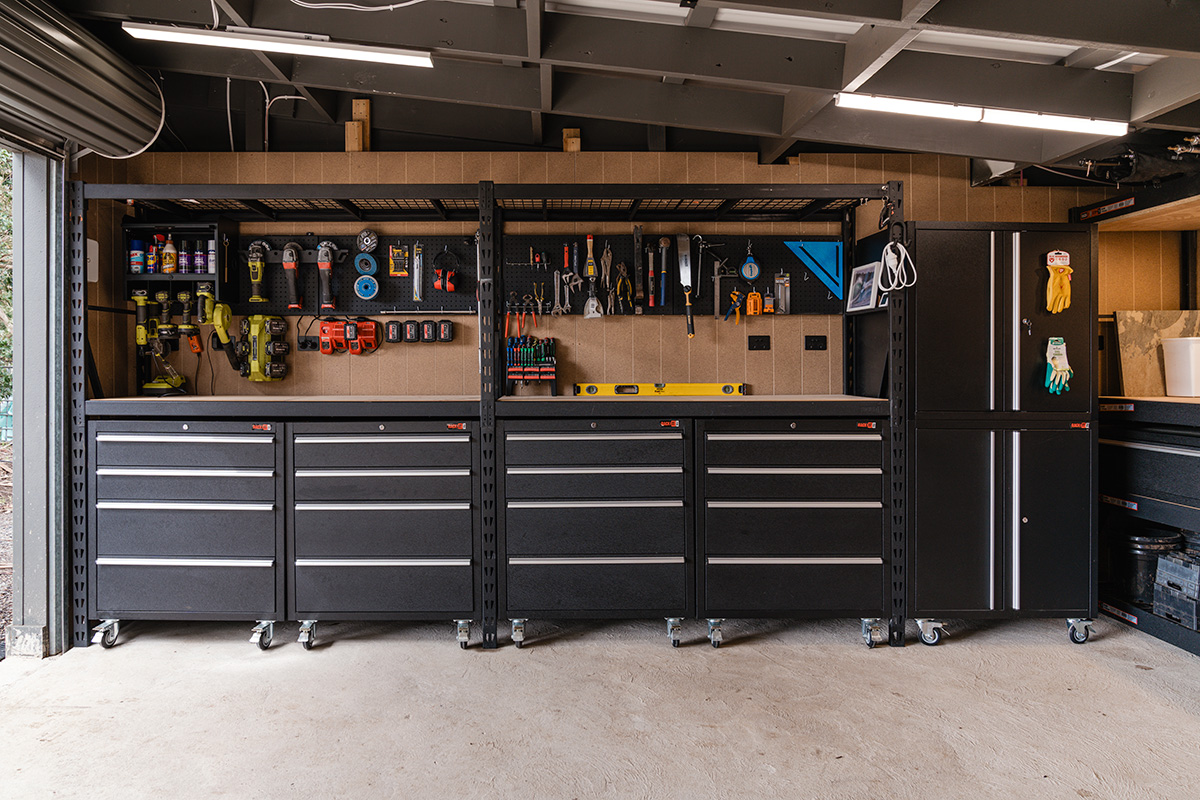
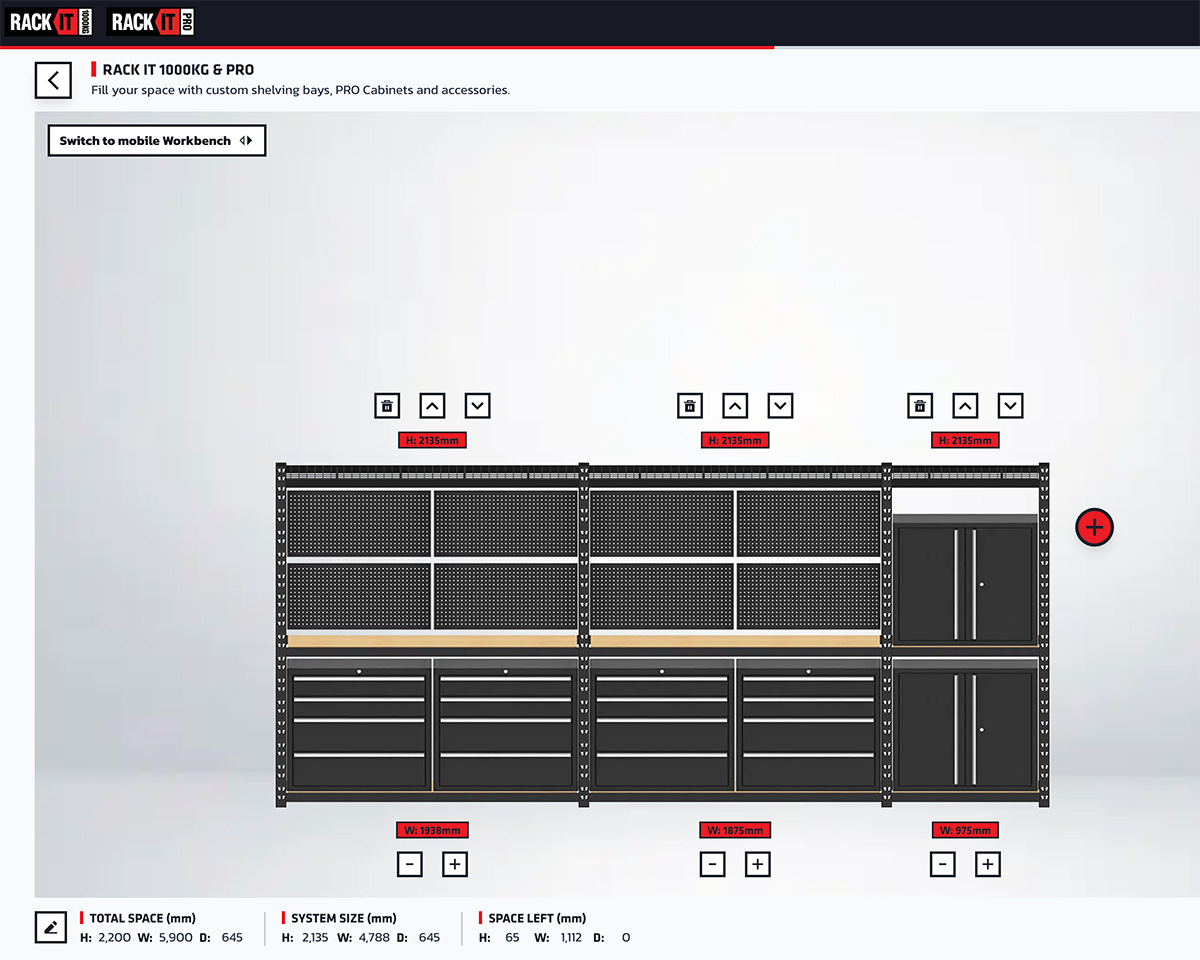
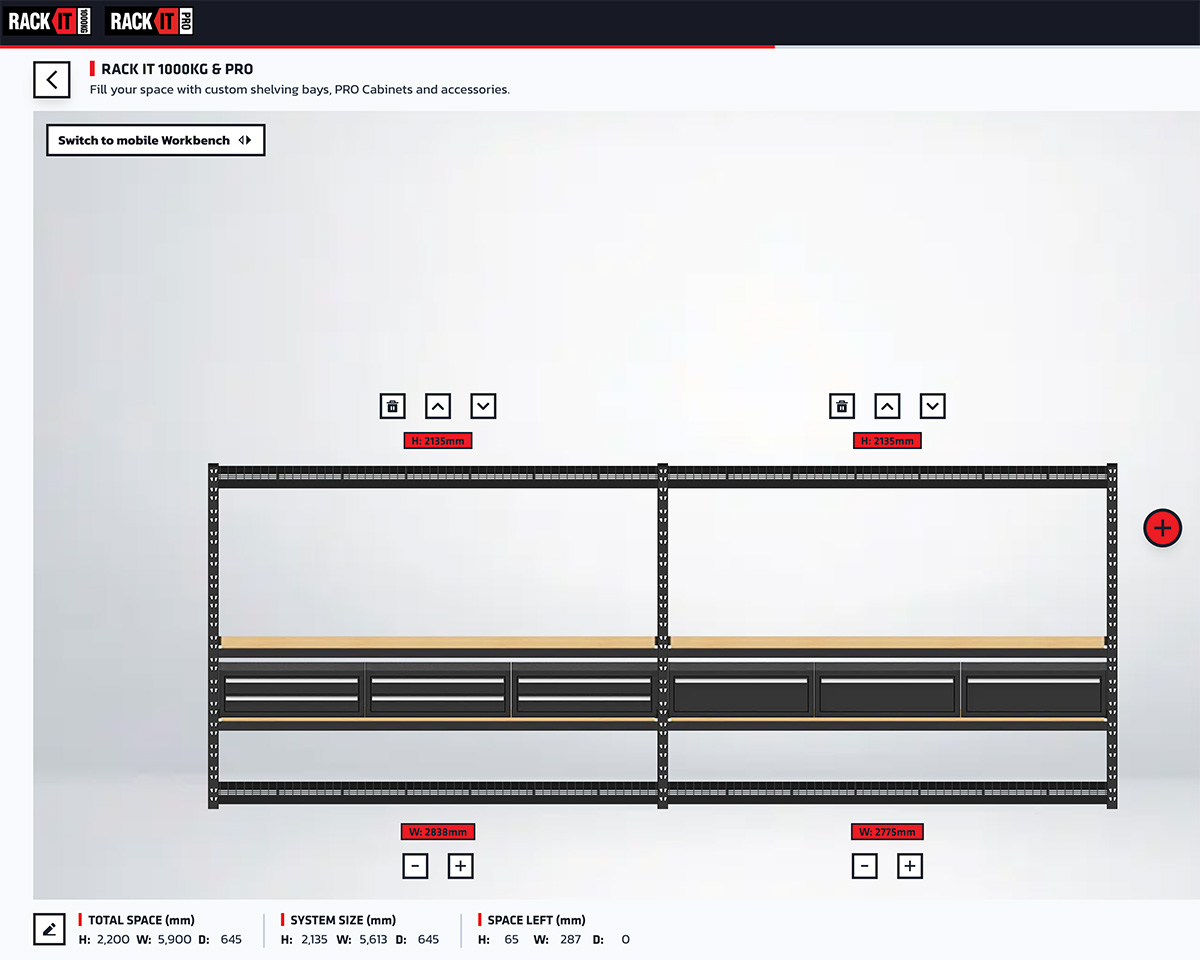
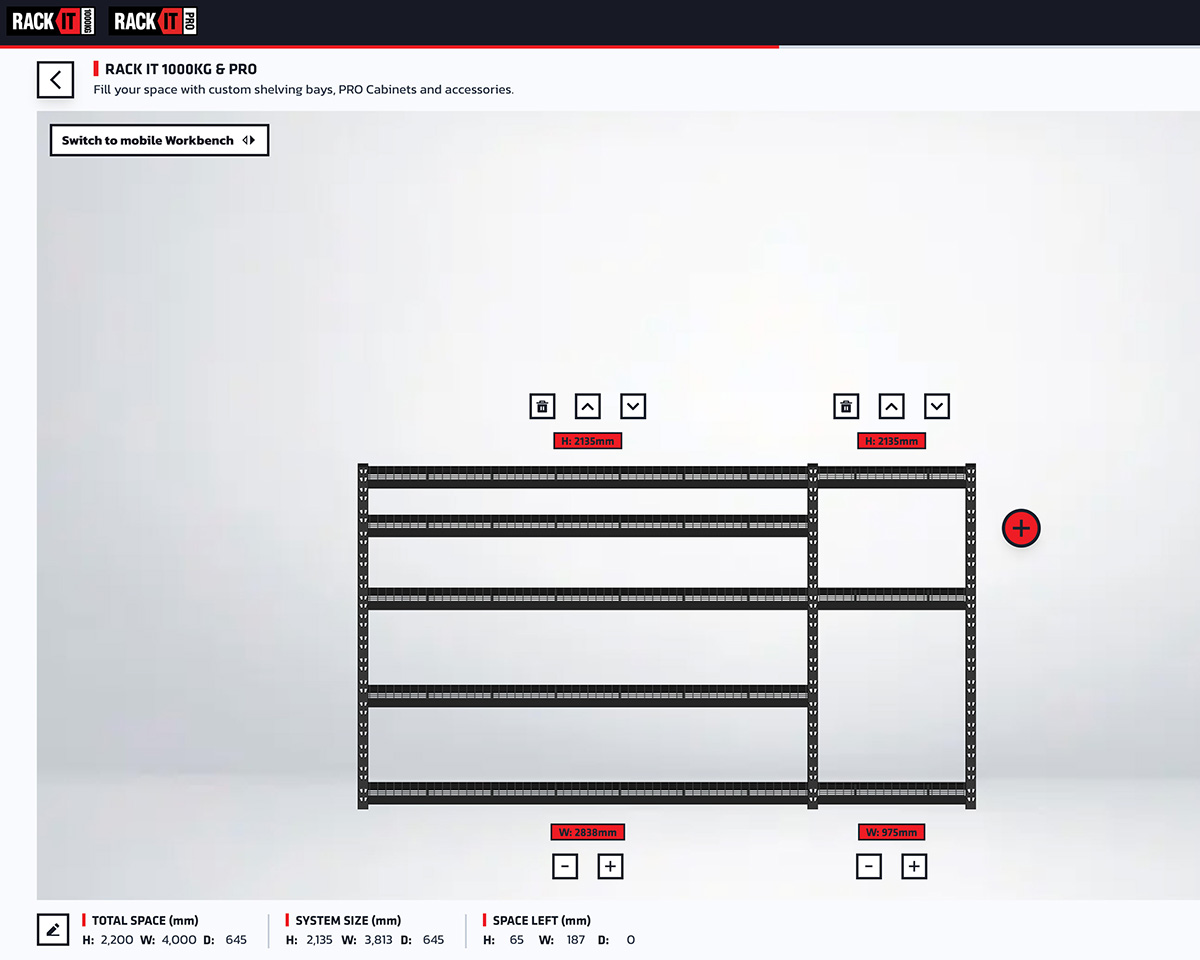
Further customisation was added to create functional workbenches. I installed wall cladding using the STRUCTApanel Tongue & Groove VJ150 from Australian Panels. This allowed installation of additional storage solutions such as pegboards – as well as powerpoints and downlights. Having power enabled me to create a charging bay for batteries and tools. The additional lighting used on the back wall creates a more efficient place to work.
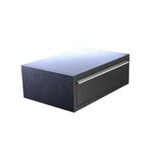
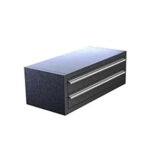
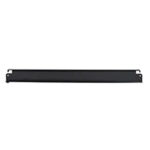
I customised three bays for each unique storage requirement and was able to create the design from the RackIt planner. There’s are the final plans I went with in the end and all the RackIt products used.
Get the Look


Thank you to RackIt for sponsoring this episode. Check out their planner and design platform here.
And if you want to see how the garage began, check out Part One and Part Two of our Carport/Garage Build:
Photography: Jonno Rodd